Introduction

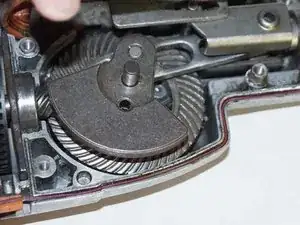
This guide is to help users replace the gear assembly for the Ridgid GEN5X R8642 saw. For this guide you will need: a spudger, a T20 Torx Screwdriver, a Phillips screwdriver size J1, replacement gear assembly for Ridgid GEN5X R8642, and a good attitude.


  1. WKLCEyLvHBX2D4lx
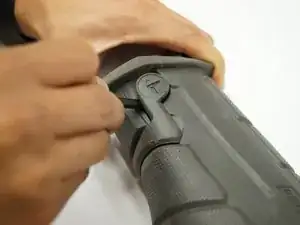
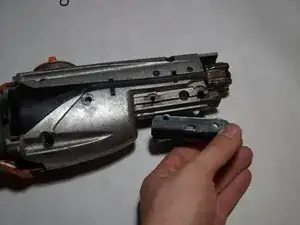
    • Remove the plastic tab holding the handle cover in place by prying upward with the spudger until the tab pops off.

  2. E3fPYAOCjxn6UZPg
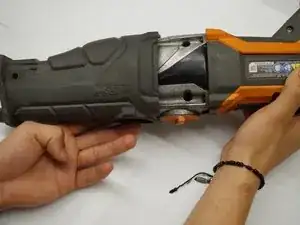
    • Remove the handle cover by pulling it towards the front of the saw.

    • The grip can sometimes become stuck and may require a decent amount of force to remove.

  3. m5UJHwYlJ2i6JQaB
    m5UJHwYlJ2i6JQaB
    TNUa616EuRCAIZgE
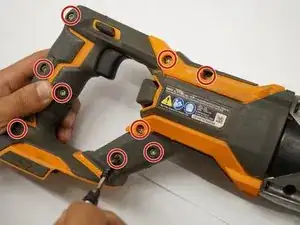
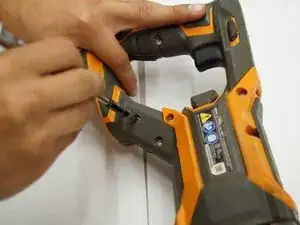
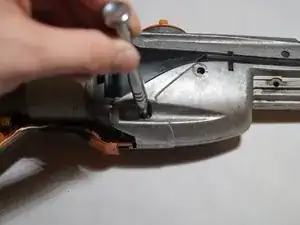
    • Use a T20 Torx screwdriver to remove the nine M4 X 16mm screws from the plastic housing.

  4. U6rpmqGkWW2osDKI
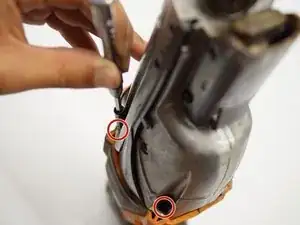
    • Use a JIS #1 screwdriver to remove the two M4 x 25mm screws on both sides of the metal housing.

  5. cWsgIKMX5ls6KNSx
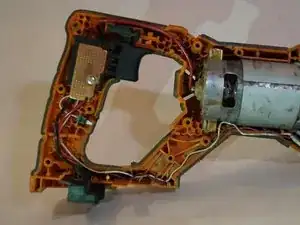
    • Remove one half of the plastic housing using a spudger so that the internal system is exposed.

  6. ywsrWBSbYj4OkFdS
    ywsrWBSbYj4OkFdS
    EjNtOfn33gMRA3Ik
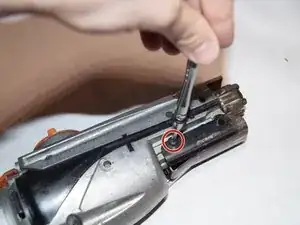
    • Remove the one 16mm T20 screw that holds the grip support onto the saw.

  7. PwDmNDS5jv6FsYlZ
    PwDmNDS5jv6FsYlZ
    Jl4py6dehbNZJYFg
    GicLt6T4ZHLpOEcv
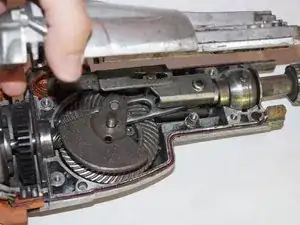
    • Remove the five T20 Torx screws from the gear assembly cover and pull the cover off.

  8. 1N2256gxfDAEhrea
    1N2256gxfDAEhrea
    oCiEQGdMqgk1U5Wk
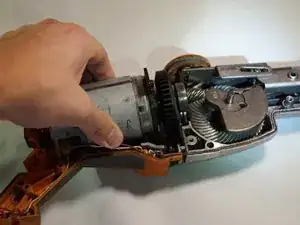
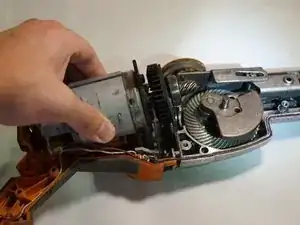
    • Carefully remove the motor making sure not to harm any of the wires that are attached. Place motor gently out of the way.

  9. 5By6Hj23UtGhePR4
    5By6Hj23UtGhePR4
    AAkHXga4u2rJddgr
    wRhI1rOgnHiBMnGQ
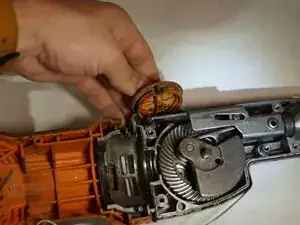
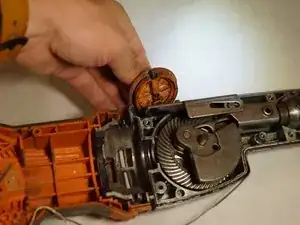
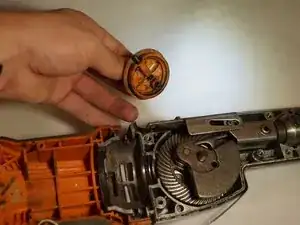
    • Remove the orbital switch by pulling straight up on it.

    • Be careful to not lose the spring and pin that is inside of the switch.

  10. MbfIol5AUqSlkZ3p
    MbfIol5AUqSlkZ3p
    UvZQXVfosu1jRSNu
    PNRLdfTUwYhnOmCa
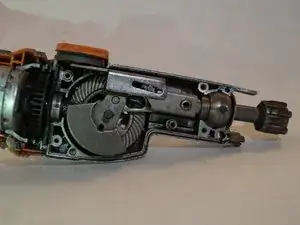
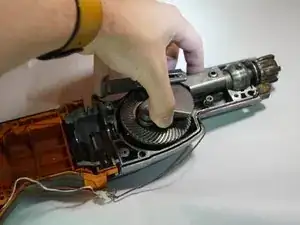
    • Remove the gear assembly by pulling it straight up.

  11. sRDomLWD6XXMBCnA
    sRDomLWD6XXMBCnA
    HMNRwVEnermqDVjI
    JsyDBKKC4VnphF4M
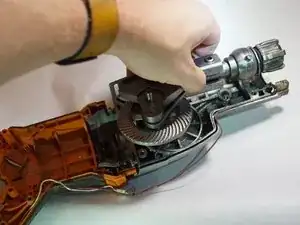
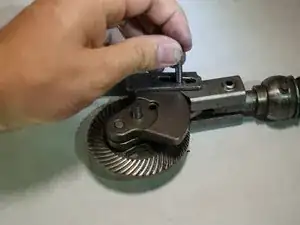
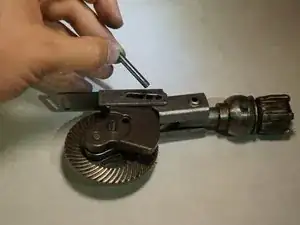
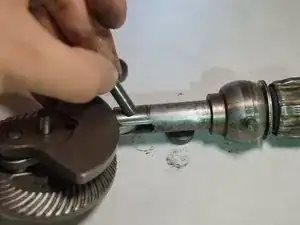
    • Pull the pin holding the metal guide housing in place.

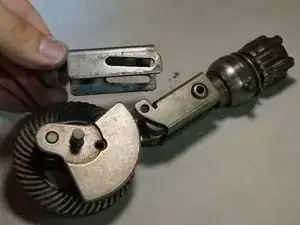
    • Slide the metal guide housing back off the gear assembly.

  12. OS2FvopRDMH4AVjw
    OS2FvopRDMH4AVjw
    3IiSehHMJm6uQgOE
    • Remove the guide bushing by pulling up on it.

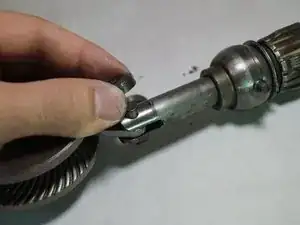
    • Then slide the pin out that holds the gear assembly and blade clamp assembly.

  13. Pipb5UAQ6lkndctI
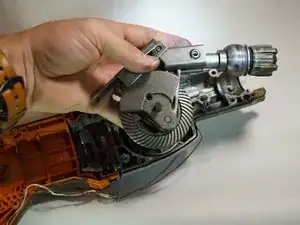
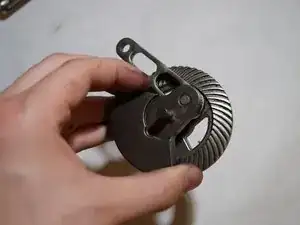
    • Slide the blade clamp assembly off the gear assembly.

    What about the smaller pinion gear at the end of the motor? Assuming the big gear is worn should the smaller gear be worn too. Is the smaller gear replaceable? Is it typical to replace the big gear without replacing the smaller one?

    Charlie Fisenne -

Conclusion

To reassemble your device, follow these instructions in reverse order.

Josh Wagoner

Member since: 12/02/19

217 Reputation

One comment

When reassembling with new gear, does gear needs to be greased?

Syoma Zv -