Introduction
This guide is for replacing the spring on your guard disk should the spring break or not feel firmly secure. For this task, you will want to have the replacement spring ready as it can be inserted directly after the last step.
Tools
-
-
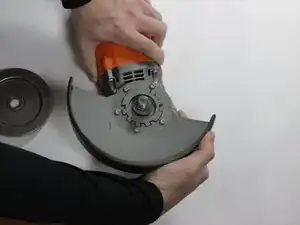
Push in the guard lever and twist the guard until it aligns with the slots on the output shaft assembly.
-
There are two arrows that should align before you attempt to pull the pieces apart.
-
-
-
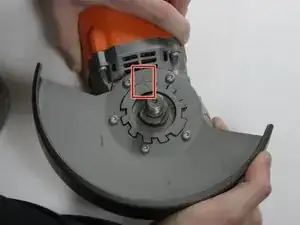
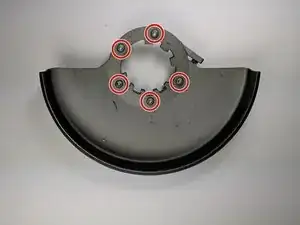
Unscrew the 5 M5 X 10mm screws using a Torx T20 Bit.
-
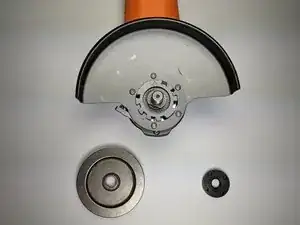
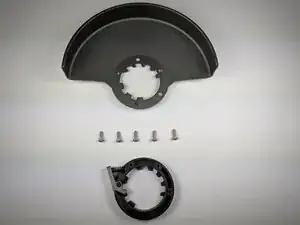
Carefully separate the spacer from the guard.
-
-
-
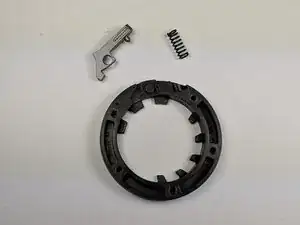
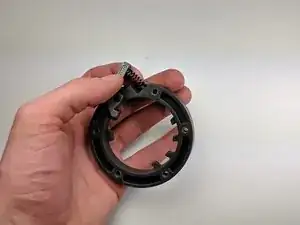
Gently push the spring away from the spacer.
-
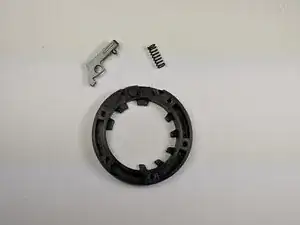
The spacer, spring, and guard lever should now be all separate.
-
Conclusion
To reassemble your device, follow these instructions in reverse order.