Introduction
If your hair dryer will not power on after multiple troubleshooting attempts, the setting dial may be defective. As a result, this guide will instruct users on how to properly replace the setting dial at the bottom of the hair dryer.
Tools
-
-
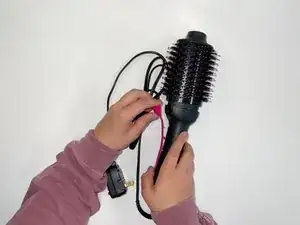
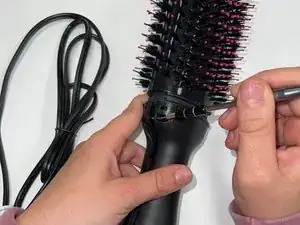
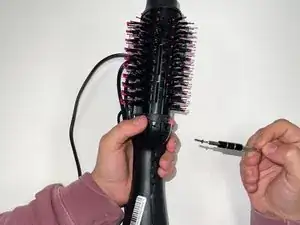
After removing the pink panels, there will be one visible screw on each side of the dryer handle measuring at 11mm.
-
Carefully unscrew both of these screws with a tri-point Y000 screwdriver.
-
Next, completely remove the screws out of the dryer handle.
-
-
-
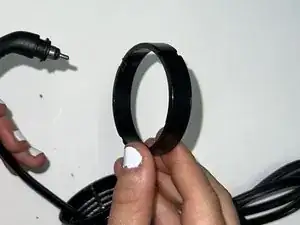
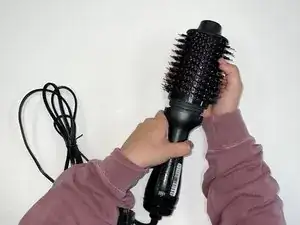
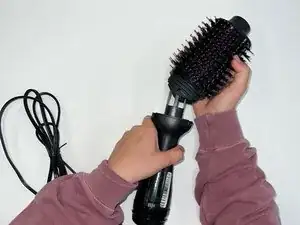
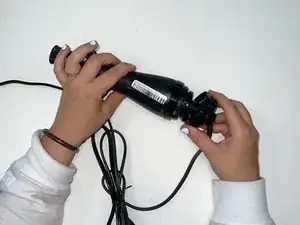
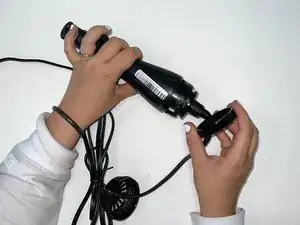
Next, slide down the air inlet and the setting dial to reveal the 11mm screws on each side of the handle at the bottom of the hair dryer.
-
-
-
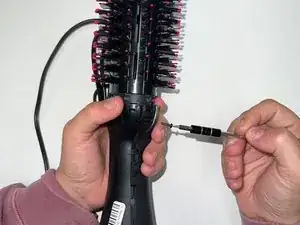
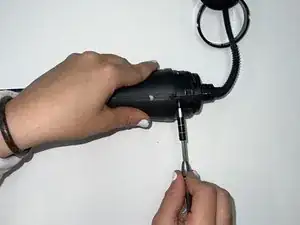
There will be one visible screw on each side of the dryer at the bottom of the handle, measuring at 11mm.
-
Carefully unscrew both of these screws with a tri-point Y000 screwdriver.
-
-
-
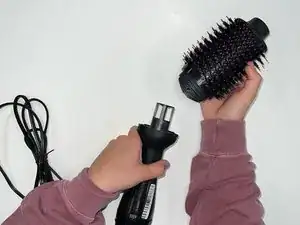
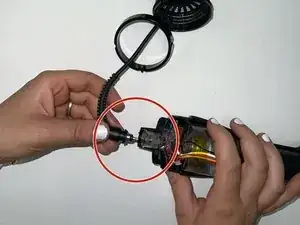
Once you have exposed the inside of the dryer, you will see a clear port at the very end where the cord is connected and plugged into.
-
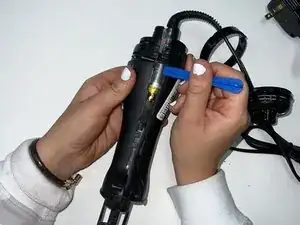
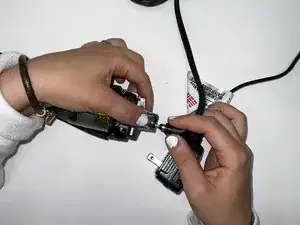
Now, with your thumb and pointer finger gently pinch the top and bottom of the clear port.
-
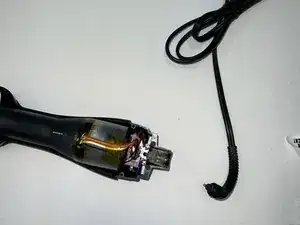
Next with your free hand carefully pull the cord out of the port of the dryer handle.
-
-
-
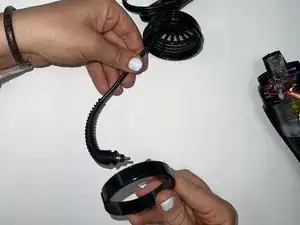
Once the cord is disconnected from the handle, you should be able to slide the dial setting off completely and free it from the cord.
-
To reassemble your device, follow these instructions in reverse order.
One comment
Referring to step 4, how do you release the first part with the metal mesh inside from the body
What is a fix it opening tool?
amg3232@yahoo.com -
Donde compro el barrel
Joan2apie -