Introduction

If the reset button and/or power switch get stuck or physically broken, they can be replaced using Phillips #0 and #2 screwdrivers.

  1. aO6FBDZZb3cc6kCg
    aO6FBDZZb3cc6kCg
    DRWSs5CCrCCCg5P2
    AyGQ2w2SQQldVoVa
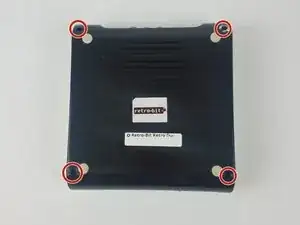
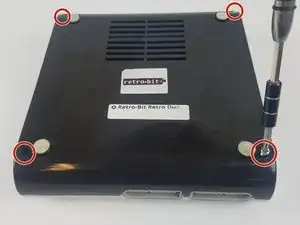
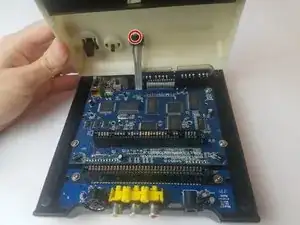
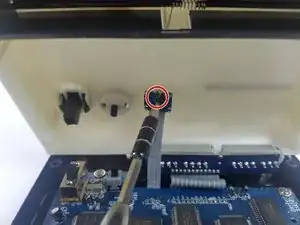
    • With the console on its top. Remove the four 12 mm Phillips #2 screws.

    • There may be a sticker covering one, or more, of the screws. Simply remove the it before the screws.

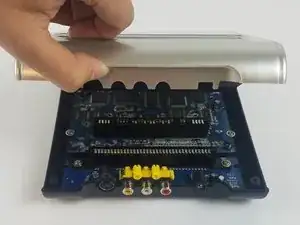
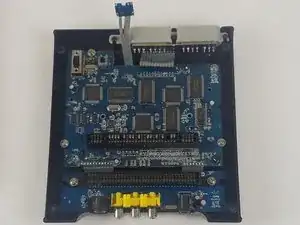
    • Flip the console on its feet and carefully lift the top casing from the back (where the AV/S and power ports are).

    • To avoid damage, do not completely remove the top case. There is a small circuit board--which houses two LEDs-- connected to the main circuit board.

  2. cjKeeveitFGVIDXu
    cjKeeveitFGVIDXu
    UTef6yI2K66qT2qy
    qhF6dPLLPkEVIRFt
    • Remove the one 6 mm Phillips #0 screw.

    • Lift the top case.

    • This step allows easy button access and prevents accidental damage.

  3. VE5GYMiIiKyTUEQA
    VE5GYMiIiKyTUEQA
    JqBFeUTMtmiCFv5y
    m1R1vLjJnltmrSNU
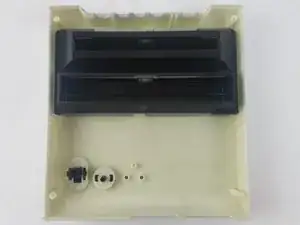
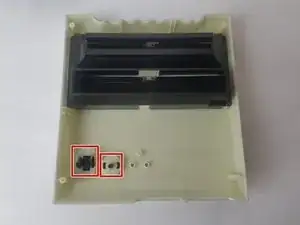
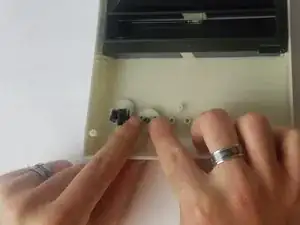
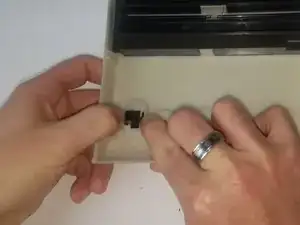
    • Using your fingers (or precision tweezers), carefully pinch the button tabs and push through to the other side.

    • Make sure you pinch both tabs simultaneously, or the button will not pop out.

Conclusion

To reassemble your device, follow these instructions in reverse order.

If the problem persists after the buttons are replaced, it may be a circuit board issue. If so, please visit our guide for circuit board replacement at Retro-Bit Retro Duo Circuit Board Replacement

Truong Vo

Member since: 25/09/17

320 Reputation

0 comments