Introduction
If your controller(s) have button malfunctions, they can be replaced.
Tools
-
-
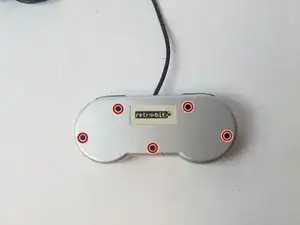
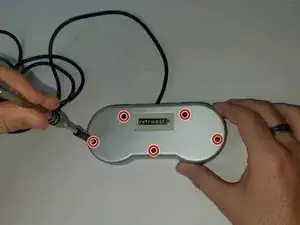
With the controller on its face, remove the five 6 mm Phillips #1 screws.
-
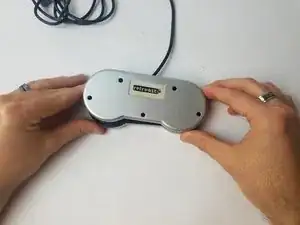
After screw removal, carefully lift the controller casing.
-
-
-
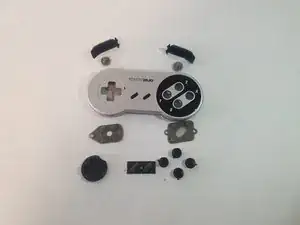
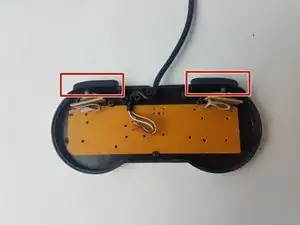
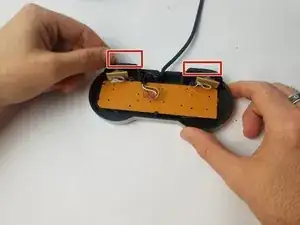
Pinch the top and bottom of the shoulder pads, then lift out.
-
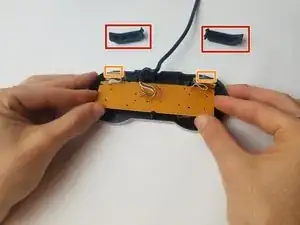
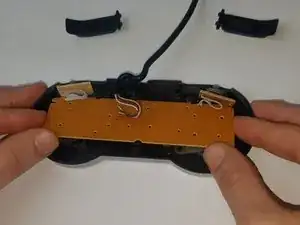
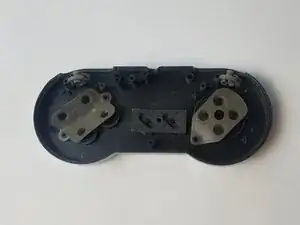
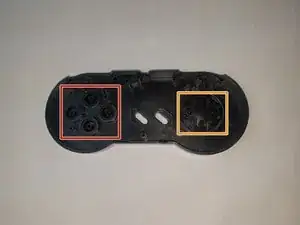
There are small elastic pads below each shoulder pad. Replace these if they are not functioning correctly.
-
-
-
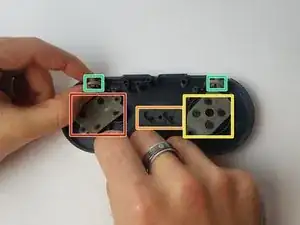
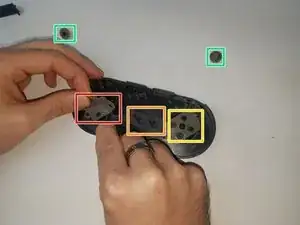
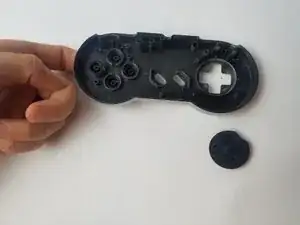
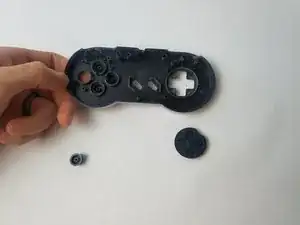
To replace the action button pad, lift this part out.
-
Lift the Select and Start button pad.
-
If replacing the D-Pad, lift this pad.
-
Pinch and lift the shoulder button pads.
-
-
-
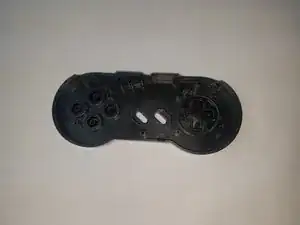
Support the controller face and push buttons toward the inner case.
-
Support the controller face and push the D-Pad toward the inner case.
-

Conclusion
To reassemble your device, follow these instructions in reverse order.