Introduction

How to replace the console's cartridge doors. These cover the cartridge slots and hold games in place.

  1. r1oFQH2wBht33Yat
    r1oFQH2wBht33Yat
    iIfpHTiPEKkxPKC6
    pWINNP3hNtOUCLPZ
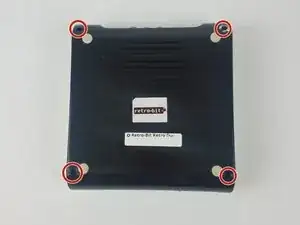
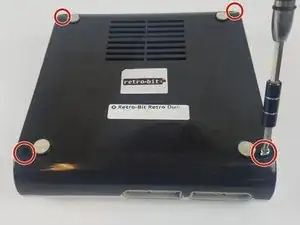
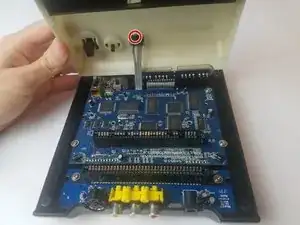
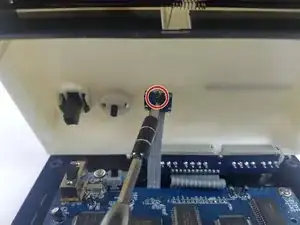
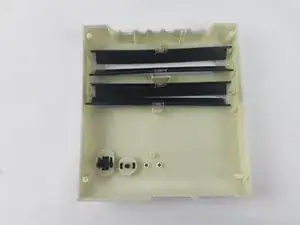
    • With the console on its top. Remove the four 12 mm Phillips #2 screws.

    • There may be a sticker covering one or more of the screws. Remove it before the screws.

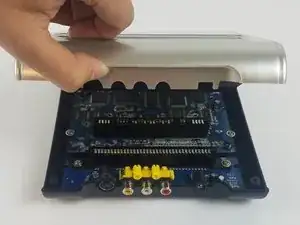
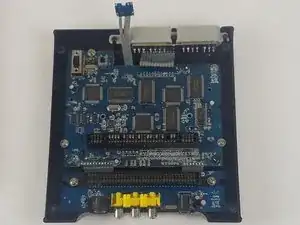
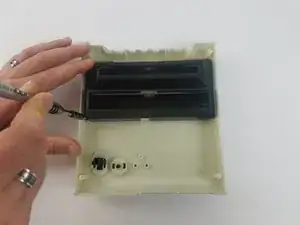
    • Flip the console on its feet, pinch near the AV/S ports, and carefully lift the top casing.

    • Do not completely remove the top casing. There is a small LED circuit board connected to the main circuit board.

  2. NrrAONspZ4FGAjFS
    NrrAONspZ4FGAjFS
    OLH5h1cOoBEHtHqx
    AMY2FhKMNCIJZP1I
    • Remove the one 6 mm Phillips #0 screw.

    • Lift the top case and set aside.

  3. btrZA64Mwy5qxhqA
    btrZA64Mwy5qxhqA
    HkNLoWwtPMYYTAuX
    uRQnsNOvlpmRkF2W
    • Remove the eight 10 mm Phillips #0 screws.

    • The cartridge doors are spring-loaded and may pop up.

  4. Qfcexy6SkJ4pigxv
    Qfcexy6SkJ4pigxv
    YoyWvLgOCyNQkM33
    • Carefully lift the cartridge door case and set aside.

  5. fEN32RD2NZvbU2Vw
    fEN32RD2NZvbU2Vw
    SptHZVHgyWFqAUXd
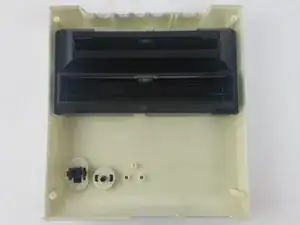
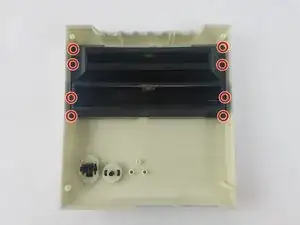
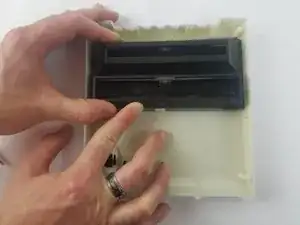
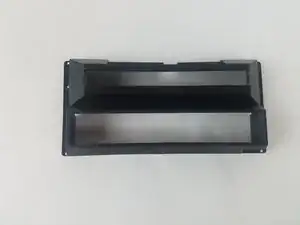
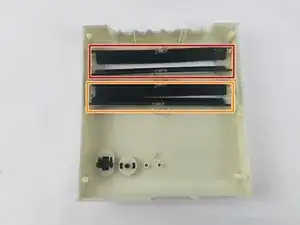
    • Take the cartridge doors out of the top casing.

    • Keep the correct cartridge doors together. Note the door numbers and position.

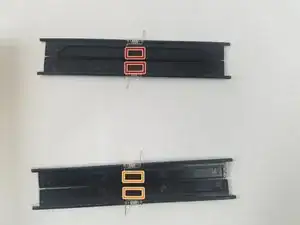
    • Doors numbered two and four are for NES cartridges.

    • Doors numbered three are for SNES cartridges.

Conclusion

To reassemble your device, follow these instructions in reverse order.

Truong Vo

Member since: 25/09/17

320 Reputation

0 comments