Introduction
If your ESX shows an amber LCD without any characters, this guide is for you.
We start by opening up the ESX, finding the broken fuse and either replace it or do a workaround.
-
-
I am sorry that I can not say much about opening the ESX. I also don't have the sampler anymore.
-
I roughly remember that you first have to remove all knobs by pulling on them. Then the ESX had some screws with allen heads on the front. You had to remove these as well. As a last part there were some screws on the back side of the unit.
-
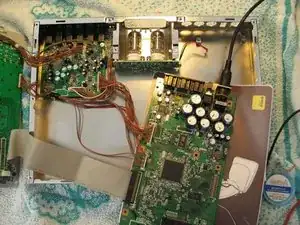
If the ESX is open then the right PCB with the connection to the power supply and the big capacitors is the one you are interested in.
-
Place the PCB on some kind of isolating material if you plan to switch on the device for testing reasons.
-
-
-
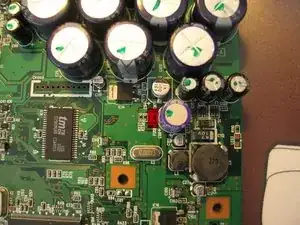
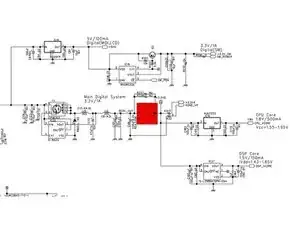
Below the bunch of big capacitors is a fuse with the designator "FUSE1". This device is placed behind the 3,3V regulator, right in front of the 1,2V regulator. So your system does not have 1,2V and one of the main controllers of the ESC does not work any more. Hence the glowing display, which is not run on the 1,2V rail.
-
Check, that this fuse is really broken. You may do this by placing a continuity tester on both ends of the fuse while the device is switched off. There should be no continuity if the fuse is really gone. Or you might test the voltages on both sides. If the fuse is gone there should be 3,3V on one side and nothing on the other.
-
-
-
It's now up to you how you want to fix this problem. I needed my ESX working so I removed the fuse with soldering tweezers and replaced the fuse with a wire.
-
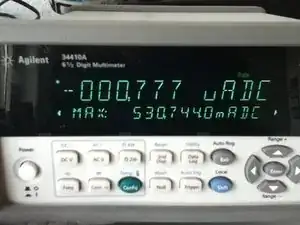
If you want to replace the fuse, the current through this fuse is roughly 530mA. I have aquired this value by hooking up the ESX to a current measurement device and let the ESX run for 2 hours with maximum processing and loudness.
-
The fuse is an "SMD"-Type. The housing is 1206 or 1210.
-
To reassemble your device, follow these instructions in reverse order.


