Introduction

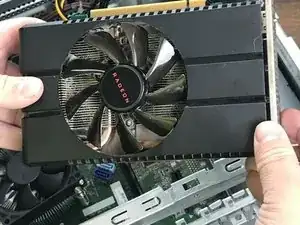
This guide will demonstrate a replacement of Graphics Processing Unit (GPU) in a HP Pavilion 690. The graphics processing unit is an important part in any computer and allow them to render images, video, and animations. If they become damaged a computers capability can become severely limited or they may even become unusable. By replacing the GPU instead of the entire computer, you are helping to reduce toxic e-waste in our landfills.

For this fix you will need a 4mm flathead screwdriver, a replacement GPU, and a small bowl or other container to hold screws. To restore the computer to original functionality you will need a NVIDIA GeForce GTX 1660 Ti Graphics Card. However, you may upgrade the graphics card if you wish. Be mindful that more powerful graphics cards will require more power and may also require an upgraded Power Supply Unit.

Then the guide will detail the steps you will follow to replace your GPU.

Computers are electronic by nature, so it is important to ensure that they are properly powered off and unplugged before beginning the repair.

  1. QbEgqgnEcwSmI5Wi
    • Power off the desktop and unplug the power cable.

    • Hold power button for 5 seconds to discharge the capacitors.

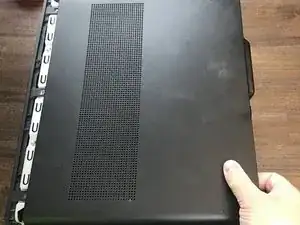
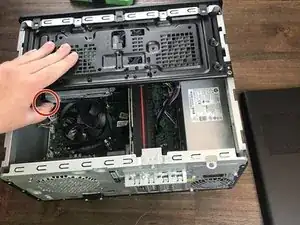
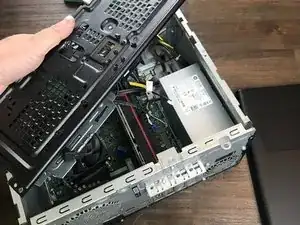
    • Remove the side panel from the computer.

  2. jVDUsqQ6qBCKKIhB
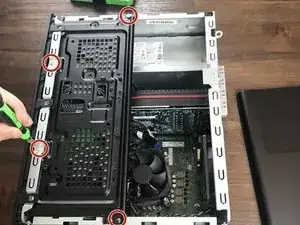
    • Remove screws and place screws in bowl for safe storage.

    • Place the screws in a small bowl or on a magnetic mat so they don't get lost.

  3. mLiIZYqlBsEM3JE5
    mLiIZYqlBsEM3JE5
    YSMPIqei3h1RxiVF
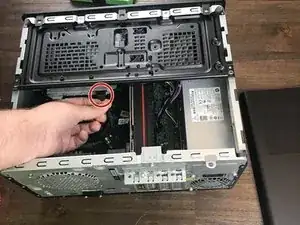
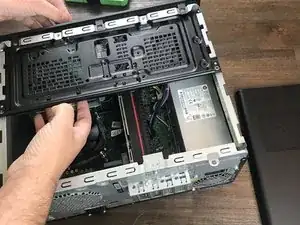
    • Disconnect CD-ROM drive from the computer.

    • Caution: Ensure that you are properly grounded before touching any electrical components. Computer equipment is highly susceptible to damage through electric shock.

  4. A5PkcjVUKICSW1Hy
    • Press in the small black lever on the back of the CD-ROM drive.

  5. mb15cnBMGL3wVUgb
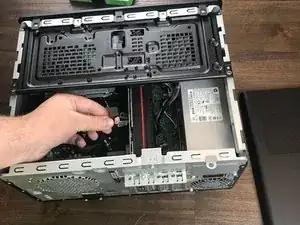
    • Remove the CD-ROM drive from the computer.

  6. IBBqWwB2oPASJRiV
    IBBqWwB2oPASJRiV
    UuL4lIvtlHE4WXrM
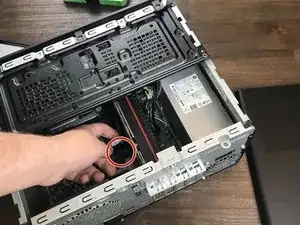
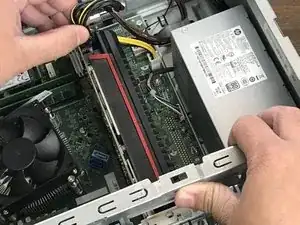
    • Disconnect the wires connecting the storage housing to the motherboard.

  7. P1sdqNlyeEVq6MlT
    • Remove the storage housing from the computer.

  8. V6R35SjJ1YdROPWA
    V6R35SjJ1YdROPWA
    yyQidOEdp5ruYbdF
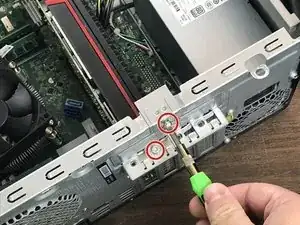
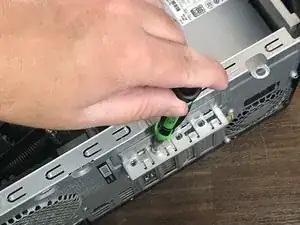
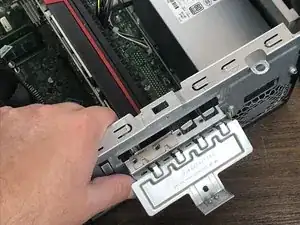
    • Unscrew the screws on the latch on the back of the computer.

  9. khXA1xKsGWcETwBh
    khXA1xKsGWcETwBh
    auZcCAC4XPoibZGG
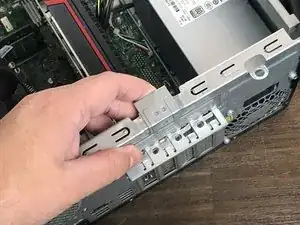
    • Flip the open the latch on the back of the computer.

  10. 3DWQXEiOTEss15FO
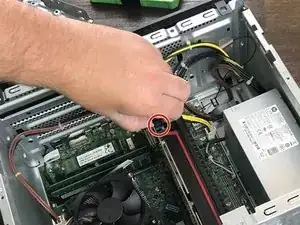
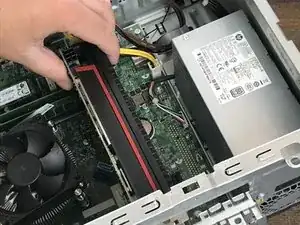
    • Disconnect the power cable from the GPU.

  11. CWGmkiGxfrIqYR3G
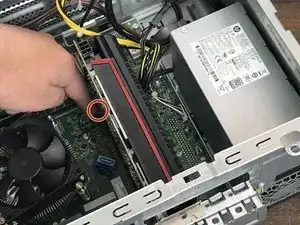
    • Press down on the small lever at the base of the GPU to release the component.

    • Caution: When reassembling do not press this lever. It can lead to an improperly seated GPU and may damage the slot or the GPU.

  12. QGPUUMpRgrKfsyas
    QGPUUMpRgrKfsyas
    2HiGFH5Nb61kRaTS
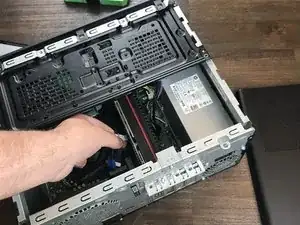
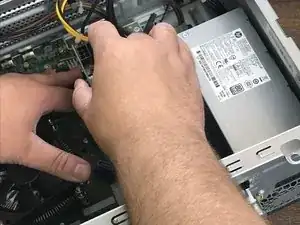
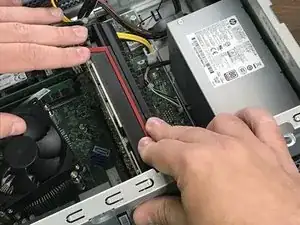
    • Pull the GPU gently out of the computer.

  13. HIeMeh4WBhXiN5Ld
    HIeMeh4WBhXiN5Ld
    H6ha6QSUcCsYpFNx
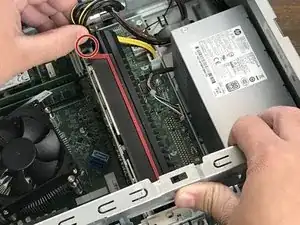
    • Slide the replacement GPU into the slot.

  14. Wrm3rP2JOwqXsaFp
    • Plug the power cable into the replacement GPU.

Conclusion

To reassemble your device, follow these instructions in reverse order.
Yousif Al hamadani

Member since: 06/10/22

229 Reputation

0 comments