-
-
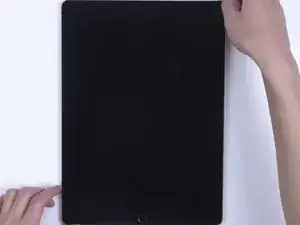
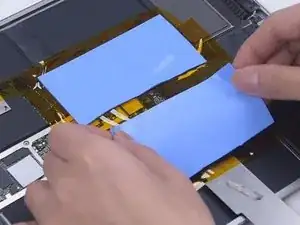
In the first place, we remove the display. We can see that the connectors are burnt out. Since the battery is connected to the motherboard, the connectors will burn out with the device turned on and display connected.
-
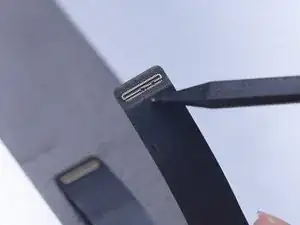
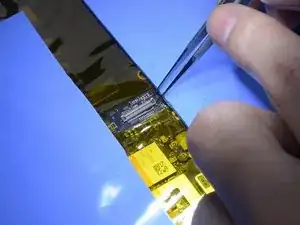
Next, we replace the connectors. First of all, we replace the display connector. Fix the flex cable with high-temperature tape and cover the screen with an insulation mat.
-
-
-
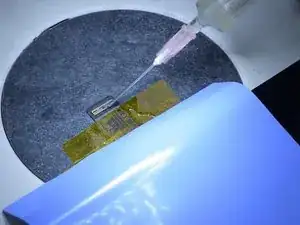
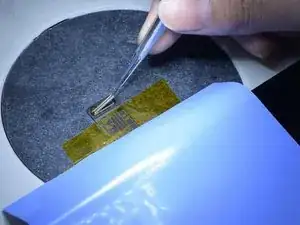
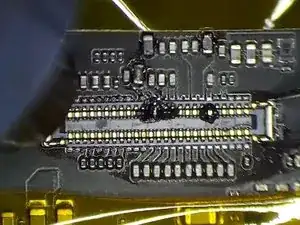
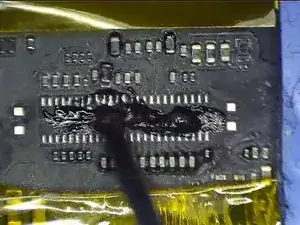
Apply some Paste Flux to the connector. Heat with Hot Air Gun to remove the damaged connector.
-
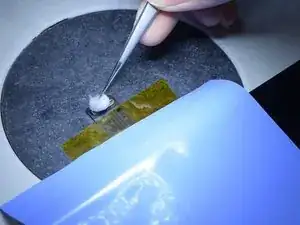
Keep applying Paste Flux. Get a new connector and align the connector.
-
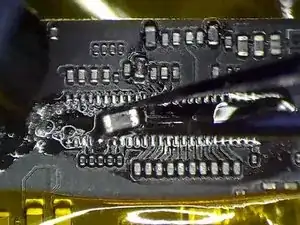
Heat to solder the connector with Hot Air Gun. After soldering and the connector has cooled, clean with PCB Cleaner.
-
-
-
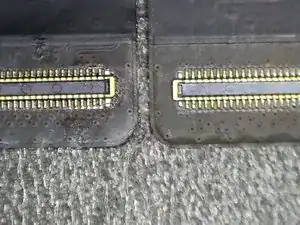
Check soldering pads one by one with tweezers. It can be seen that the soldering is perfect.
-
Then we replace the connector on the motherboard. Firstly, remove the shielding cover.
-
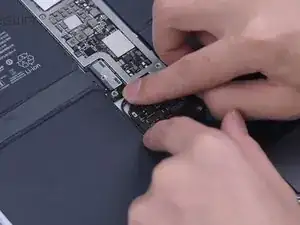
Disconnect the battery and the antenna.
-
-
-
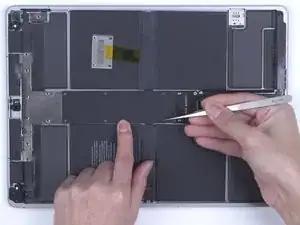
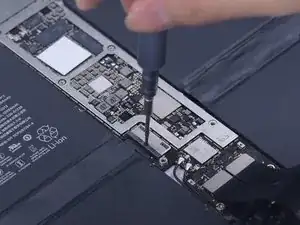
To protect the motherboard, pry up the motherboard gently, disconnecting the battery from the motherboard.
-
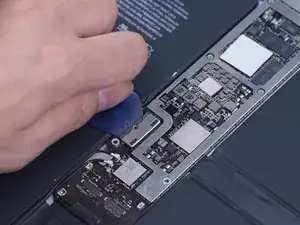
Remove the shielding tape of the connector. Since the motherboard is surrounded by batteries, we need to insulate the area. Apply high-temperature tape around the motherboard. For better protection, we advise you to apply several layers. Then apply the insulation mats.
-
-
-
Apply some Paste Flux to the connector. Remove the damaged connector with Hot Air Gun.
-
Apply some middle-temperature Solder Paste and Paste Flux. Get an inductor. Make soldering pads uniform by sliding the inductor.
-
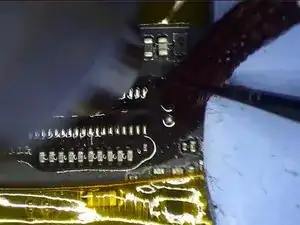
Clean tin around the connector with Hot Air Gun and Solder Wick.
-
-
-
Clean the bonding pad with PCB Cleaner. Apply some Paste Flux and put the new connector in position. Heat to solder the connector with Hot Air Gun. Clean the connector with PCB Cleaner.
-
-
-
Then we connect the antenna.
-
Disconnect the battery from the motherboard with a Pry Piece, which is to prevent the connector from being damaged with the screen connected.
-
Then we connect the screen. Remove the Pry Piece. Screw the battery and motherboard.
-
-
-
Turn on the iPad Pro to test. The iPad Pro can be turned on. Both the display and touch work well. The music can be played without noise.
-


To reassemble your device, follow these instructions in reverse order.