Introduction
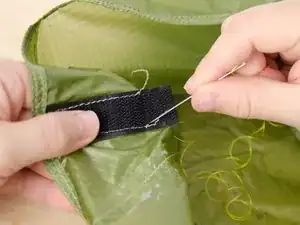
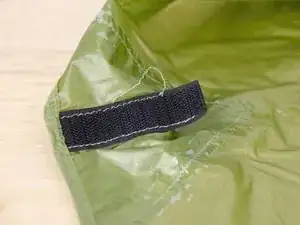
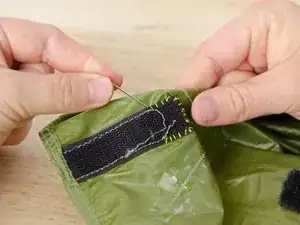
A loose piece of velcro can leave your tent prey to the wind. Sew it back on using a whip stitch.
While you can glue a piece of velcro back into place, some adhesives may cause the tent material to become brittle and tear. Sewing is a simple alternative.
In addition to velcro, this procedure works for sewing almost any other fabric component of the tent back into place.
Tools
Parts
-
-
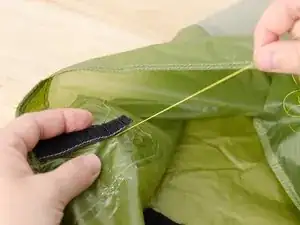
Align the two pieces of material you will be stitching together.
-
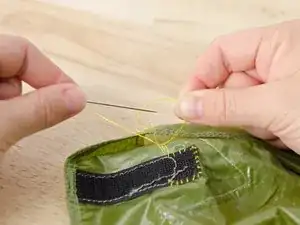
Thread your needle and tie a knot in the end of the thread.
-
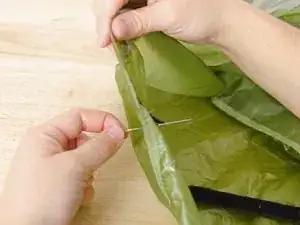
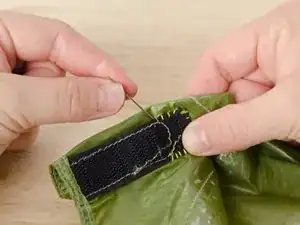
Drive the needle into the bottom layer of material from the back side.
-
-
-
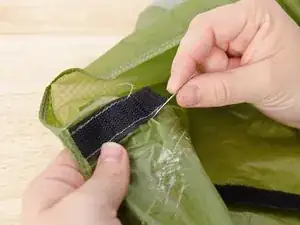
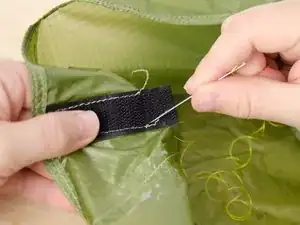
Drive the needle down through the top and bottom layers of fabric, close to where the needle came up.
-
Pull the thread taut on the backside of the bottom material.
-
-
-
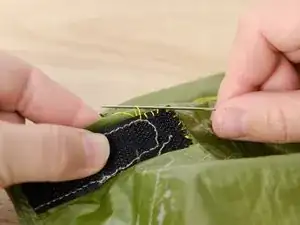
Continue bringing the needle up and down through both layers of fabric, as in steps 2 and 3 of this guide, working your way around the material.
-
-
-
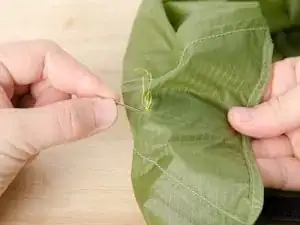
For the final stitch, come up from the back of the bottom material once again.
-
Draw the needle between the two layers of material through the stitch closest to where the needle came up.
-
-
-
Slowly start to pull the thread taut. As you pull, you will see a loop form.
-
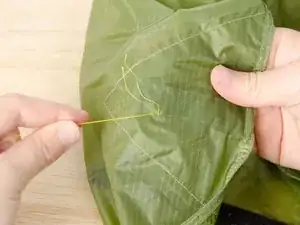
Draw the needle through the loop.
-
Pull the thread taut, forming a knot.
-
Repeat the process of driving the needle up from behind, drawing it through the stitch, and pulling it through the loop as described in steps 5 and 6 of this guide one more time.
-
One comment
If you remembered to pack a needle, but forgot a spool of thread, and a field repair is in order: go see whether you packed any dental floss. If so, you have some hardy thread indeed, and if you bought the green minty kind, you may discover a whiff of mint now and again emanating from your repair site. I try to remember to buy the old string type of floss rather than the newer kind with flat bits, but if your needle has a big enough eye, you can thread either sort. Careful now, too thick a needle may give you threading holes larger than you want. If the repair is in a location that may leak, there are a wide variety of different things you can use to seal your sewn repair and enjoy a drier tent interior. As my preference is for canvas tents over nylon, I use beeswax, but I think a silicone spray would nicely seal a repair to nylon.
Brendan -
