Introduction
-
-
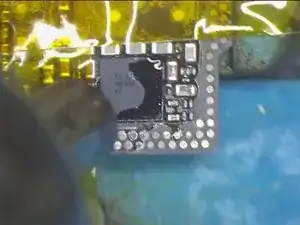
First, stick high-temperature tape on components around the charging IC to protect them from pseudo soldering/bridging during the operation.
-
Then apply some paste flux around the charging IC.
-
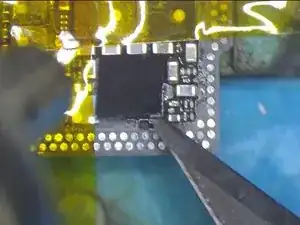
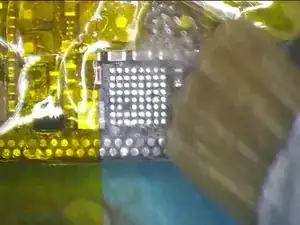
Set temperature of the QUICK 990 AD Vertical Wind Hot Air Gun at 330℃, air flow 3. Keep the hot air gun at 5mm-10mm height from the charging IC. Heat for around 15s-20s, then pry up the charging IC.
-
-
-
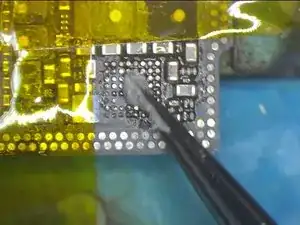
Continue to apply some medium-temp solder paste to the bonding pad. Heat with the QUICK 990 AD Vertical Wind Hot Air Gun at 280℃, air flow 3.
-
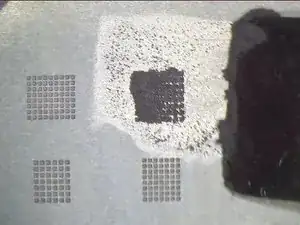
Meantime, clean solder joints on the bonding pad with Soldering Iron at 360℃. Once done, clean the pad thoroughly with rosin soaked solder wick.
-
Clean with PCB Cleaner afterward.
-
-
-
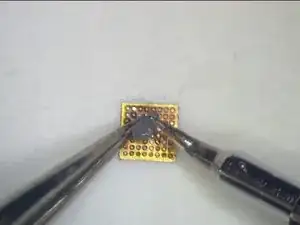
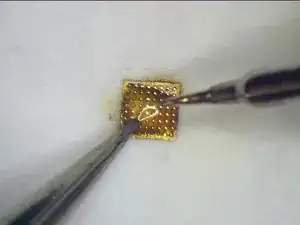
Now we need to clean solder joints on the backside of the charging IC. Apply some medium-temp solder paste to the bonding pad on the backside. Clean the pad with Soldering Iron at 360℃.
-
Also, you can apply some paste flux for better cleaning. Once done, clean with PCB Cleaner.
-
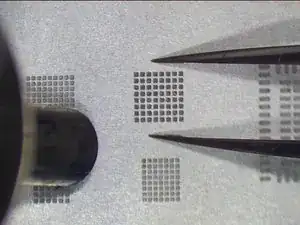
Let's move on to the reballing process. Get the BGA Reballing Stencil in position. Apply some medium-temp solder paste with BGA Scraper.
-
-
-
Then apply the solder paste to a facial tissue. This is to dry the solder paste by wrapping in the facial tissue.
-
So that the solder paste can be well prepared for reballing. Wettish solder paste might result in bridging during reballing. Continue to smear medium-temp solder paste evenly on the stencil. Wipe out needless solder paste with lint-free wiping cloth. Apply pressure to the BGA Reballing Stencil with tweezers.
-
Heat with the QUICK 990 AD Vertical Wind Hot Air Gun at 300℃, air flow 3. So that all solder balls can solidify completely.
-
-
-
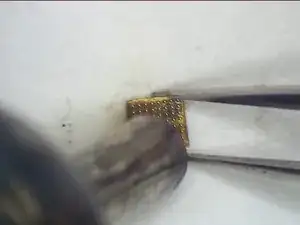
Concentrated heating might get the stencil deformed. The shaping-up process of solder balls might also be affected. Once done, cool for 1 minute. Clean with PCB Cleaner afterwards. Separate the chip from the stencil with tweezers gently. Then clamp the chip with tweezers.
-
Heat again with the QUICK 990 AD Vertical Wind Hot Air Gun at 300℃, air flow 3. This is to ensure the perfect formation of solder balls.
-
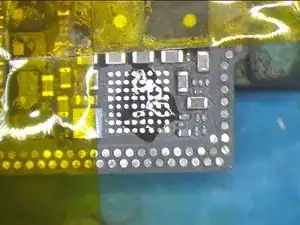
Now we can solder the charging IC. Apply some paste flux to the bonding pad.
-
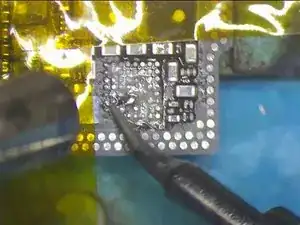
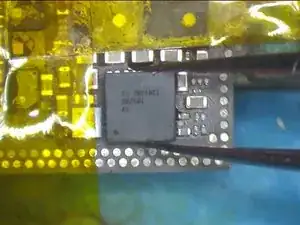
Get the charging IC in the right position. Do not place it in the wrong direction. Solder with the QUICK 990 AD Vertical Wind Hot Air Gun at 330℃, air flow 2. 15s-20s later, with the IC sinking and paste flux overflowing.
-

To reassemble your device, follow these instructions in reverse order.