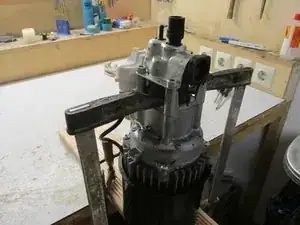
Introduction
High pressure cleaner can no longer switch off at the main switch or the Hand gun. Motor runs and runs and turn off only with the power-plug.
Tools
Parts
-
-
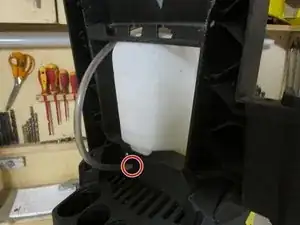
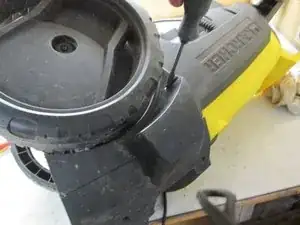
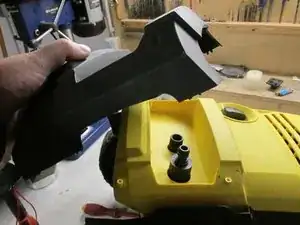
First, the detergent dispenser must be removed, to the hose at the marked position must be removed, turn the container by slightly be removed. Remove the handle Assembly to the markedcross-head screws must be unscrewed, then the handle element can be pulled off to the front.
-
-
-
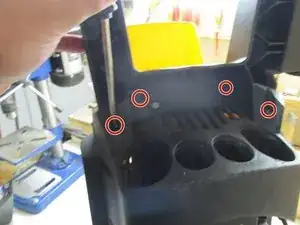
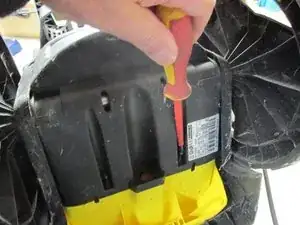
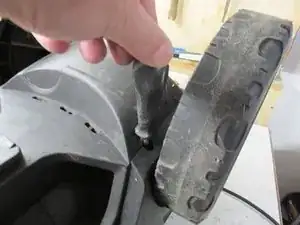
Remove the four marked Torx TX16 screws, then remove the screws from the small side cover. The small lid can be removed then sideways. He is fitted on one side, this is done the bumper can be removed.
-
-
-
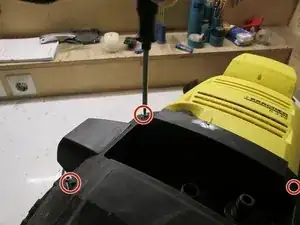
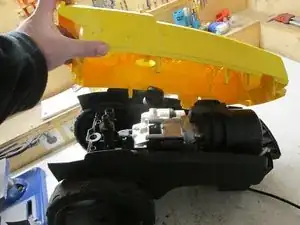
To disassemble the yellow front hood 6 cross head screws must be removed on the back. Also at the bottom, in the middle and on top. To reach the middle screws a 110 mm long screwdriver is necessarry. Turn the device and the yellow lid can be removed .
-
-
-
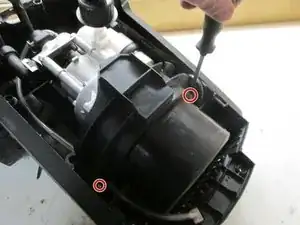
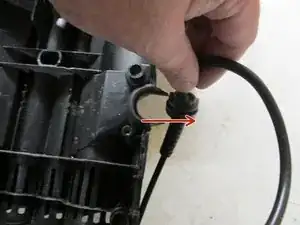
Unsrew the Screws of the motor holder flange and remove the flange, then the strain relief of the cable from the mounting brackets side out, so that the engine is now freely be removed
-
-
-
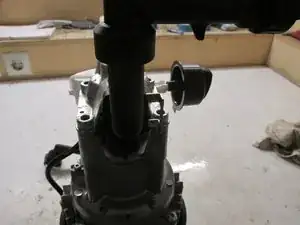
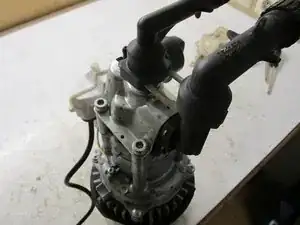
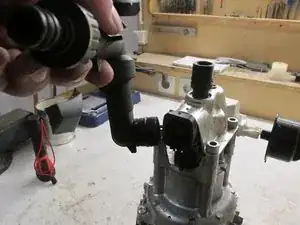
Remove the securing clips to remove the suction connection and the connection of the pressure side, then the ports can be situated. The inlet side goes out somewhat hard, there must be a little.
-
-
-
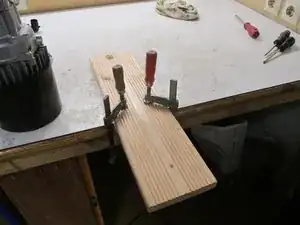
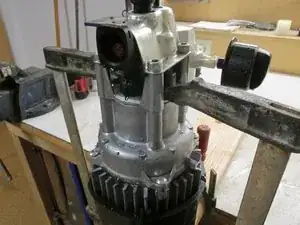
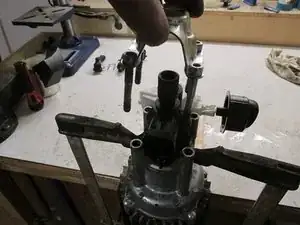
This step is important because, if the top metal bracket is removed without backup, the whole pressure springs of the thrust management come out and it will be very difficult to get them back together. I've taken long two screw clamps holding together the lower straight thrust Guide
-
-
-
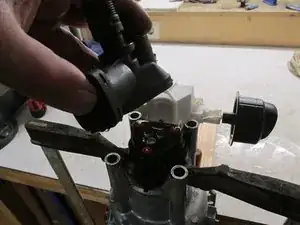
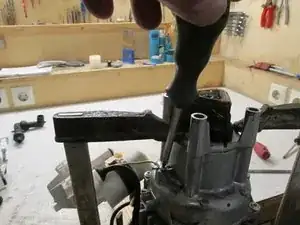
Loos the four 6 mm Allen bolts and remove the metal lid, then the head carefully remove because among them are also feathers. If necessary also the seal (90814220) can be changed in this context
-
-
-
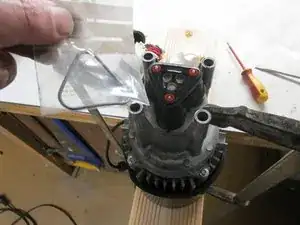
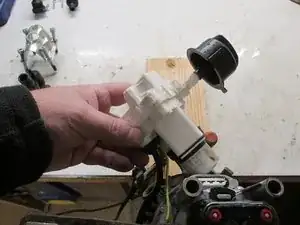
The E-box can now be pulled off upwards. The protective earth conductor must be unscrewed from the housing. You can disassemble the E box also by pushing on the clip mounts and the hood then away, how to get on the inside. The E-box comes just completely, so that it can then be replaced
-

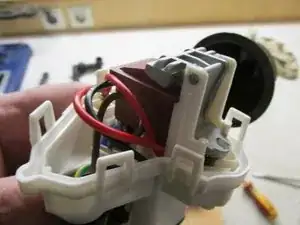
In order to turn the screws of the hood to sitting very deep, again, it is advisable to magnetize the screwdriver.
Since I had more problems with my Kärcher I unfortunately have to say that the quality could be better. Shortly after the warranty period, the control unit got a crack so I also had to replace this. In addition, the spare parts prices are quite high.
There are spare parts here:

5 comments
Hallo Wolfgang, vielen Dank für die tolle Anleitung.
Habe noch 2 Fragen:
Was war denn nun genau defekt? Hast du das rausgefunden?
Muss man das Steuergehäuse abbauen, um den Elektrokasten zu öffnen?
Danke und Gruß
Frank
gkhar2 -
Hallo Frank,
ja, ein Plastikteil war abgebrochen, so dass sich der Schalter nicht mehr entriegeln ließ.
Ja da der Elektrokasten in der Halterung für das Steuergehäuse arretiert ist.
Gruß
Wolfgang
Wolfgang -
Hallo Wolfgang,
vielen Dank für deine Anleitung. Ich bin gerade dabei, es entsprechend deiner Anleitung nachzuvollziehen.
Hast du vielleicht noch ein Bild von dem plastikteil, das kaputt war?
Bin mal gespannt, ob ich es hinbekomme.
Hattest du dir einen komplett neuen elektrokasten geholt, oder nur das entsprechende teil?
Danke und Gruss
Frank
gkhar2 -
Es scheint bei mir, nicht der Schalter zu sein. Der funktioniert.
Weißt du wie der Ausschalter durch den Druckschalter funktioniert. Scheinbar liegt der Fehler bei mir dort und nicht an der Elektrik.
Kann leider kein Photo hochladen, sonst könnte ich dir meine Vermutung zeigen.
Gruß
Frank
gkhar2 -