Introduction
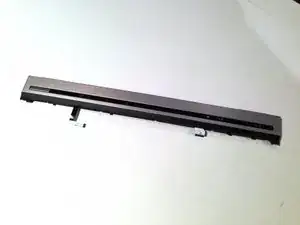
This guide will show you how to remove the switch cover assembly from the laptop.
Tools
-
-
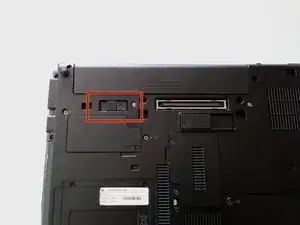
Flip laptop over and locate the battery release button
-
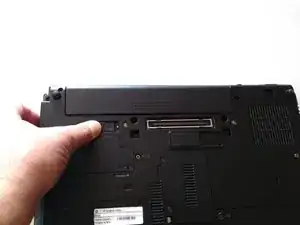
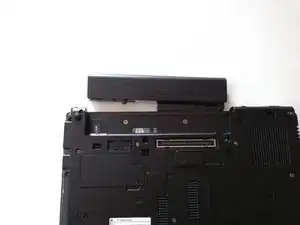
Push release button to the left to release battery and gently pull battery from the laptop
-
-
-
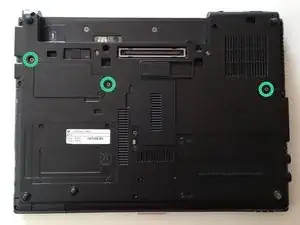
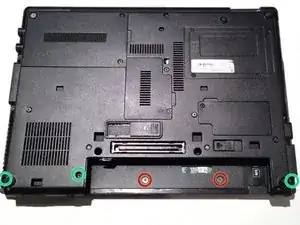
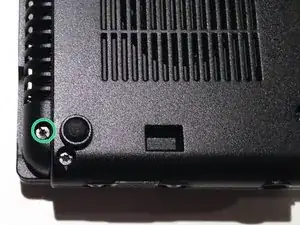
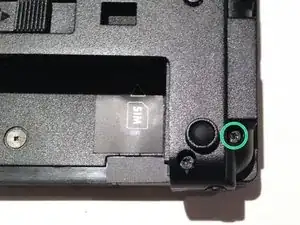
Loosen the three Phillips 2.5×9.0 captive screws that secure the keyboard to the laptop
-
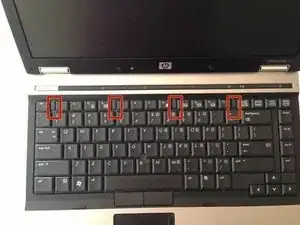
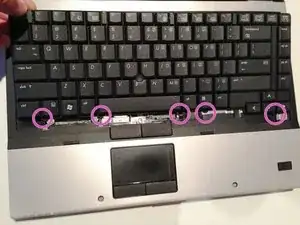
Turn the laptop so the keyboard is facing up and locate the 4 retention tabs along the back edge of the keyboard
-
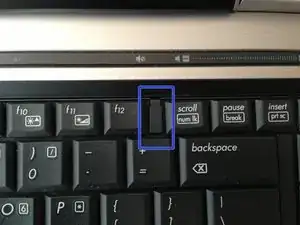
Slide the retention clips toward the keyboard to release the keyboard
-
-
-
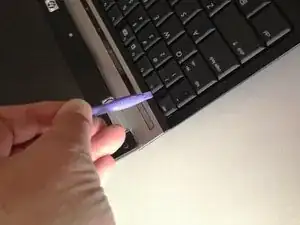
Use a plastic pry tool to lift the rear edge of the keyboard.
-
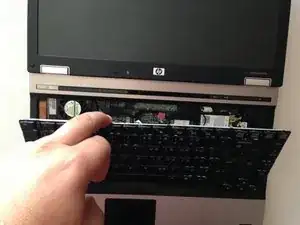
Pull the keyboard slightly towards the display to disengage the tabs along the front of the keyboard from the laptop palm rest.
-
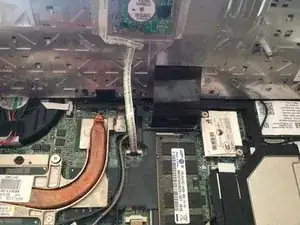
Lift the keyboard up to reveal the ribbon connectors
-
-
-
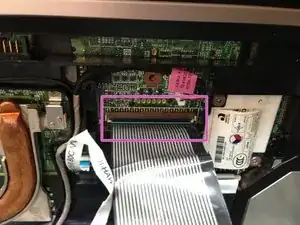
Release the larger ribbon cable by flipping the brown retainer up so it is parallel with the ribbon cable
-
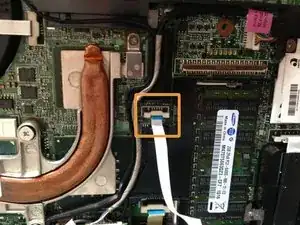
Release the smaller ribbon cable by lifting up the white retainer
-
-
-
Turn the computer over with the front toward you and the open the computer as far as possible.
-
Release the ZIF connector for the power button board cable.
-
Remove the switch cover by lifting it straight up and flip it forward.
-
Release the ZIF connector for the LED board cable.
-
To reassemble your device, follow these instructions in reverse order.
