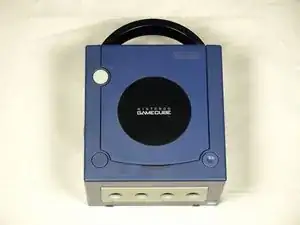
Introduction

This guide shows how to separate the GameCube's optical drive assembly from the motherboard.

  1. EXmngHuO2usXoFLn
    EXmngHuO2usXoFLn
    FHM21aEFmJipvNvw
    VjCSVObtR6vLAFRb
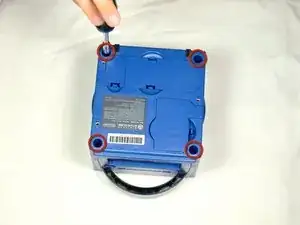
    • Turn over the Gamecube so that the bottom side is facing up.

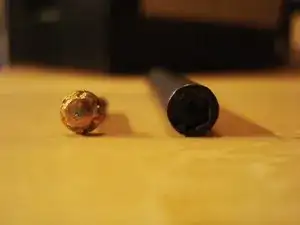
    • Use the 4.5 mm Gamebit screwdriver to remove all four screws.

  2. TTgX5EeSWjKCqHWb
    TTgX5EeSWjKCqHWb
    PAReZYqLsElCE35E
    LDfiiuYtwUYO6tjf
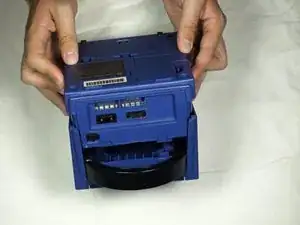
    • With the bottom side of the GameCube facing upward and the screws removed, carefully pull the outer shell of the unit away from the top half.

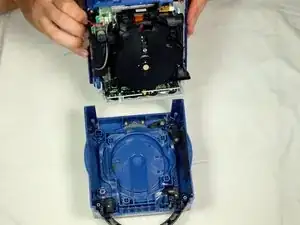
    • Move the GameCube so that the inside is facing upwards.

    This can also be done whilst being in the normal upright position after all 4 of the 4.5mm Gamebit screws have been removed. Pull the top of the shell directly upwards and it should slide off easily.

    Less chance of snagging any wires or parts.

    Christopher Cox -

  3. YlxsbRCapOkJiWyE
    YlxsbRCapOkJiWyE
    EumsDHVxO6AANqp2
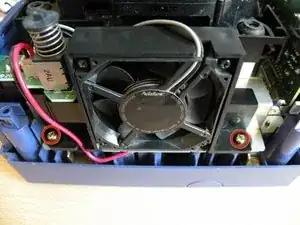
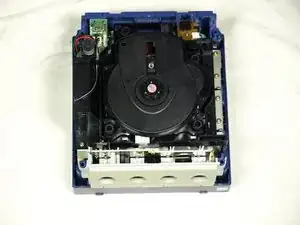
    • The left side of the unit contains the cooling fan and its housing.

    • Carefully remove the two screws attaching the cooling fan housing to the unit.

    • Do not detach the red and black cooling fan wire from the main unit. Boxed in orange.

    Why can't the fan wire be detached?

    Josh Hobbs -

    It can, but you might not want to

    Jilvenhong Dickinson -

  4. QXkEOAxCZlSgbIqL
    QXkEOAxCZlSgbIqL
    iYB3kWBN1CPInbGu
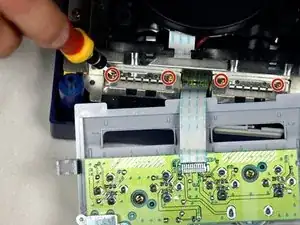
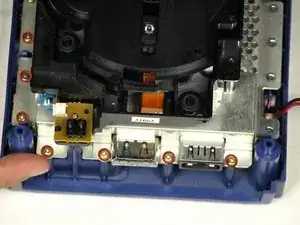
    • Remove the four Phillips #1 screws retaining the ground springs.

    • Carefully remove the ground springs from the main unit.

  5. ylaqEoUPMkoTQheh
    ylaqEoUPMkoTQheh
    Okn1rg5bLKNDXflJ
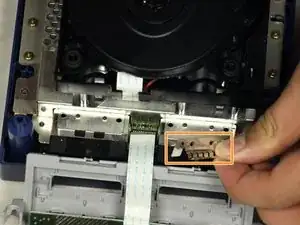
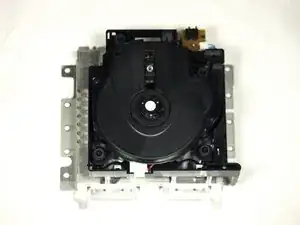
    • The optical drive is secured to a metal plate.

    • Using a Phillips #2 screwdriver, unscrew the twelve screws that are around the outer edge of the optical drive.

    Are these 12 screws the exact same kind like the 2 that were on the fan?

    blaise ventura -

    Yes! As far as I can tell anyway. Makes sense, too since opposite the fan you have five of the same holes as well.

    Ben Zelinsky -

  6. UpsnMRoslMBZjQiY
    UpsnMRoslMBZjQiY
    pScQZBrImQdBnWPO
    lnNsoMXKum6GHJDo
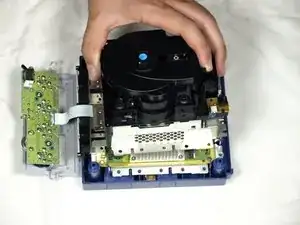
    • Carefully separate the optical drive assembly from the rest of the GameCube unit.

    • The optical drive assembly is secured to the motherboard underneath by a slot; some force may be required to carefully free the assembly.

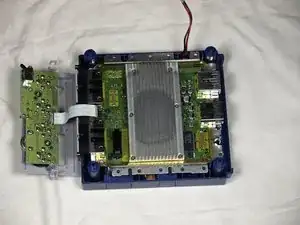
    • The metal plate and the actual optical drive will remain attached.

Conclusion

To reassemble your device, follow these instructions in reverse order.

dcarlin

Member since: 05/11/09

301 Reputation

0 comments