Introduction

To begin, make sure to remove the battery before doing anything else.

  1. TOdTjpkb45FovFEF
    • Make sure that the computer is turned off and is disconnected from external power source.

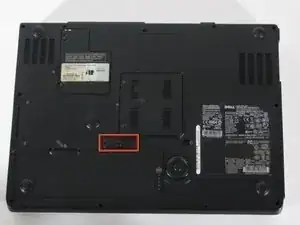
    • Turn it upside down and locate the battery release switch.

    Introduction: Parts: Need to add the Fan Part Numbers

    Original equipment: CPU Fan DC28A000820, GPU Fan DC28A000920

    John Frazier -

  2. JGpfhAlcMRt6PDQf
    JGpfhAlcMRt6PDQf
    YsDcehP3sPdKYgYH
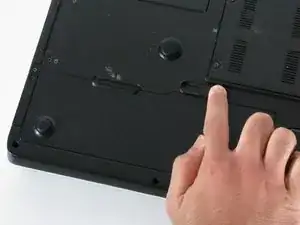
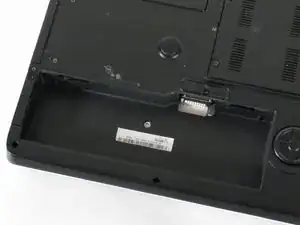
    • While holding the switch in the open position, lift out the battery.

    • If you plan to work on any internal laptop components, press and hold the power button for 5 seconds. This will dissipate any residual charge on the motherboard to prevent electrical shock when you begin to handle it.

  3. NJpSZSvcGU45IRZb
    NJpSZSvcGU45IRZb
    UYxYlbsncEHJ2gDd
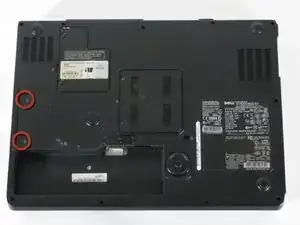
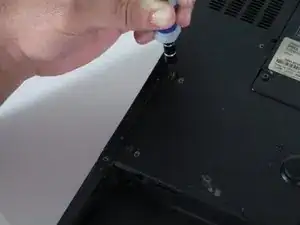
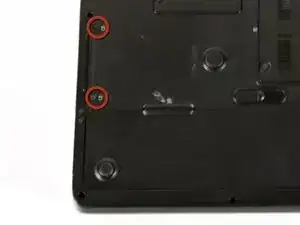
    • Remove the two Phillips #1 screws on the left side of the computer, just above the battery compartment.

    • These screws hold the hard drive tray into the hard drive compartment.

  4. ulGXLQWcPXbMBFib
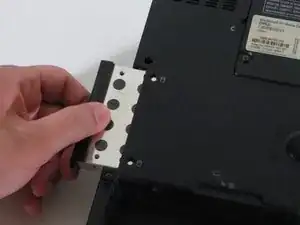
    • Slide the hard drive tray out of the hard drive compartment.

Conclusion

To reassemble your device, follow these instructions in reverse order.
Malik Shahbal

Member since: 06/10/10

471 Reputation

0 comments