Introduction

This is a guide for accessing the internal workings of the camera. Before following these instructions make sure the proper replacement parts are available.

  1. TJELFvgUORKCjE1a
    TJELFvgUORKCjE1a
    Q5fFP1KeGRJEvscy
    UVCGfZorLrAwBbXD
    • Remove the seven highlighted screws shown here.

    • Screws are teeny tiny, don't lose them!

  2. Oj1Y6FfI2IFUjThW
    Oj1Y6FfI2IFUjThW
    tJgLEm5l6sB6C1Sr
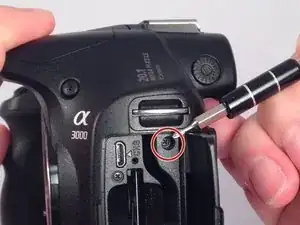
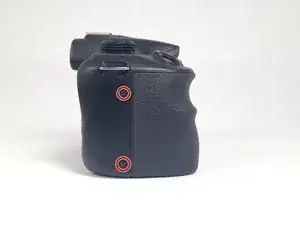
    • Remove this final screw from the memory card compartment.

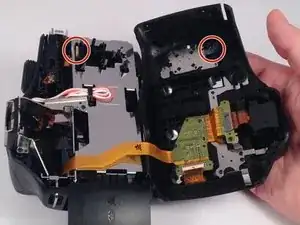
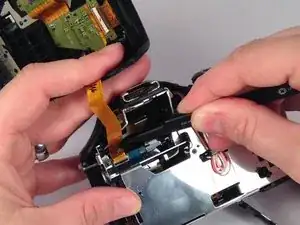
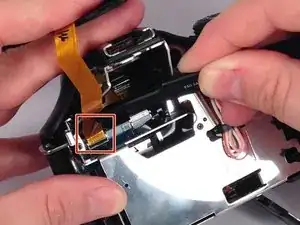
    • Remove the chassis by pulling the back cover away from the camera.

    • Be careful not to damage any of the delicate ribbon cables when removing the chassis.

  3. aIABiCBKEleSmBf4
    aIABiCBKEleSmBf4
    kdXCiZTDUqqUFCTL
    • Gently but forcefully lift up on the parallel cable connecting the two halves of the camera.

Leonard Holloman

Member since: 31/08/15

638 Reputation

0 comments