Introduction

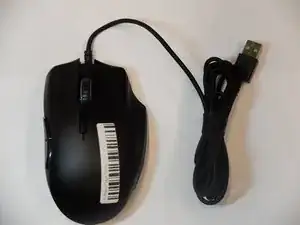
This guide is for replacing the scroll wheel on the Razer Naga Trinity gaming mouse (RZ01-0241).  If the mouse is used for an extended period of time, the scroll wheel can become dirty or start to wear out, negatively effecting the user’s experience. A common problem that may occur is the rubber on the scroll wheel deteriorating from the oils on the hand and friction. Another problem is dirt collecting between the optical encoder and the scroll wheel (Optical Encoder Replacement). This will hinder the response time and accuracy of the user’s input. There are no special skills required to perform this replacement.

  1. 6upNCxhUNlRnNAoc
    6upNCxhUNlRnNAoc
    sWTAShWRBvq4UCtY
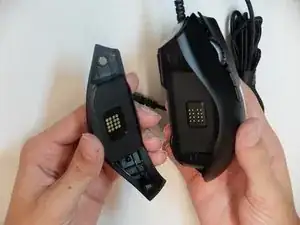
    • Remove the interchangeable side plate.

  2. orOjsRmCvWlyCppb
    orOjsRmCvWlyCppb
    tbQ2dVkNYFde3p4x
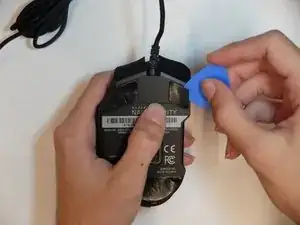
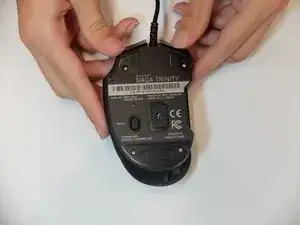
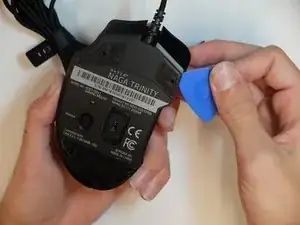
    • Remove the mouse's feet using the opening pick.

    Be aware that it’s possible to peel the feet from the glue layer.

    SteepPoppy0 -

  3. InHdBApOF6SDgVAH
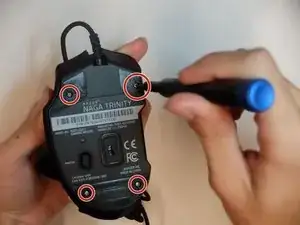
    • Remove the four 6mm screws by using a JIS #1 screwdriver.

  4. 1RpIKkEgpOPBNYnZ
    1RpIKkEgpOPBNYnZ
    MXDm6KNnWSVQ3aUh
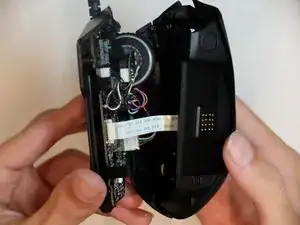
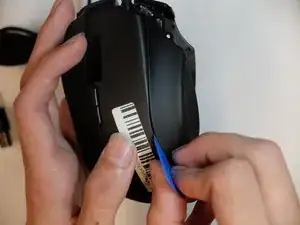
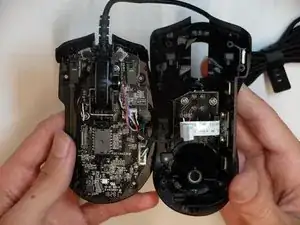
    • Separate the top mouse housing from the bottom mouse housing using the opening pick.

    • Be careful not to tug too hard on the ribbon connector.

  5. KQU2EAEMltumNpre
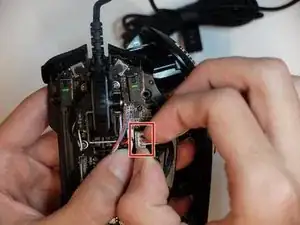
    • Unlock the ribbon connector that is held down by the main board clips using the spudger's pointed end.

  6. 6tHqsjrGrtlWIs1n
    • Remove the side housing using the opening pick.

  7. OVlMdXPLNtxWfxCt
    OVlMdXPLNtxWfxCt
    iYUABYcFqnBNGgIZ
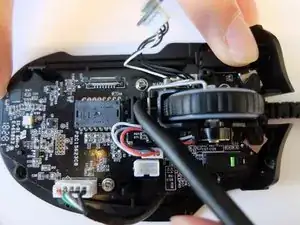
    • Remove the top housing LED 3-Pin connector that is near the main board.

  8. rEFmSDOWvoYcBsX2
    rEFmSDOWvoYcBsX2
    JPqLhLnu52A4mfUS
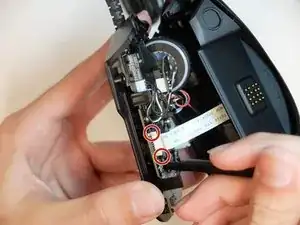
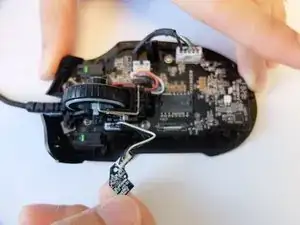
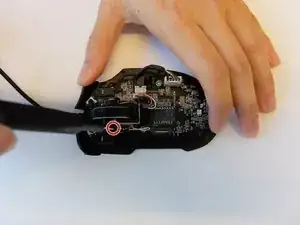
    • Remove one 4mm black Phillips #000 screw from the left side of the mouse holding the scroll wheel LED controller board.

    • Then pull the LED controller board upwards and out.

  9. IPcFBwCxgCLRaABn
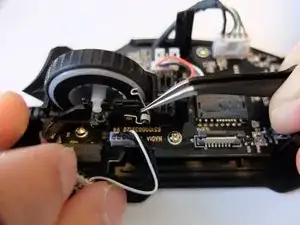
    • Pry and remove the scroll wheel feedback bar from its hold-down clips using the hook end of a halberd spudger.

  10. HFciQvN1vVaYRpjI
    • Remove the scroll wheel feedback bar from the scroll wheel by holding down the spring and using angled tweezers to remove it from its placement.

  11. VOFIM5k5QViPmVI2
    VOFIM5k5QViPmVI2
    RRMJoNFEJEeOXwDP
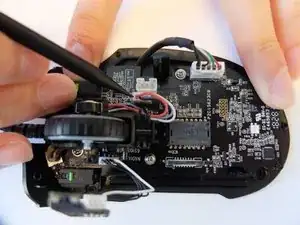
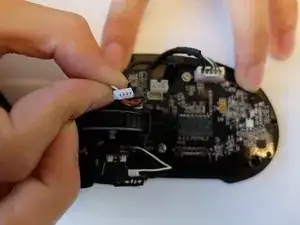
    • Remove the scroll wheel optical encoder 3-pin connector from the main board by wiggling the connector upwards.

  12. 6EFrmrAGOsMooQqG
    6EFrmrAGOsMooQqG
    5ONH1UFdD5veLTCN
    pEXOuLPUImFMcRUp
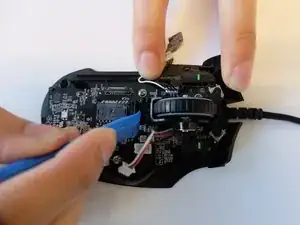
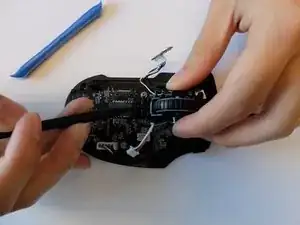
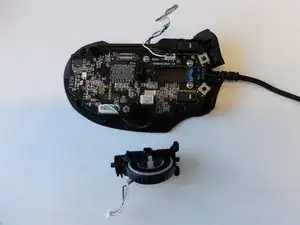
    • Using the opening tool, pry the black bracket holding the scroll wheel in place backwards until the scroll wheel housing pops out.

    You don't have to remove that part, if you're careful you can leave the mouse wheel attatched to the mainboard because it's pretty fiddly to get the feather inside again.

    Andreas -

Conclusion

To reassemble your device, follow these instructions in reverse order.
Kristen Gismondi

Member since: 12/11/14

81237 Reputation

2 comments

can you give a link for a replacement scroll wheel if possible?

joe -

nice guide but i sadly didn’t found any housing wheel replacement part ><

Zzz Zzz -