Introduction

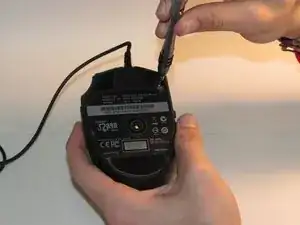
Make sure to be careful you keep track of which screws you are using and which screws go where when disassembling. There are different types of screws used- one type being the screws used to separate the plastic shell and the other used to unscrew the scroll wheel itself.

  1. gKLElNoPUi1pn1BO
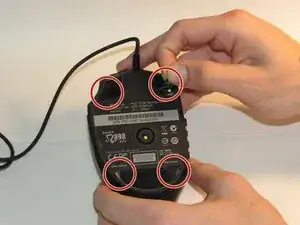
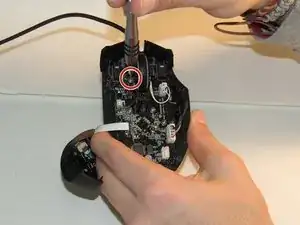
    • Peel back the two teflon tape from the top corners and the one larger one from the bottom with a spudger.

  2. Jgy4kFBEaguSdu1F
    • Remove the four 7mm screws using a Phillips #00 screwdriver.

  3. 6sUECNHQoFmYMHgC
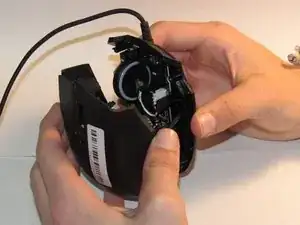
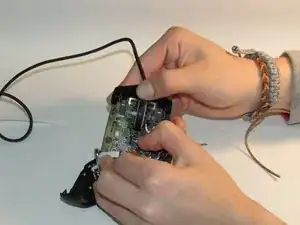
    • Gently remove the top plastic plate of the mouse.

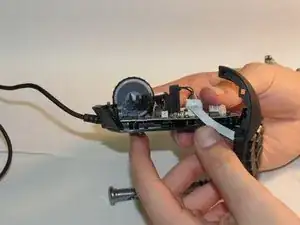
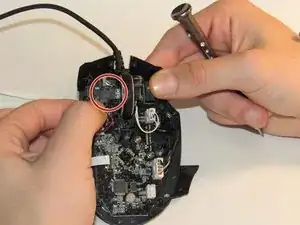
    • Unplug the white cord from the circuit board.

  4. EsTaiSgODtCHgGBX
    • Lightly pull the two plastic sides of the mouse to remove them.

  5. cD1BhjLRuDL1naCU
    • Using a Phillips #00 screwdriver, remove the 5mm screw holding the scroll wheel in place.

  6. KDSQgBFsXOVOqLRB
    • Unplug the cord that connects the scroll wheel to the motherboard.

  7. ldVLMHLpOFCOrwxo
    • Slide the chip out of the scroll wheel.

  8. RpTgaB3lmHVeqKQy
    RpTgaB3lmHVeqKQy
    Z5QiIagt5bYpa6jF
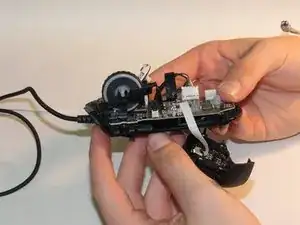
    • Gently wiggle the scroll wheel up and back to remove the scroll wheel from the mouse.

    • Use your fingers to simultaneously push the scroll wheel and its frame forward and pull back on the plastic tab directly behind the scroll wheel until it is loose.

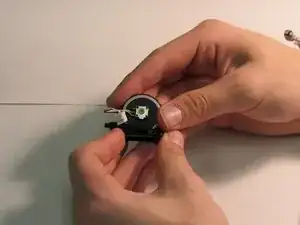
    • Use your thumbs to pop the scroll wheel out from its plastic frame.

  9. nwbPQfeS5pRkmpE4
    • Place the new scroll wheel in the mount.

    • Upon reassembly, be careful to ensure the silver box on the side of the wheel is placed into the frame with the tab facing downward so upon entry into the frame it fits into its slot.

Conclusion

To reassemble your device, follow these instructions in reverse order.

Jacqueline Scalzo

Member since: 29/01/18

253 Reputation

0 comments