Introduction
How to take apart the assembly where the Razer Naga Epic's numpad and associated components lie.
-
-
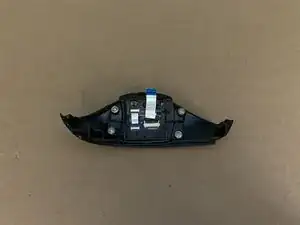
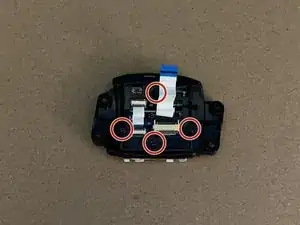
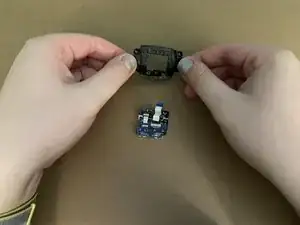
The buttons and their PCB are held into the side panel by a retaining bracket.
-
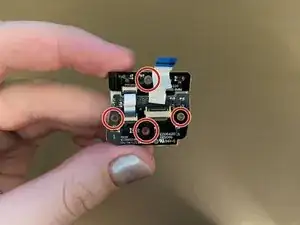
Unscrew the 4 x 6mm Phillips #0 screws securing the retaining bracket in place.
-
-
-
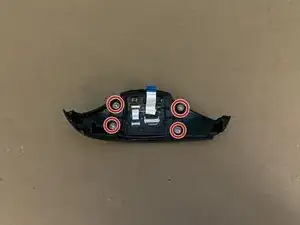
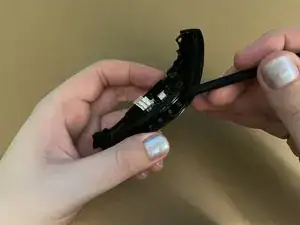
The retaining bracket is gently clipped in to the side panel.
-
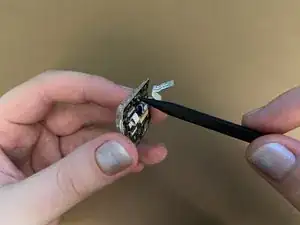
Gently go round between the retaining bracket and the side panel with a spudger until it comes loose.
-
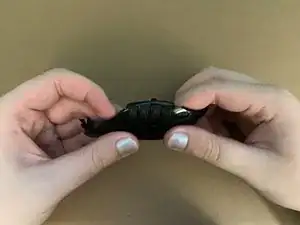
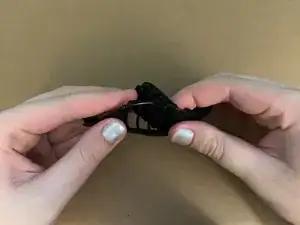
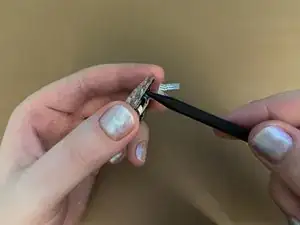
You can now separate the retaining bracket.
-
-
-
Gently push the rubber button covers out from the side panel. They are not clipped or held in place by anything.
-
-
-
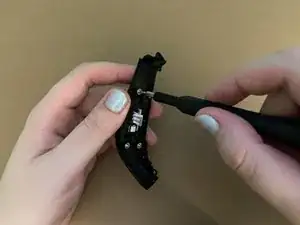
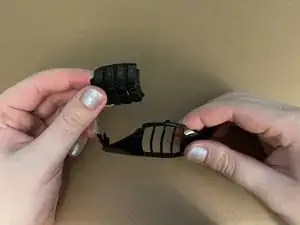
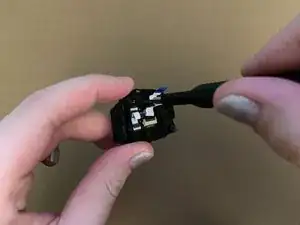
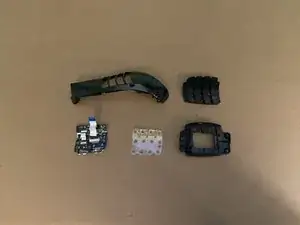
The button contacts, corresponding PCB, and transparent panel are held together into the retaining bracket by 4 x 6mm Phillips #000 screws.
-
Unscrew the 4 screws.
-
-
-
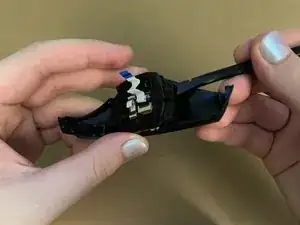
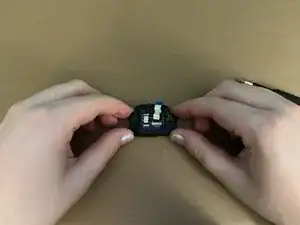
The transparent panel is threaded through the button contacts and PCB via 4 screw holes.
-
Using the pointed end of a spudger, gently push the screw holes to push the transparent panel away from the PCB.
-
-
-
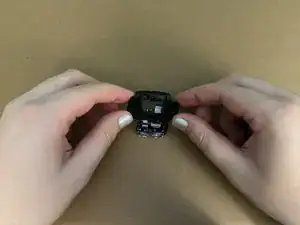
You've basically done it all! There might be a bit more you could do with the button contacts and PCB, but that's basically it ^^.
-

To reassemble your device, follow these instructions in reverse order.