Introduction

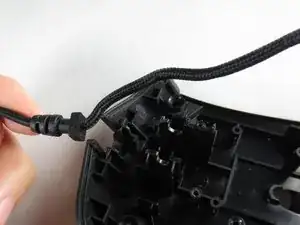
The Razer DeathAdder Chroma may experience critical issues related to the device not being registered by the computer via a fault in the USB cable.

  1. ID6HnkYYOkgf5QAV
    • Opening the mouse casing will void any warranty that exists for the mouse.

    • Turn the mouse over so the bottom is facing up.

  2. lRrkBt5hNINHJUyj
    lRrkBt5hNINHJUyj
    6GSSEDSDnGwEkRiW
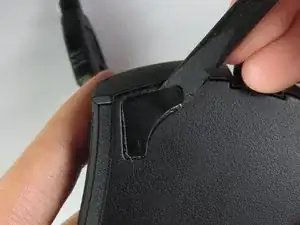
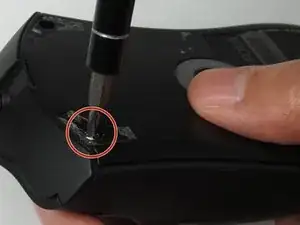
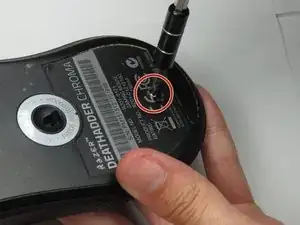
    • Use the blunt end of the spudger to pry the adhesive rubber pads from the top left and right edges.

  3. wQg3IIlTeHPB2F6M
    wQg3IIlTeHPB2F6M
    nRdogyOBgeluJmuH
    • Use a Phillips #0 screwdriver to remove two 6.7 mm screws.

  4. dLLouUPhgrbSoEDZ
    • Use your fingers to identify the location of the screw under the bottom label.

  5. VLEIQhhyG5aBxDQT
    • Use a Phillips #0 screwdriver to remove one 6.7 mm screw.

    • Clear the label away from around the screw for easier removal.

  6. 4KK2ExrBJev6b5Sp
    4KK2ExrBJev6b5Sp
    TZ5uuVINUUHjSDcJ
    xhNEmDRYwGTE356L
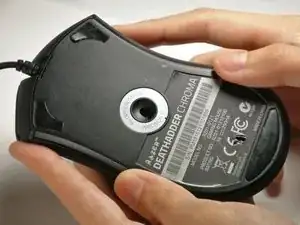
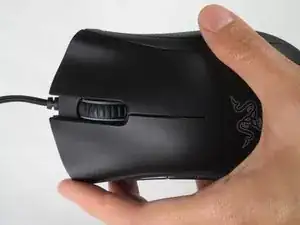
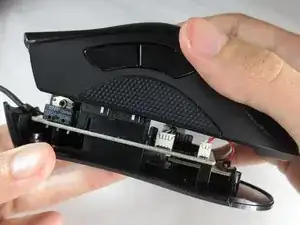
    • Turn the mouse over so the bottom is facing down.

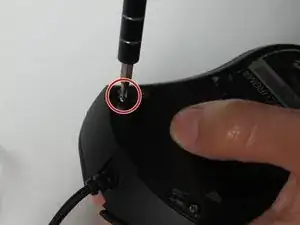
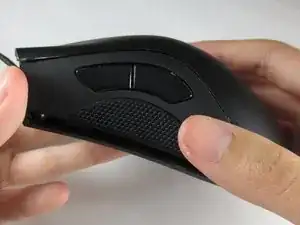
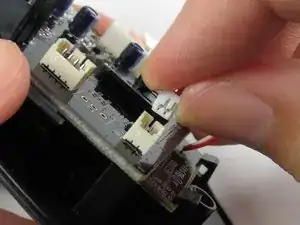
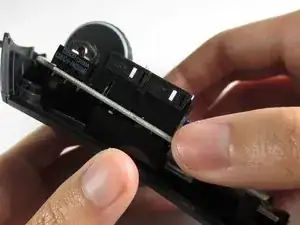
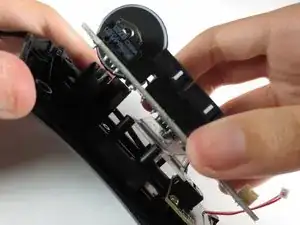
    • Separate the top casing from the bottom base by pulling the top casing upwards.

    • Separating the casing too quickly could damage the ribbon connector between the motherboard and the LED lights.

  7. AMJBpKPqFw1aEi6x
    AMJBpKPqFw1aEi6x
    daQjT6imvtdPsT1n
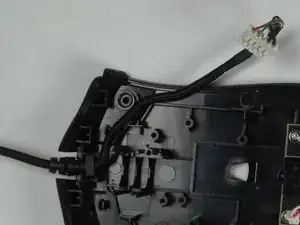
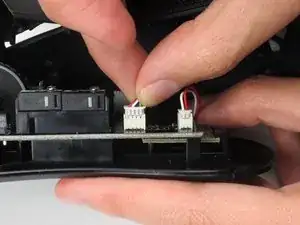
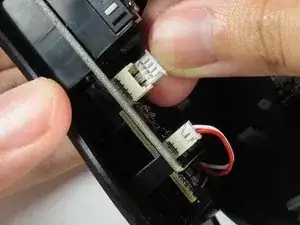
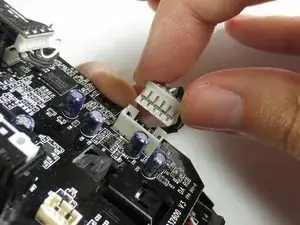
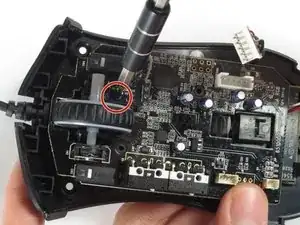
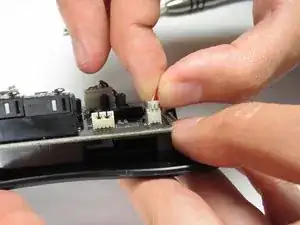
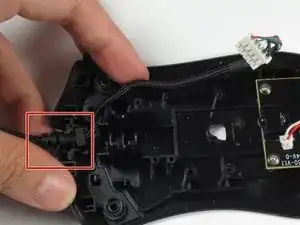
    • Disconnect the ribbon connector between the motherboard and the LED lights by pulling upward.

    • Pulling too hard could damage the wire connections.

  8. Rec24oDhLCQ1bOqB
    Rec24oDhLCQ1bOqB
    d5CPFe1MR4TFtF6W
    • Disconnect the ribbon connector between the motherboard and the USB cable by pulling upward.

    There are 2 tiny locking pins at the back you may need to spudge the connector casing a bit on each side to release these , I did.

    John bayley -

  9. Gy1Bi2TBFRuJ5oSm
    • Use a Phillips #0 screwdriver to remove three 5.5 mm screws.

  10. RiB4HBnDN23r44PB
    RiB4HBnDN23r44PB
    JgRHAUWKbxoTUZc4
    • Use a Phillips #0 screwdriver to remove two 11.5 mm screws on the side buttons.

  11. LdW4OVr125X31hYP
    • Use a Phillips #000 screwdriver to remove one 5.0 mm screw.

    Does anyone know what the circuitry this screw holds in place does, I completely missed this tiny screw and accidently snapped the 2 soldered components off named D2 & D3… But the mouse still works fine ?? however i do not use razer synapse anymore so i dont know if its 100% working

    woolstarr -

    Never mind it just came to my attention there is a set of LEDs in the mouse wheel which is what that tiny board is, soo …. RIP Mouse Wheel LEDs

    woolstarr -

  12. KMtuNOrEOta2TlsM
    KMtuNOrEOta2TlsM
    J1dpRTF3U5PFu4lu
    • Disconnect the ribbon connector between the motherboard and the optical sensor.

  13. MQUYWwqkqkxrfKVd
    MQUYWwqkqkxrfKVd
    SWfkEbK6GfnNERbw
    • Remove the motherboard by grasping the sides and gently pulling upward.

  14. mgh44ESEXMjsFAYP
    • Locate the USB cable.

  15. qYSaheNeWOgP1gDT
    qYSaheNeWOgP1gDT
    uNCKymTMRZ6nAfj1
    • Remove the USB cable by pulling it up and out.

Conclusion

To reassemble your device, follow these instructions in reverse order.

Henry Shi

Member since: 26/03/17

221 Reputation

5 comments

Thank you! It realy worked. Btw: The cable for the Deathadder 2013 is working for the Chroma and Elite as well. I Just tried it :)

Pokefreeks -

Thanks for the advice

João Costa Santos -

Great and easy guide thanx alot, saved me a new mouse :)

jesperkb -

Is there a reliable website where I can get a replacement cable with low delivery time?

Bubbles EXE -

where can i get the cable from?

Mourya Singham -