Introduction

This is a prerequisite for all DeathAdder Chroma replacement guides.

  1. ID6HnkYYOkgf5QAV
    • Opening the mouse casing will void any warranty that exists for the mouse.

    • Turn the mouse over so the bottom is facing up.

  2. lRrkBt5hNINHJUyj
    lRrkBt5hNINHJUyj
    6GSSEDSDnGwEkRiW
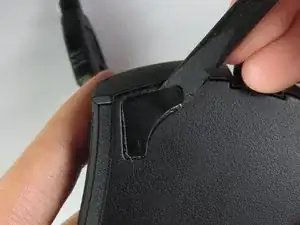
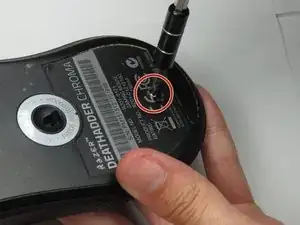
    • Use the blunt end of the spudger to pry the adhesive rubber pads from the top left and right edges.

  3. wQg3IIlTeHPB2F6M
    wQg3IIlTeHPB2F6M
    nRdogyOBgeluJmuH
    • Use a Phillips #0 screwdriver to remove two 6.7 mm screws.

  4. dLLouUPhgrbSoEDZ
    • Use your fingers to identify the location of the screw under the bottom label.

  5. VLEIQhhyG5aBxDQT
    • Use a Phillips #0 screwdriver to remove one 6.7 mm screw.

    • Clear the label away from around the screw for easier removal.

  6. 4KK2ExrBJev6b5Sp
    4KK2ExrBJev6b5Sp
    TZ5uuVINUUHjSDcJ
    xhNEmDRYwGTE356L
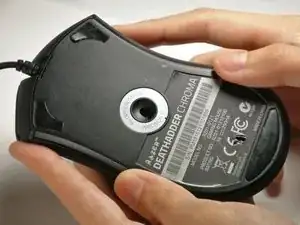
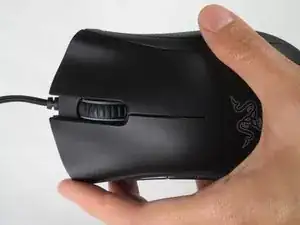
    • Turn the mouse over so the bottom is facing down.

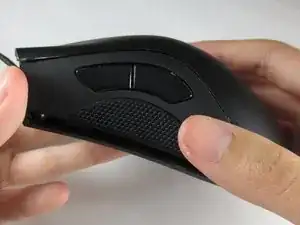
    • Separate the top casing from the bottom base by pulling the top casing upwards.

    • Separating the casing too quickly could damage the ribbon connector between the motherboard and the LED lights.

  7. AMJBpKPqFw1aEi6x
    AMJBpKPqFw1aEi6x
    daQjT6imvtdPsT1n
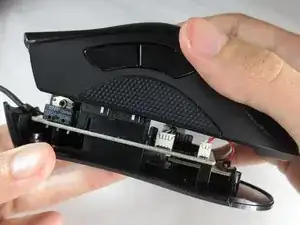
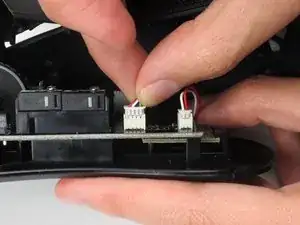
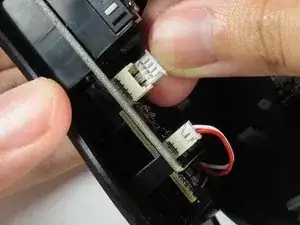
    • Disconnect the ribbon connector between the motherboard and the LED lights by pulling upward.

    • Pulling too hard could damage the wire connections.

Conclusion

To reassemble your device, follow these instructions in reverse order.

Corrie Tung

Member since: 24/03/17

702 Reputation

0 comments