Introduction
-
-
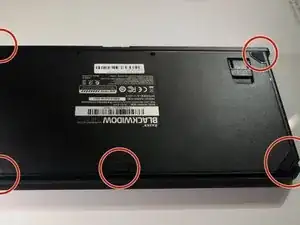
Turn the keyboard over so that it is lying flat on its face.
-
Use the iFixit opening tool to pry the rubber feet off the keyboard.
-
-
-
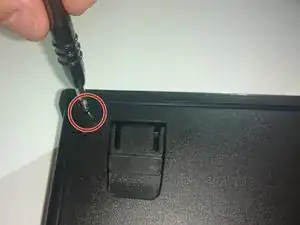
Use a Phillips #1 screwdriver to remove the six screws on the back of the keyboard.
-
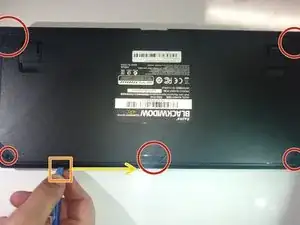
Use an opening tool as a wedge between the front and back panel to pry open the front panel.
-
Instead, slide the opening tool across the keyboard in between the front and back panel. Go around the edges of the keyboard until the panels disconnect.
-
Flip the keyboard over so the keys are facing up.
-
Grabbing the left and right lips of the front panel, lift both ends up, removing the front panel.
-
-
-
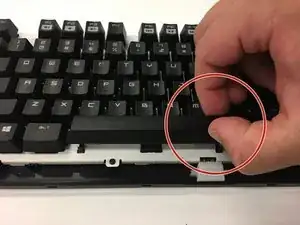
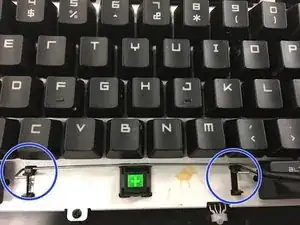
Pinch the top and bottom of the key of the metal bar that you wish to replace and gently lift.
-
Tilt the key upwards so that you may see underneath it.
-
-
-
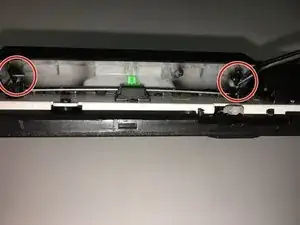
Using tweezers unfasten the metal bar from the key both places that they are connected.
-
Using tweezers unfasten the metal bar from the keyboard itself both places that they are connected.
-


To reassemble your device, follow these instructions in reverse order.