Introduction

This guide will walk you through the process of replacing the top housing on your Razer BlackWidow V3 Pro.

  1. Xpb5j4EojwnfWRaF
    Xpb5j4EojwnfWRaF
    RU3RmRZV3MrbvNHj
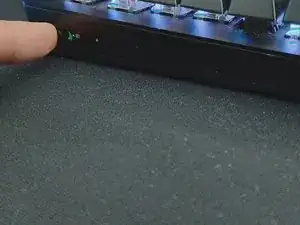
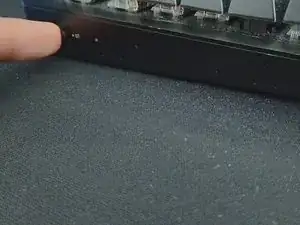
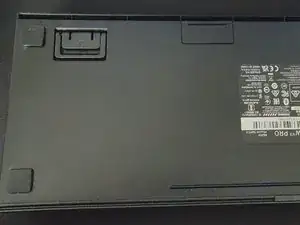
    • Turn off your keyboard

    • Make sure that no lights on the keyboard are on

  2. ZYrJtKilwlDVE55Y
    ZYrJtKilwlDVE55Y
    lniNpM2hmANuwVNU
    L23aDbWMLBWKP23a
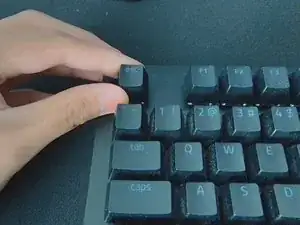
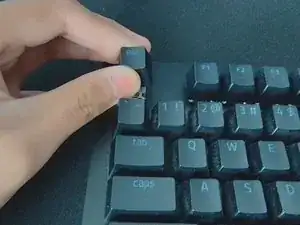
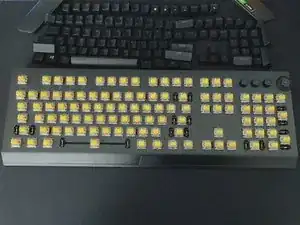
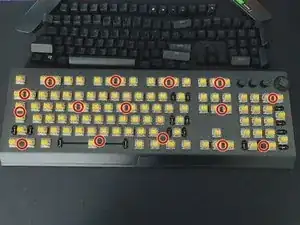
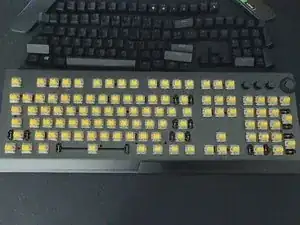
    • Remove the keycaps using either a keycap puller or your hands

    • If you are not using a keycap puller, take caution to only pull the keycaps directly up or you may risk damage. Remove keycaps near the outskirts of the keyboard first, then work your way to the middle.

    • Repeat until all keycaps are off

  3. JOdFGQblReHxLUVA
    JOdFGQblReHxLUVA
    rMLFQ3rUx53CwsOh
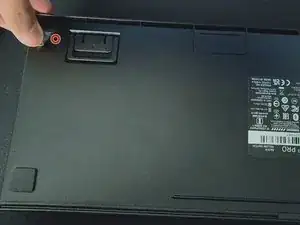
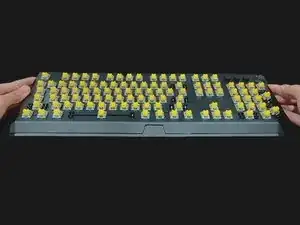
    • Peel the lower-right rubber feet off just enough to reveal the 9mm Phillips screw.

    • This image turns the keyboard backwards, which is why the rubber feet we are peeling off appears to be on top. If it helps, turn your keyboard backwards too.

    • Be careful as to not rip the rubber feet. If needed, apply an iOpener, heat gun, or hair dryer on the rubber pad to soften the adhesive underneath.

  4. Q3PEkHZAFPSnQcXI
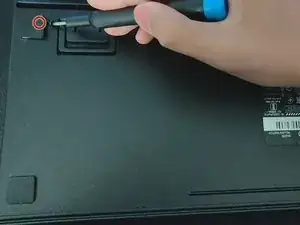
    • Unscrew the 9 mm Phillips screw underneath.

  5. nWC2BGZ6ZwgnG1UU
    nWC2BGZ6ZwgnG1UU
    nThoTROwAoIrBVXN
    • Remove the 15 7 mm Phillips screws

  6. bxSk4x6Ep1wWIopJ
    bxSk4x6Ep1wWIopJ
    LGBOZEceCQZqQknE
    BH1d5xhujIfX3oKg
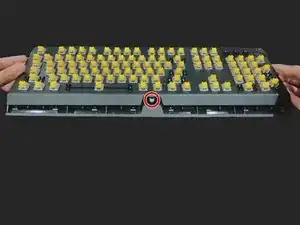
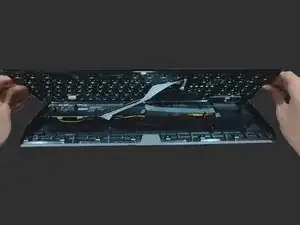
    • Lift the top of the keyboard up and slightly to the front.

    • While pushing up, watch the LED on the front (circled red on the 2nd picture) and make sure it doesn't get damaged while removing the lid.

    • Do not remove the keyboard entirely, there are two connectors still in place.

  7. C5iorGN5nMROefkK
    C5iorGN5nMROefkK
    FJbZpNqyKNAyIXKI
    l3Rt54C1SnDGPXAb
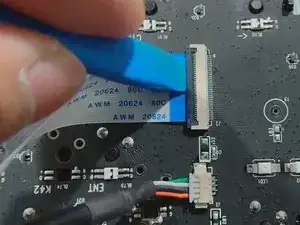
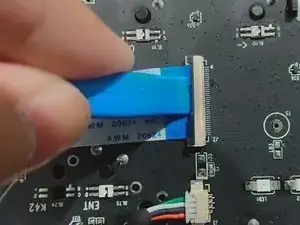
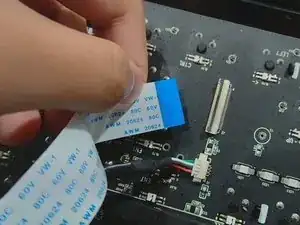
    • Flip up the black locking flap on the ZIF connector using a fingernail or a spudger, then carefully pull out the ribbon cable.

    • During reassembly, try not to bend the ribbon cable, apart from the factory made bend.

  8. JZJx1YEGrni2tfym
    JZJx1YEGrni2tfym
    BXbNtyDAtNWlXEJe
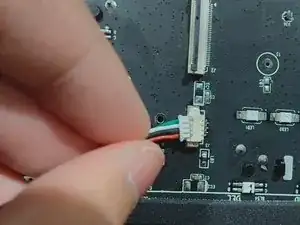
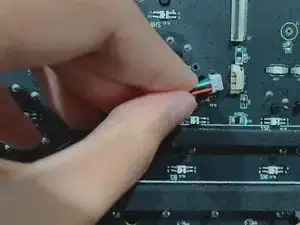
    • Carefully pull out the wires.

    • You may need to wiggle the wires in order to remove them.

    • During reassembly, make sure that you don't assemble these wires backwards, or you may risk damage.

    • Remove the top housing entirely.

Conclusion

To reassemble your device, follow these instructions in reverse order.
op_

Member since: 21/12/23

439 Reputation

0 comments