Introduction
-
-
To remove the battery press down on the two buttons located on each side of the battery and pull away from the body of the grinder.
-
To remove the handle hold grinder with one hand and use the other hand to unscrew the handle with a counter-clockwise motion
-
-
-
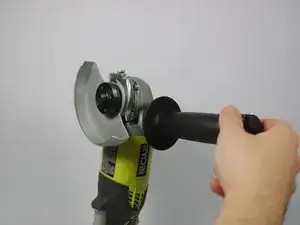
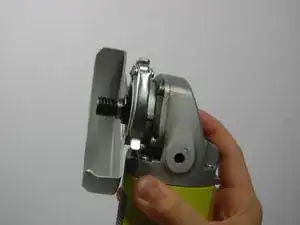
Fully press the spindle lock button.
-
With the spindle lock button held down, use the wrench provided to loosen the clamp nut. Once loose, you can use your fingers to unscrew the nut completely
-
-
-
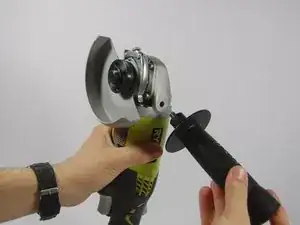
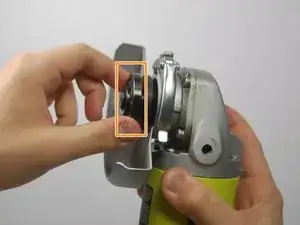
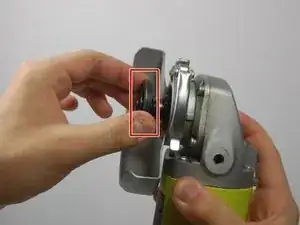
Remove your grinding/cutting tool by simply pulling it off the spindle.
-
Next remove the disc flange (a.k.a spacer) by pulling it off of the back end of the spindle.
-
-
-
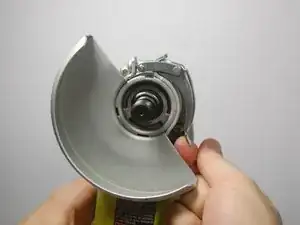
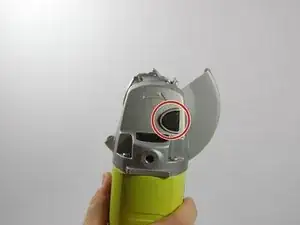
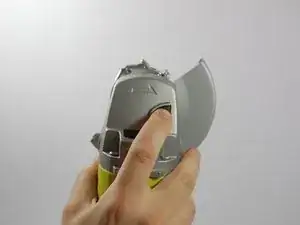
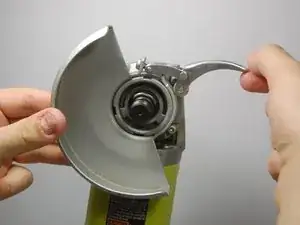
Lift the clasp on the grinder guard. Make sure the clasp is completely loosened before proceeding.
-
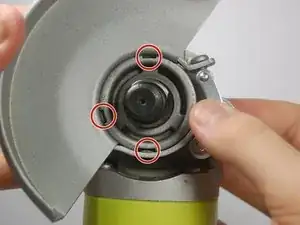
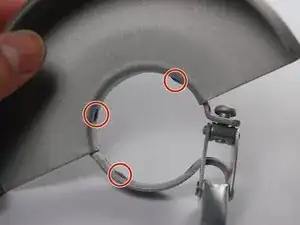
Rotate the grinder guard so that the three notches on its interior align with the three slots on the grinding head assembly.
-
Once aligned, simply pull the guard off.
-
To reassemble your device, follow these instructions in reverse order.