Introduction
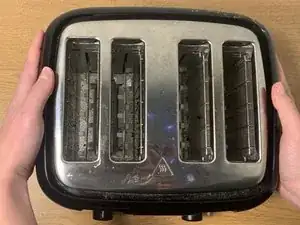
Broken toaster levers often occur as a result of the accumulation of crumbs or simply, because of age. This guide’s purpose is to demonstrate how to replace a broken toaster lever on a on a Proctor Silex 4 Slice Toaster (Model 24215). This guide will also instruct you on how to properly disassemble your Proctor Silex toaster.
Prior to beginning the guide, make sure that the toaster is unplugged from the power source and it is properly cooled off if it has been used recently.
-
-
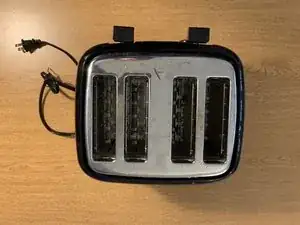
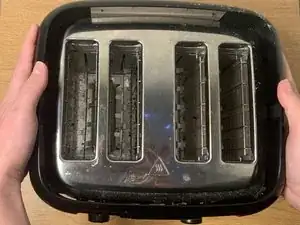
Turn the toaster upside down to shake out any excess crumbs and remove any crumbs from the crumb tray, as well.
-
-
-
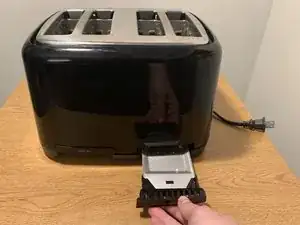
Reach into the shell of the toaster and grab the back of the lever.
-
Hold the lever with both your index finger and middle finger. Next, pull it.
-
Repeat this on the other side.
-
-
-
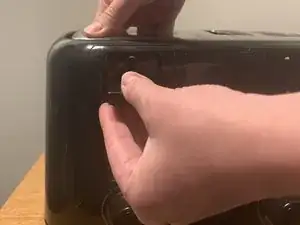
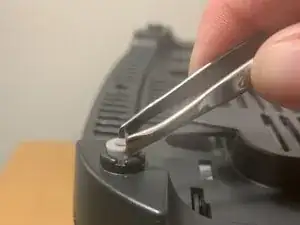
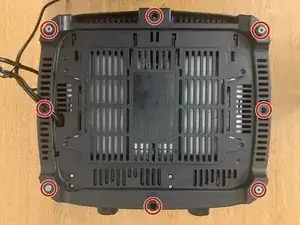
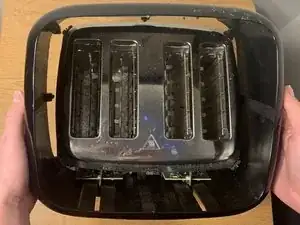
Turn the toaster over and using a tweezer, remove the four rubber feet.
-
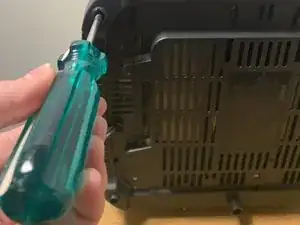
Using the Phillips #1 screwdriver, remove eight 12.7 mm screws on the bottom perimeter of the toaster.
-
-
-
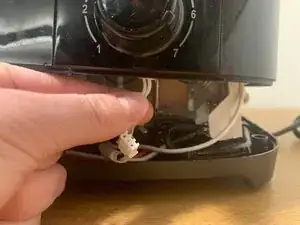
Put the toaster right side up and gently lift up on the shell of the toaster.
-
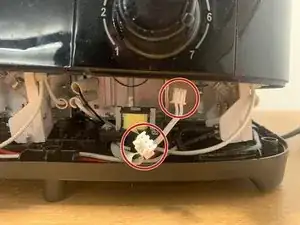
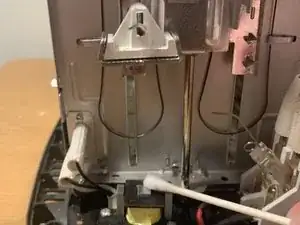
Disconnect the two connectors attached to the circuit board on each side of the toaster (4 total wires should be removed).
-
-
-
After the shell is removed, take a cotton swab and clean the electromagnets that allow the lever to stay down.
-
-
-
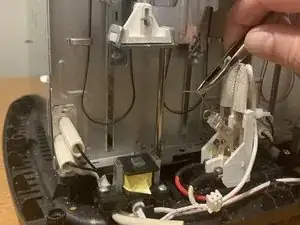
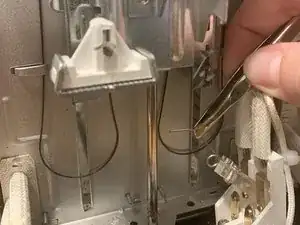
If this does not work, locate the white plastic wedges (on both sides), otherwise known as the extension, which forces the contact between the lever and the electromagnet.
-
Using a tweezer, align the contact points so that the two pieces make are able to make contact.
-
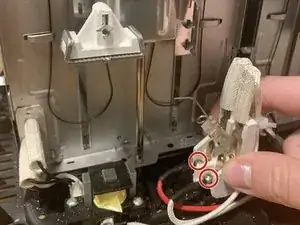
Also, make sure that the four screws you did not remove from the toaster are screwed into both of the plastic wedges on each side of the toaster (2 screws per wedge). A loose wedge could be the cause of a broken lever.
-


To reassemble your device, follow these instructions in reverse order.