Introduction

  1. NHiCK5BVCdDSiotk
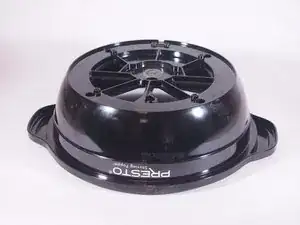
    • Detach the cover/serving bowl from the popper.

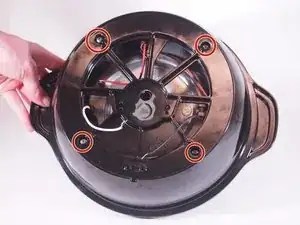
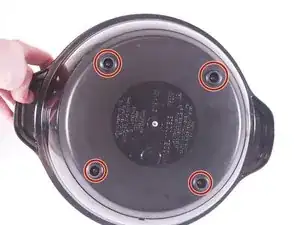
    • Flip the base of the popper over and remove the four 14 mm Phillips #2 screws attaching the bottom cover to the base.

  2. QNfTXCSL2rVcuyD2
    QNfTXCSL2rVcuyD2
    hUNir62rpbSpJYH5
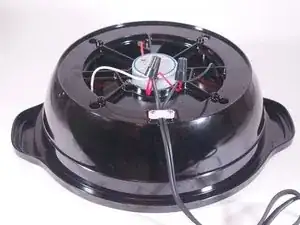
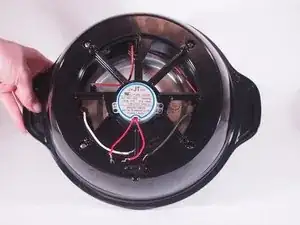
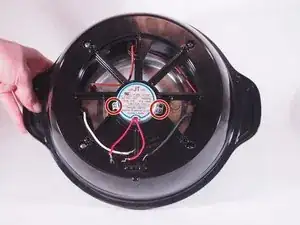
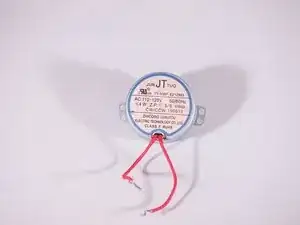
    • Removing the bottom cover exposes the internals of the popper. The base holds together the centrally mounted motor and the wires for the power cord and heating element.

  3. A4NEhEjYRG3HkEEv
    A4NEhEjYRG3HkEEv
    5VPRMXL4cV1STVjT
    wnoBNFq2oW2bMZ4S
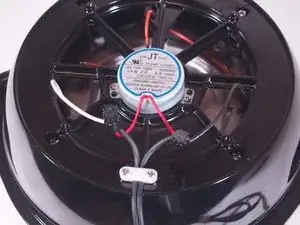
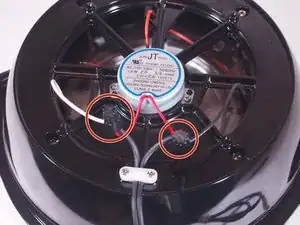
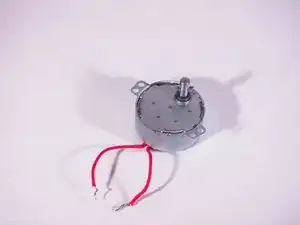
    • Remove the two black wire twist caps, and unwind the different wires.

    • During reassembly, make sure the wires are strongly twisted together (twist clockwise) and the wire caps are firmly attached.

    • Avoid swapping the polarity during reassembly. The neutral (ridged) wire connects to the left motor wire and the white wire to the heater.

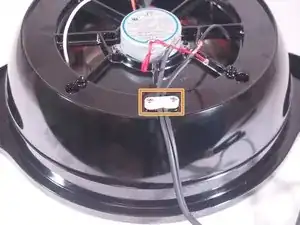
    • Remove two more 14 mm Phillips #2 screws attaching the white plastic holding the wall cord to the base.

  4. ONOPuOWvWKjNIDPS
    ONOPuOWvWKjNIDPS
    QoQrSktFsEJv5CVx
    Y4ePwLvf3xJfsTl4
    • Remove the two 14 mm Phillips #2 screws from the motor.

    • Remove the motor from the popper.

    • A spring located in the shaft may force the motor out when the screws are sufficiently loosened.

  5. hQctlDKAGnhQmoAo
    • Remove the four 50 mm screws attaching the base to the heating pan.

    • Removing these screws takes significant force.

  6. WNO5PRCtADB1n26I
    • Remove the base from the rest of the device.

Conclusion

To reassemble your device, follow these instructions in reverse order.

Kristen Gismondi

Member since: 12/11/14

81237 Reputation

0 comments