Introduction

Replace the electric motor that powers the fan and creates hot air to pop the kernels. The motor is essential to the use of the Presto PopLite 04820. Overtime the motor may burn out and need to be replaced. Be sure that the PopLite is unplugged from the wall and has had time after use to cool down before working on it.

  1. U5isUMeeIyRu4hmj
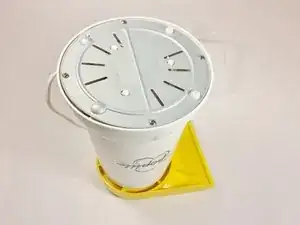
    • Be sure that the popper is unplugged before disassembly.

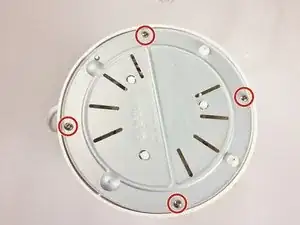
    • Turn Presto Popper upside down.

  2. 5QMs3lHjstFAuFXY
    5QMs3lHjstFAuFXY
    mNTHxyMSoOI3XWE4
    O2x5Qpls5NZlkRMO
    • Remove the four 9 mm Phillips #2 screws from the base.

    • Once all four screws are removed, take the base off.

  3. 2frTYBOOlhaFeCOq
    2frTYBOOlhaFeCOq
    lsEHLGktpHhOnF2X
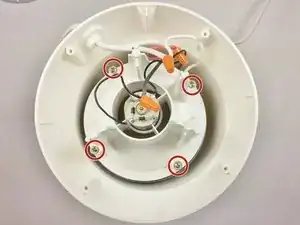
    • Unscrew the four 13mm Phillips #2 screws but do not remove completely just yet.

  4. aH3XGSTHlRUHCoAw
    aH3XGSTHlRUHCoAw
    wk255psXKtDyBwMO
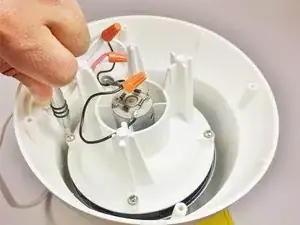
    • Locate the two twist-on wire connectors.

    • Unscrew the two caps and keep track of the wires that wire up together to make it easier in the end to put back together.

  5. PQGnTrMFlHlJVwZx
    PQGnTrMFlHlJVwZx
    GYGcVqXYBNSmIDyf
    cSe5Psus2BBCG4Md
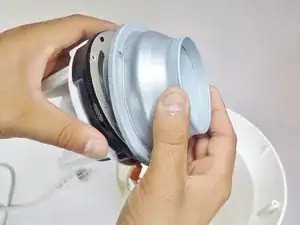
    • Pull the entire cavity out of the popper that holds the motor.

    • Remove the popping chamber base.

  6. ZqHdXcg4vuXqYfJe
    ZqHdXcg4vuXqYfJe
    ejed1G1PuDAPViAv
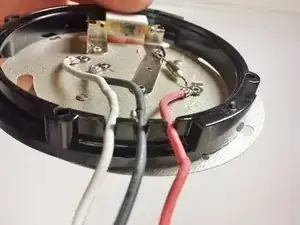
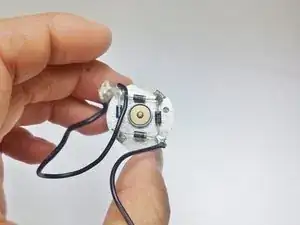
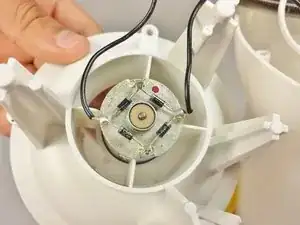
    • Remove circuit board from the motor base holder.

    • Make sure these 3 wires are securely placed inside grooves when reassembling the motor base holder.

  7. jHeYq1vVZQpIjQSu
    jHeYq1vVZQpIjQSu
    SnGsiNATYxBcpvM6
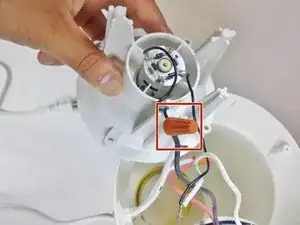
    • Remove the orange twist-on wire connector connecting the black wire to the grey wire.

  8. pkCwJFOGgswHI2xX
    pkCwJFOGgswHI2xX
    3ElKttoZZPfSVyTa
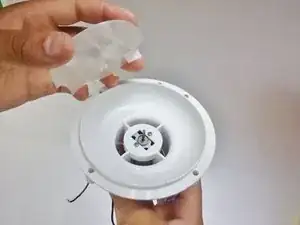
    • Locate the clear plastic motor fan.

    • Grab hold of the motor and pull upwards to pop the motor fan off of the needle that connects to the motor.

    • This may require large amounts of force to pull it off the needle.

  9. foysaMdFRrfrKe3j
    foysaMdFRrfrKe3j
    lI5PxjtZkQAMwEHX
    N2GKIToNMMSksqiD
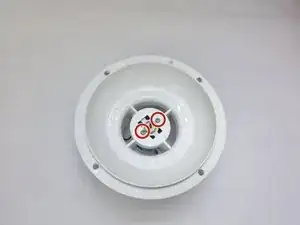
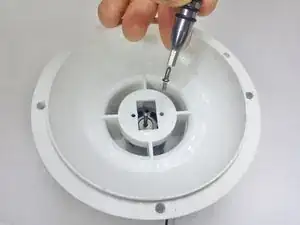
    • Remove the two 4 mm Phillips #00 screws.

    • Once the screws are removed, the motor should drop down.

    • Now remove the motor base to expose the motor.

  10. cUgIhYJa1Gujp5gS
    cUgIhYJa1Gujp5gS
    4pBuXMcZte4SgBXs
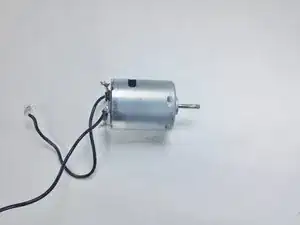
    • This is the motor.

    • Now replace it with your new one!

    Can you specify which motor would work as a replacement?

    Michael -

Conclusion

To reassemble your device, follow these instructions in reverse order.

Emanuele Rocco

Member since: 27/08/15

694 Reputation

One comment

What new motor? Where do we get said motor, and what are the motor specs? What about installing the bridge rectifier on the new motor? A 3rd party supplier is not likely to sell these motors with the rectifier pre-installed.
Bill Richardson -