Introduction
Waffle irons are equipped with a thermal fuse that disconnect the circuit once a certain temperature is reached to ensure the appliance does not become a hazard to users. A thermal fuse is a single-use device, and once it burns out the waffle iron will not function. This guide demonstrates how to replace a burnt out thermal fuse and return the waffle iron to working order.
-
-
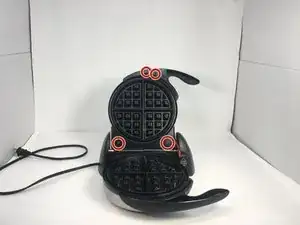
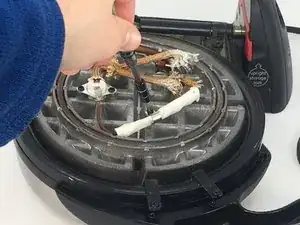
Remove the four 0.7 mm screws that keep the cover of the wiring and thermal fuse in place using a #2 Phillips-head screwdriver.
-
-
-
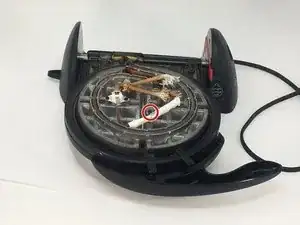
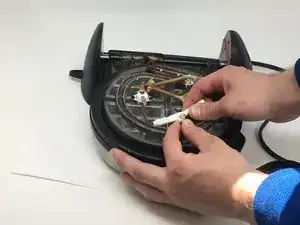
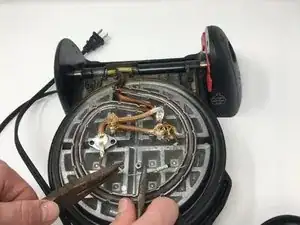
Remove the clasp holding the fuse in place using the #2 Phillips screwdriver.
-
Pull the clasp off of the thermal fuse.
-
-
-
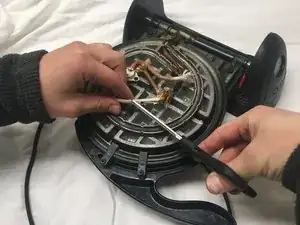
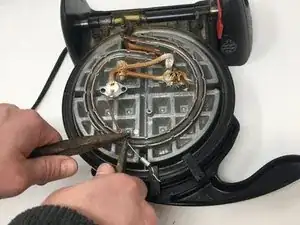
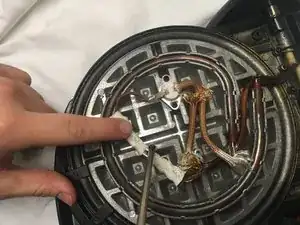
Use two pairs of needle-nosed pliers to pull the fuse out of the conduction bearing. Firmly grasp one end of the thermal fuse with one set of pliers and the conduction bearing it is connected to and pull them apart.
-
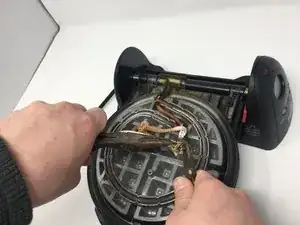
Remove the insulation from the thermal fuse and pull the other end of the thermal fuse out of the circuit in the same way.
-
-
-
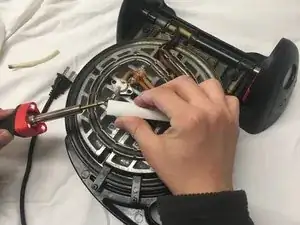
Once the soldering iron has reached an acceptable heat, use the solder to connect the new thermal fuse to the conduction bearing.
-
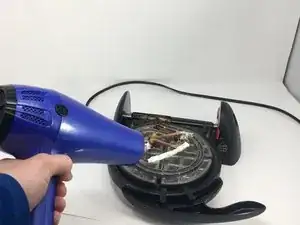
Slide a new heat shrink wire insulator over the new fuse and solder the other side of the fuse to the other conduction bearing.
-


To reassemble your device, follow steps 1 and 2 in reverse order.
4 comments
Out of curiosity how are the heating elements wired in this waffle maker? Are they in series or parallel?
Ess -
Won't the solder melt when you turn on the waffle iron? Duh
Yeah, I think you need to clamp or spot-weld?
This instruction should be removed!
The Thermal fuse is likely 240C which is 460F.
This is close to the melting point of solder.
The joint needs a mechanical connection.
Run-of-the-mill plastic shrink tube is in no way a replacement for woven fiberglass electrical insulating sleeves.
Seth T -