Introduction

Removing the power supply of the Power Mac G4.

  1. MI3MLXaxZt2N2WyU
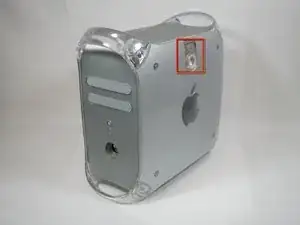
    • The handle to open your computer is located on top of the right side panel.

  2. 2gTC6EkIwJDejnfC
    2gTC6EkIwJDejnfC
    2ucGgBJmyDkABGQ4
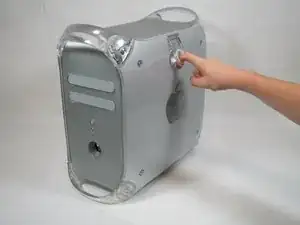
    • Grab the circular handle and pull outward.

  3. Nm4mRELLtcYI4YYI
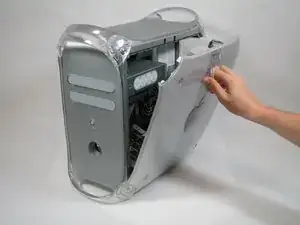
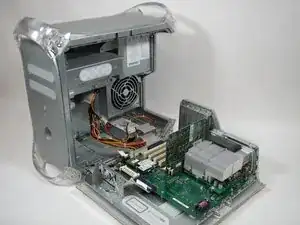
    • Your computer is now open and ready for repair.

  4. 4Vm2woXOMhSqUTNc
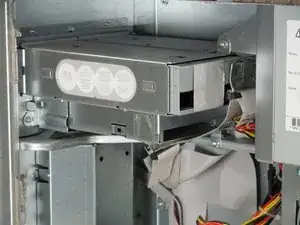
    • The optical drive is in the top left corner of the case.

  5. ILZJlcRZsHSiZPNp
    ILZJlcRZsHSiZPNp
    GopxwHxqDUxPrHRY
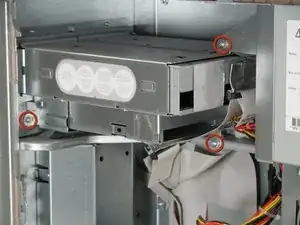
    • There are four screws to be removed.

    • The first screw can be seen in the first picture.

    • The remaining three screws can be seen in the second picture.

  6. k4eDYRPMPRPsPOWE
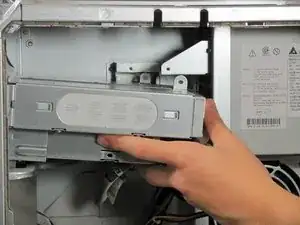
    • Remove the optical drive by pulling the drive away from the front of the computer and out.

    Had to detach the cables before I could slide the drive out because no space to slide back. My drive is about 10mm longer than that in the picture.

    Brains -

  7. DPiQwvFPOYvBTUak
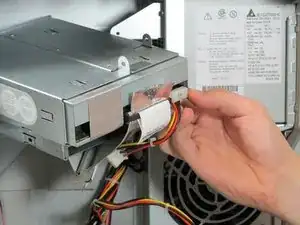
    • Detach the two cables attached to the back of the drive.

    • The flat ribbon cable can be detached by pulling the silver tab. The multicolored cable can be removed by grasping the plastic connector on either side and pulling with substantial force.

  8. siQhN4cavRPNHbEs
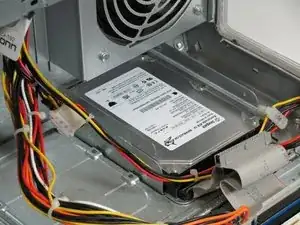
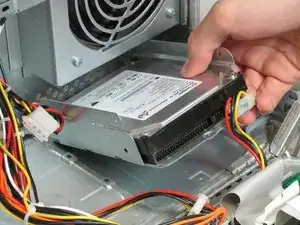
    • The hard drive is located in the back right corner of the case.

  9. jptKb6hb5eGAswAI
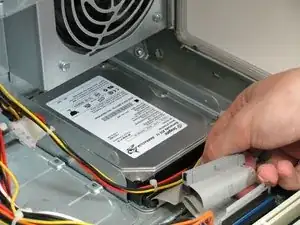
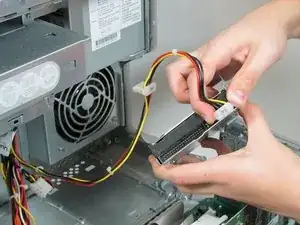
    • Remove the flat ribbon cable by pulling with substantial force.

  10. lFMtgQCKOKYhutEx
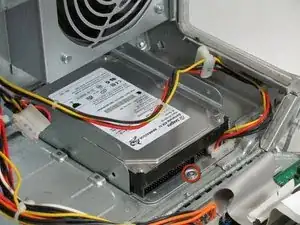
    • Remove the screw holding the hard drive to the computer.

  11. ggAxXEKMaGCPphft
    • Pull the drive up and out of the computer.

  12. Pqm6vHpAonPMHwMM
    • Remove the multicolored cable by grasping the plastic connector on either side and pulling with substantial force.

  13. JEGPAIRRnBtmIQga
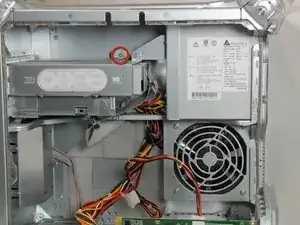
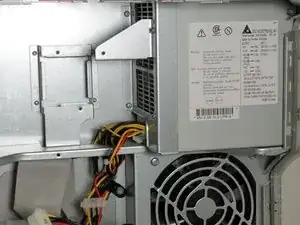
    • The power supply is in the upper right corner of the case.

  14. bWYwaghyhySTVV6K
    bWYwaghyhySTVV6K
    QG6olS5SBBIkgDSt
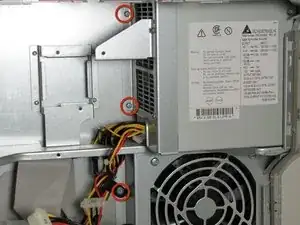
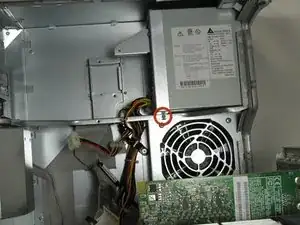
    • There is a total of four screws to be removed.

    • The first three can be seen in the first picture.

    • The final screw can be seen in the second picture.

  15. EyywAASH3ONHidPP
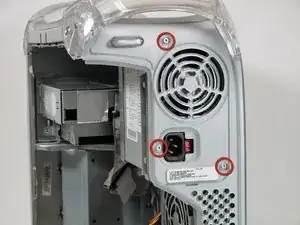
    • There are three 2.5mm hex bolts located in the back of the computer that also need to be removed.

    • A 3/32" Hex Key or Hex Driver, or a T10 Torx, are a bit small but may also work if gentle.

  16. 1iAGDnoKtZUfXW3X
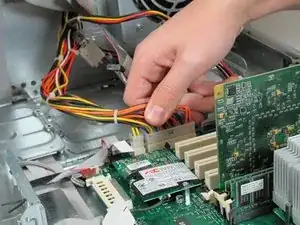
    • Disconnect the power supply cables from the mother board by pressing in the tab on the back of the connector as shown.

    This step can be done prior to Step 13.

    dec59us -

  17. 1an3JblIQeFSOunW
    • Before sliding out the power supply make sure to disconnect the cable to the big fan by pressing in the small black tab on the back of the black connector!

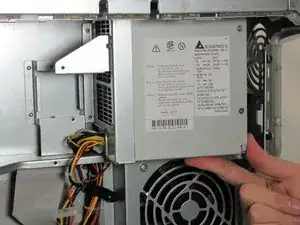
    • Slide the power supply away from the back of the computer and pull it out carefully stringing the cables through the hole in the metal support.

    Before sliding out the power supply make sure to disconnect the cable to the big fan by pressing in the small black tab on the back of the black connector!

    7design -

  18. mAnpJMO4ZsJXmPXN
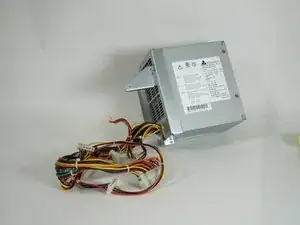
    • Your power supply is now free from the enclosure and is ready to be replaced.

Conclusion

To reassemble your device, follow these instructions in reverse order.

Jacob Garcia

Member since: 28/01/10

621 Reputation

5 comments

I hate to say this, but that is not fixing the power supply but replacing the power supply with a new unit. i was hoping to fix it as mine blew and was hoping to revive it, but not luck on this end by the look of it. :(

Yannick Docq -

Thanks for the clear instructions to replace the power supply. I got my part on eBay for $29 (other online stores are charging $100-200+ for it) to doctor up an old G4, and it works like a charm now.

Brenna Jue -

Thank you so very much for these instructions. On my 733 G4 the blue front panel had to be removed to allow the DVD drive to exit from the front of the machine. I also had to remove the fan to allow the wires to exit with the power supply.

John -
Yet another G4 QuickSilver saved from the electronics recycler! In tandem with an eBay-listed refurbisher of my defunct PSU, it was brought back to life. Instructions were very clear.

dec59us -

Is it normal that after installing a replacement power supply for the PowerMac Quicksilver 733MHZ one of the fans is still running? Not sure which one, but once everything is shut down completely, I just pull the plug to avoid that fan from running for ever. Any feedback is appreciated. That unit still runs under OSX 10.4.11 and Classic.

pjers.shastans -