Introduction

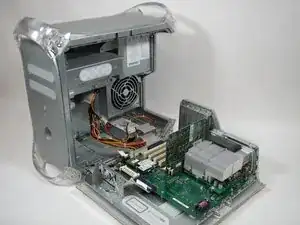
Repairing the optical drive in the Power Mac G4 Quicksilver.

  1. MI3MLXaxZt2N2WyU
    • The handle to open your computer is located on top of the right side panel.

  2. 2gTC6EkIwJDejnfC
    2gTC6EkIwJDejnfC
    2ucGgBJmyDkABGQ4
    • Grab the circular handle and pull outward.

  3. Nm4mRELLtcYI4YYI
    • Your computer is now open and ready for repair.

  4. 4Vm2woXOMhSqUTNc
    • The optical drive is in the top left corner of the case.

  5. ILZJlcRZsHSiZPNp
    ILZJlcRZsHSiZPNp
    GopxwHxqDUxPrHRY
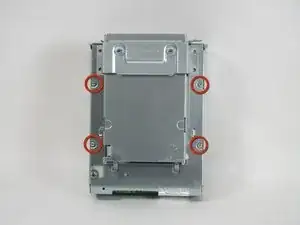
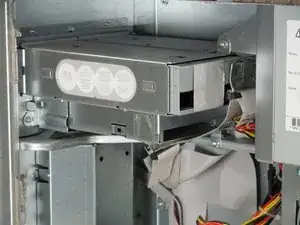
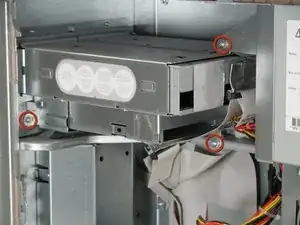
    • There are four screws to be removed.

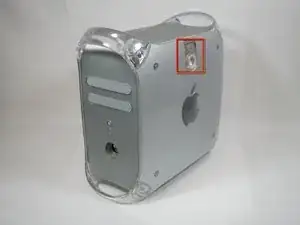
    • The first screw can be seen in the first picture.

    • The remaining three screws can be seen in the second picture.

  6. k4eDYRPMPRPsPOWE
    • Remove the optical drive by pulling the drive away from the front of the computer and out.

    Had to detach the cables before I could slide the drive out because no space to slide back. My drive is about 10mm longer than that in the picture.

    Brains -

  7. DPiQwvFPOYvBTUak
    • Detach the two cables attached to the back of the drive.

    • The flat ribbon cable can be detached by pulling the silver tab. The multicolored cable can be removed by grasping the plastic connector on either side and pulling with substantial force.

  8. NTI21w4ERM2qVHbc
    • Remove the four screws holding the enclosure to the drive.

  9. JBbtNpDCx21oBT2g
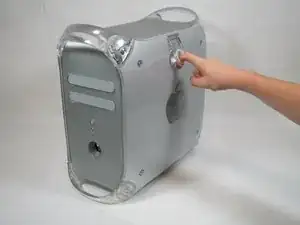
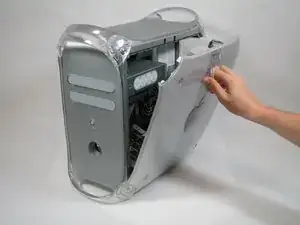
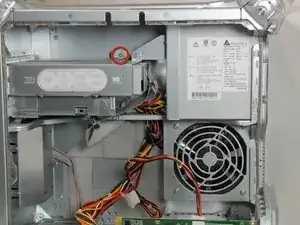
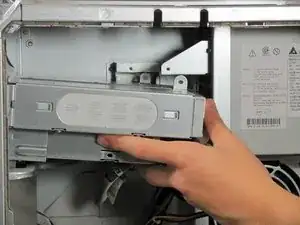
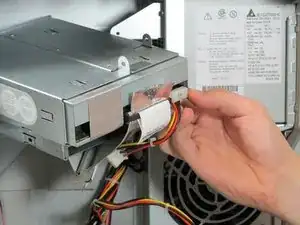
    • Push on the back of the drive (side with the connectors) to slide the drive out of the enclosure.

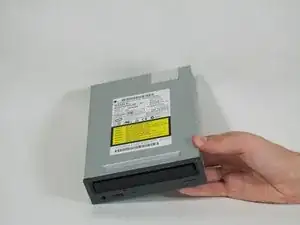
    • Your optical drive is now ready to be replaced.

Conclusion

To reassemble your device, follow these instructions in reverse order.

Ryan Bylard

Member since: 20/01/10

1325 Reputation

0 comments