Introduction

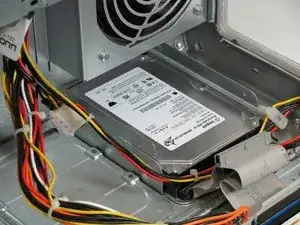
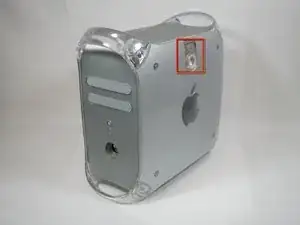
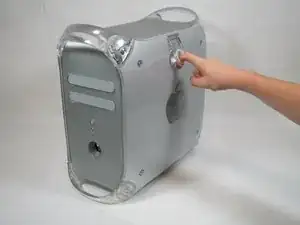
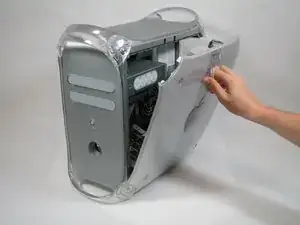
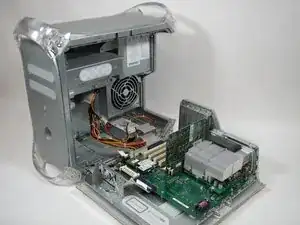
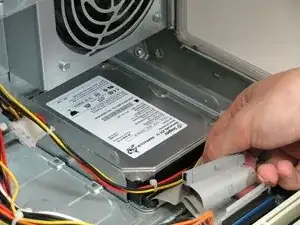
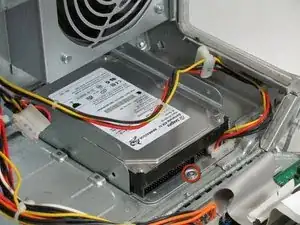
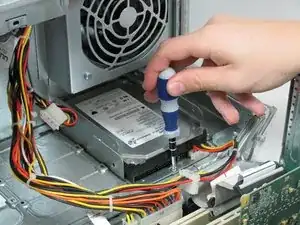
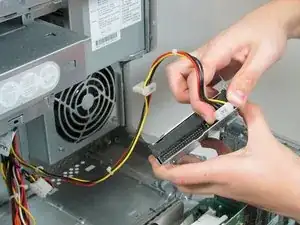
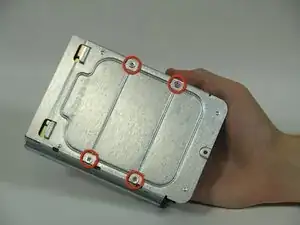
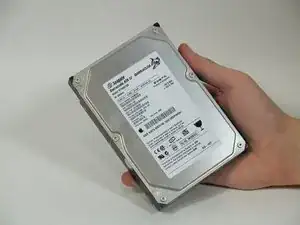
Removing the hard drive of the Power Mac G4 Quicksilver for replacement.

  1. MI3MLXaxZt2N2WyU
    • The handle to open your computer is located on top of the right side panel.

  2. 2gTC6EkIwJDejnfC
    2gTC6EkIwJDejnfC
    2ucGgBJmyDkABGQ4
    • Grab the circular handle and pull outward.

  3. Nm4mRELLtcYI4YYI
    • Your computer is now open and ready for repair.

  4. 3XP4FKiEucLnNvtr
    • The hard drive is located in the rear right corner of the case.

  5. uZd4YlhkRq3J4QlF
    • Unplug the IDE ribbon cable. This is the wide flat grey cable.

  6. YknKmY1KSQlL4yj6
    YknKmY1KSQlL4yj6
    Nc2wJFixZMCqjIlG
    • Remove the screw holding down the hard drive enclosure.

  7. BTLV3RIvNmu4AJ44
    • Lift the hard drive enclosure straight up and out.

    • Be carful not to pull the attached cable.

  8. AQ6mNueFtyed4RIV
    • Disconnect the MOLEX connector.

    • This cable may be hard to remove. Grab the connector on either side as pictured and wiggle it back and forth to remove it.

  9. i3uLPKrsEooROEON
    • Remove the four screws holding the hard drive to the enclosure.

  10. WTaLloUtAZoKYPGP
    • Your hard drive is now free from the enclosure and is ready to be replaced.

Conclusion

To reassemble your device, follow these instructions in reverse order.

Ryan Bylard

Member since: 20/01/10

1325 Reputation

0 comments