Introduction

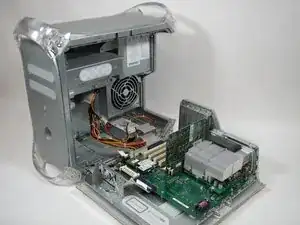
Removing the CPU of the Power Mac G4 Quicksilver for replacement.

  1. MI3MLXaxZt2N2WyU
    • The handle to open your computer is located on top of the right side panel.

  2. 2gTC6EkIwJDejnfC
    2gTC6EkIwJDejnfC
    2ucGgBJmyDkABGQ4
    • Grab the circular handle and pull outward.

  3. Nm4mRELLtcYI4YYI
    • Your computer is now open and ready for repair.

  4. VpVmYmvRU6vLIKgF
    • This is your Power Mac G4's video adapter.

  5. DxMGD1qFqmfFgbkI
    • Start by removing the screw holding the card to the chassis as shown.

  6. ZknYWMUrZSoo6lpL
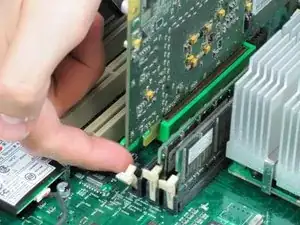
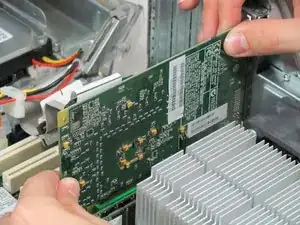
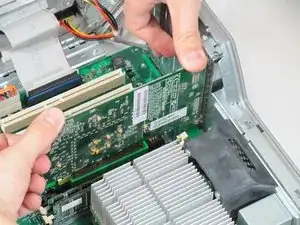
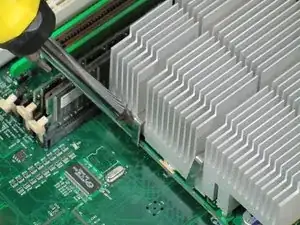
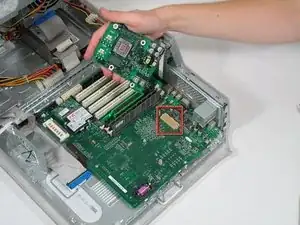
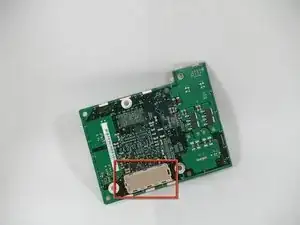
    • Before lifting the card out, this small plastic tab needs to be pulled back there by releasing it entirely.

  7. E5EsGDQ4XaBT4U6U
    E5EsGDQ4XaBT4U6U
    yqkbuEVdxHyR1BQp
    • With the tab and screw removed, lift the card straight out.

    • When putting the card back in, take care to apply even pressure across the top with your thumbs. This will avoid damaging the card.

  8. GuQrLmRMpAroOofV
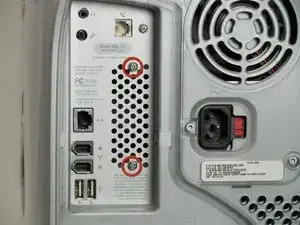
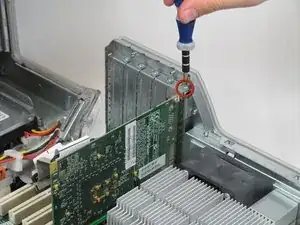
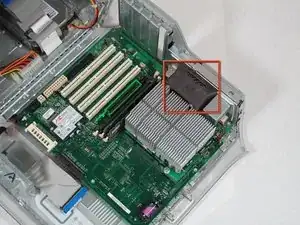
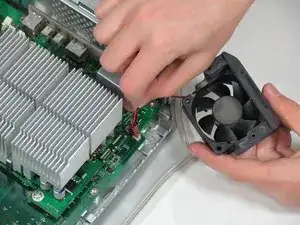
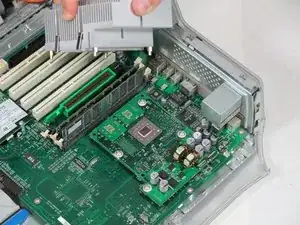
    • First you want to remove the fan. Remove the two screws on the back of the computer in the upper left hand corner.

  9. PZowmj2QSiSBaCCr
    PZowmj2QSiSBaCCr
    cApVWbUEcWePWZZi
    • Remove the fan unit by pulling straight up and out.

    • Be carful not to rip out the cord still attached to the motherboard. Remove it gently.

  10. OhDVxCqqSJs2XLJK
    OhDVxCqqSJs2XLJK
    VmGXqMpePynIaEvx
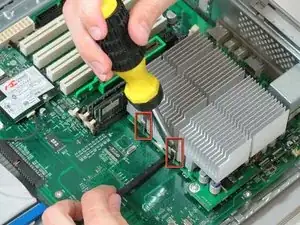
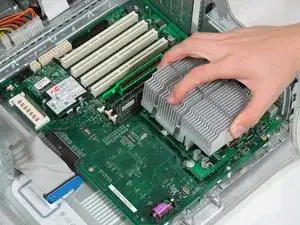
    • You need detach the heat sink from the CPU. Locate the four clamps holding it down, two on each side.

    • Taking off the clamps can be difficult. Use a screwdriver to push down on the top of the clip. Then insert a spudger below the heat sink to pull it away from the board, releasing the heat sink.

  11. NDxgCsnxxaAsYMLP
    NDxgCsnxxaAsYMLP
    vEQmhbb6CELNdmvq
    • Pull the heat sink up and off of the CPU.

  12. mLeXXMjTwwyEXQsN
    • Remove the four screws holding the CPU to the motherboard.

  13. uddLRpYx34A4NLDP
    uddLRpYx34A4NLDP
    VISpPApOCHETANZg
    • Now you can remove the CPU by pulling it straight up from the motherboard.

    • Be very careful when you detach the CPU. There is a connector that has hundreds of little prongs. You must not bend or break any of them! Be extremely careful.

  14. fLBDKF5jm6ZskfL2
    • You can now replace the CPU.

Conclusion

To reassemble your device, follow these instructions in reverse order.

Ryan Bylard

Member since: 20/01/10

1325 Reputation

One comment

Removing graphics (video) card is not necessary. Also, removing the clips which retain heat-sink can be accomplished by using a flat-blade (-) screwdriver to carefully pry them from the finned aluminum assembly. Other than these two suggestions, guide is succinct and accurate.

analogcd -