Introduction

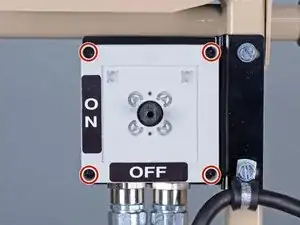
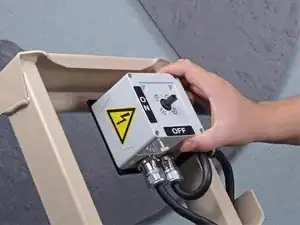
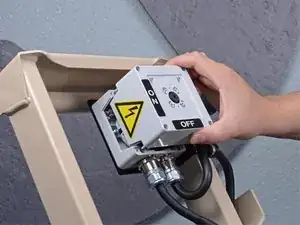
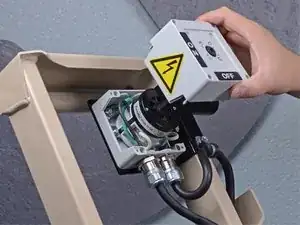
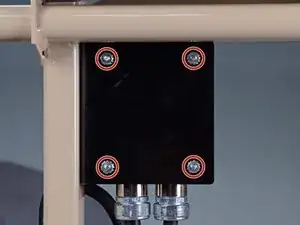
Follow this guide to remove the power cord on a EDCO Disk Grinder model 50200-HD.

This is a prerequisite-only guide! This guide is part of another procedure and is not meant to be used alone.

  1. 2fKORrEANeaqW1JG
    • Before you begin, ensure the device is powered down and cool to the touch.

    • Ensure the machine is unplugged.

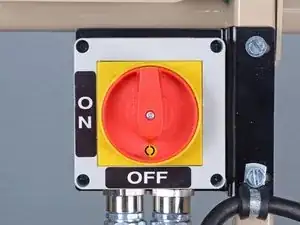
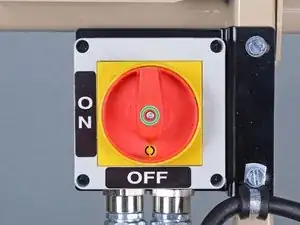
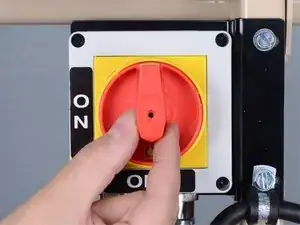
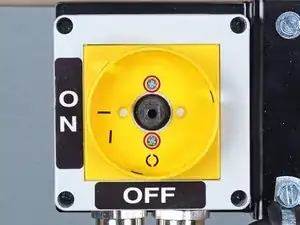
    • Turn the power switch counterclockwise into the OFF position.

  2. Tefl4e6mYEVkhRur
    Tefl4e6mYEVkhRur
    dygTMr5Bx4vArF12
    3sYcwHAkQlDshMB6
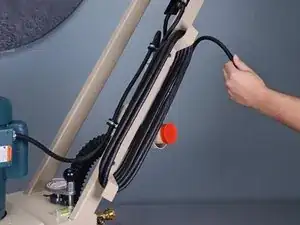
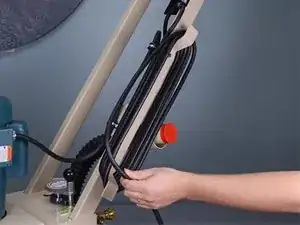
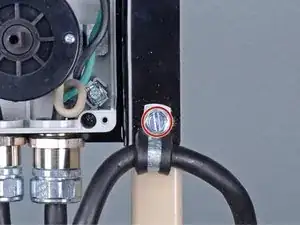
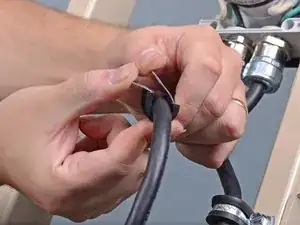
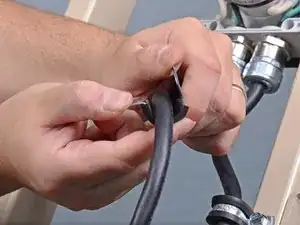
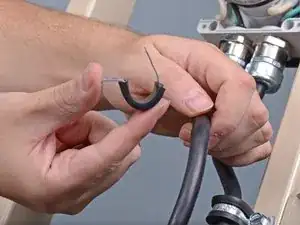
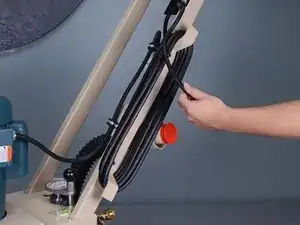
    • Unwrap the power cord from the device completely.

  3. ogchIZIaR1YG1xcH
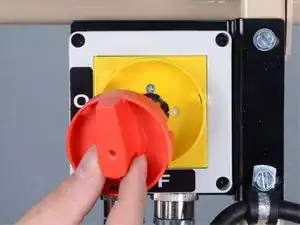
    • Use a Phillips screwdriver to remove the screw securing the red on/off lever.

  4. ynEpvCgIiT5eLA4x
    ynEpvCgIiT5eLA4x
    WMuYISagOYIrQD1j
    • Remove the red lever from the on/off switch.

  5. qRPyvwhHBCscwZId
    qRPyvwhHBCscwZId
    2JaVoBFoHbpIuWvJ
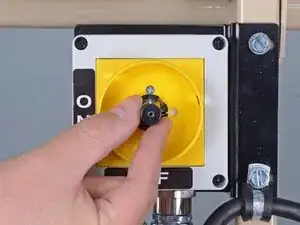
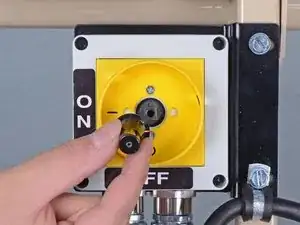
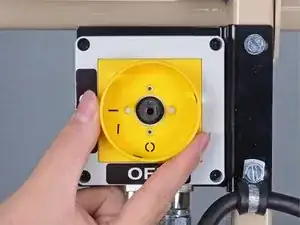
    • Remove the black plastic cap from the center of the switch assembly.

  6. OdNMNe2RLD5bkNWT
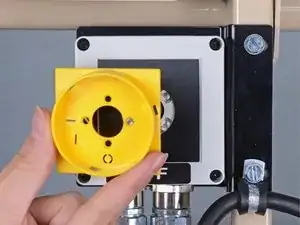
    • Use a Phillips screwdriver to remove the two screws securing the yellow switch guide to the switch assembly.

    • During reassembly, ensure this component is installed in the same orientation, with the circle in the 6 o'clock "OFF" position.

  7. KYDQboc5pFL3WIOh
    KYDQboc5pFL3WIOh
    VvPlnUCpkHGCc2dO
    WuyBV4gIIgggFHqZ
    • Remove the yellow switch guide from the switch assembly.

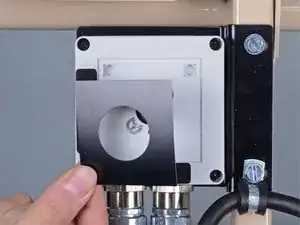
    • Remove the black plastic spacer from underneath the yellow switch guide.

  8. Cib2cStRhAMJmAfI
    • Use a Phillips screwdriver to remove the four screws securing the upper half of the switch housing to the lower half.

  9. Gat3YuPecid2Tdls
    Gat3YuPecid2Tdls
    uyWyuiMB2wZZ6GUG
    oCTiIGM1mm6rAVva
    • Lift the upper half of the housing straight up off of the lower half.

  10. rwy5tPSpbwlPUVQf
    • Use a 3/8 inch socket to remove the bolt securing the power cord loom clamp to the switch bracket.

  11. cWNOPAIP3jVIRFHA
    cWNOPAIP3jVIRFHA
    OwaDATTwLkElipow
    LJgOOFRDQTyrgsOt
    • Remove the loom clamp from the power cord.

  12. YXhJFgSJUVmpUxfL
    YXhJFgSJUVmpUxfL
    vXyVjsNXMHTOdtXG
    JxMBx4p2acgXYGlt
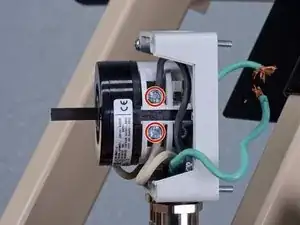
    • Use a 11/32 inch socket to remove the four nuts from the on/off switch bracket.

    • During reassembly, use a Phillips screwdriver in combination with the 11/32 inch socket wrench to tighten the bolts securing the switch to the bracket.

  13. OQ3BPSPR6RmwmtVK
    OQ3BPSPR6RmwmtVK
    21evdsyWRPMYPMRc
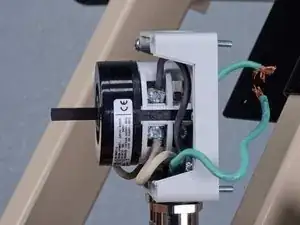
    • Lift the switch assembly off the switch bracket.

  14. HNdRbaWQfOH6TXL4
    HNdRbaWQfOH6TXL4
    Qscm6jRkimbCePGT
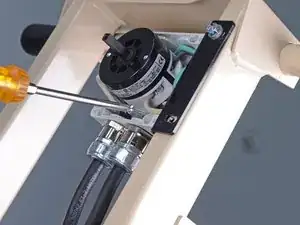
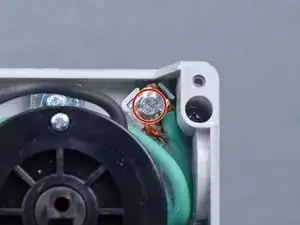
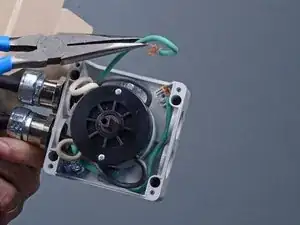
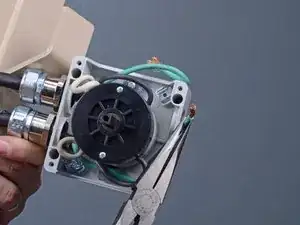
    • Use a flathead screwdriver to remove the screw securing the two green ground wires to the switch housing.

  15. vTUU2LmjoRWfVMha
    vTUU2LmjoRWfVMha
    jDlsDIQDdi4ZmjSF
    iLtLHU5ftZKx4lY1
    • Separate the green wires from each other and move them away from the switch housing.

  16. oYlA2ug5iOSthRiD
    oYlA2ug5iOSthRiD
    PLjiQuAPmtdsIEcT
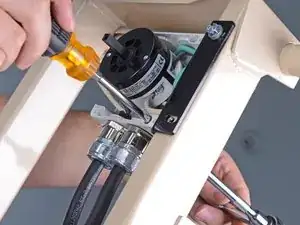
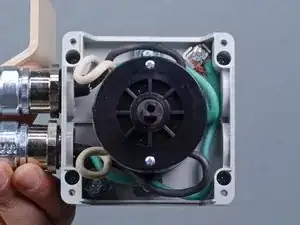
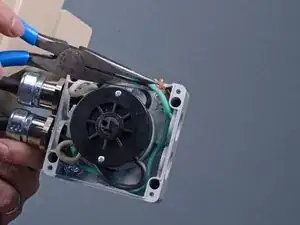
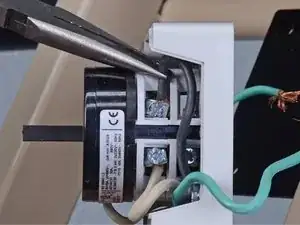
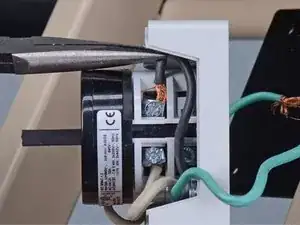
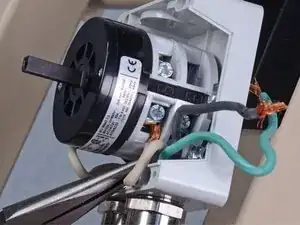
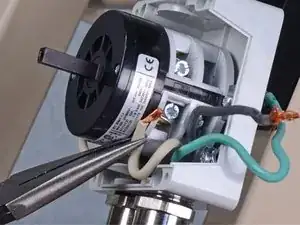
    • Use a flathead screwdriver to loosen the two screws securing the black and white wires running from the power cord to the switch.

    • During reassembly, ensure each wire in installed in its correct location on the switch.

  17. B1IHXgfqVssHXPBc
    B1IHXgfqVssHXPBc
    k1bqqjpdZTxhcDRp
    aGwOJGcImae5TVfh
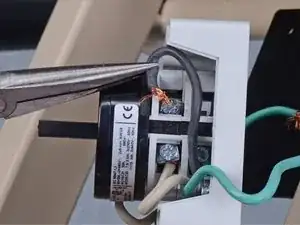
    • Remove the black wire from the switch.

  18. BIGLoxZtuWJDsNf5
    BIGLoxZtuWJDsNf5
    3a3N2fiSLW1FMUYy
    4AOEPvWQBdB51xs4
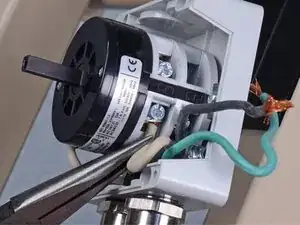
    • Remove the white wire from the switch.

  19. fJQwZrQqaMaB6lqW
    fJQwZrQqaMaB6lqW
    HpAJgMRCDvLsfYB3
    DCj1ZggMpBgHOosS
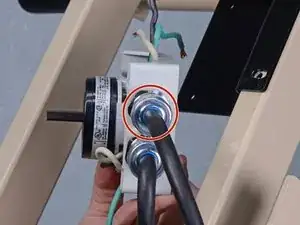
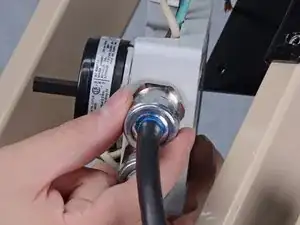
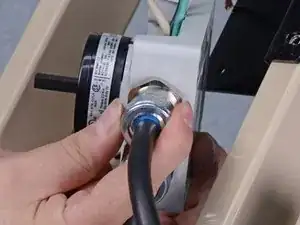
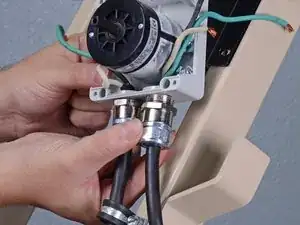
    • Use a 1-1/16 inch wrench or an adjustable wrench to loosen the power cord's strain relief fitting from the switch housing.

    • Once the fitting is loose enough to turn by hand, twist the power cord and fitting counterclockwise until it is fully unthreaded from the switch housing.

  20. eeN13IgRPBSOXdwy
    eeN13IgRPBSOXdwy
    Y525nMABBO3nBQHD
    aYfBWvIfBeGQiChr
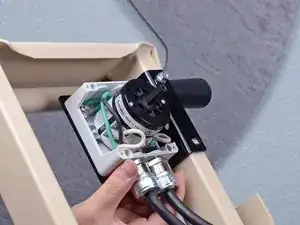
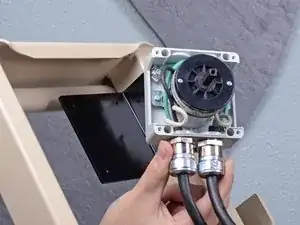
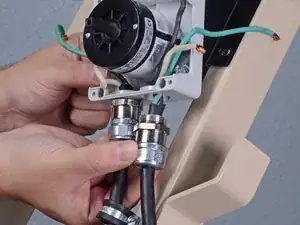
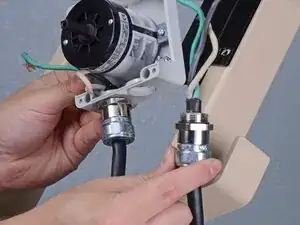
    • Remove the power cord from the switch.

Conclusion

To reassemble your device, follow these instructions in reverse order.
Sam Omiotek

Member since: 25/02/19

72005 Reputation

0 comments