Introduction

The plate which holds the phone as it charges may need to be changed occasionally. This guide will help you remove the plate.

  1. hUURHDxKgjgQLIk4
    hUURHDxKgjgQLIk4
    AQsnxhKuECSyXy1T
    gnV2rtKARsA2pQtZ
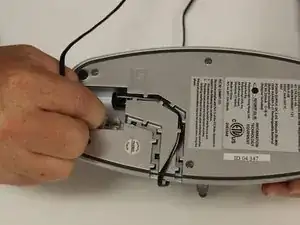
    • To disconnect the phone cord, squeeze the tab against the connector and pull the cord away from the telephone-line-in-jack.

    • To disconnect the power cord, grasp the end and pull back and away until it is disconnected.

    • Once disconnected remove each cord from its track.

  2. JnnFDhTsiAlGwoht
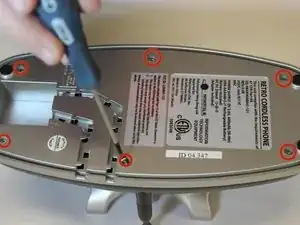
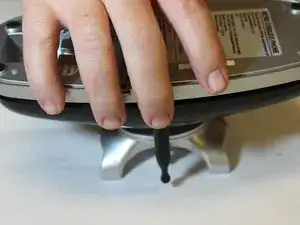
    • Using a Phillips #00 screwdriver, remove the six 7mm screws from the base plate.

  3. gZcLaCQWeKlRNKZ2
    gZcLaCQWeKlRNKZ2
    QyEhPmCZhEaF5QkY
    3UTsonpWO4Z1IXJb
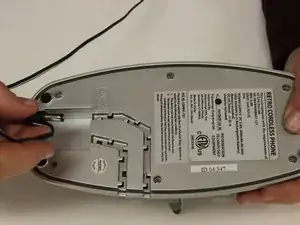
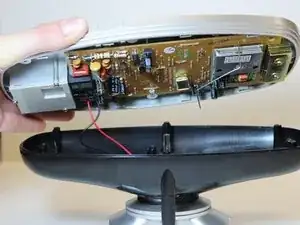
    • With the base turned upside down, grasp the edges of the base plate and gently lift from the rest of the base.

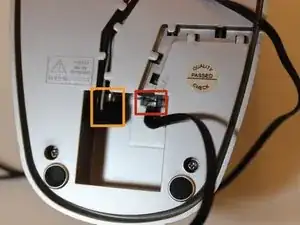
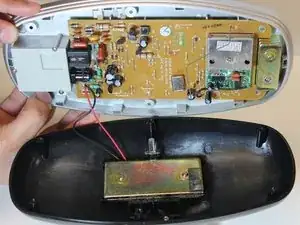
    • Two wires lead from the motherboard to the charger plate, so the two parts cannot be completely separated without further steps.

  4. UfQoJU52EEgbdvvH
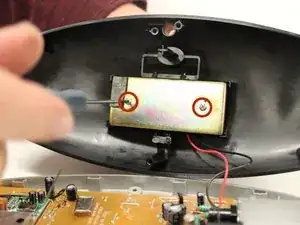
    • Use a Phillips #00 screwdriver to remove the two 5mm screws from the metal plate.

  5. D5L4DpuchujY1S2A
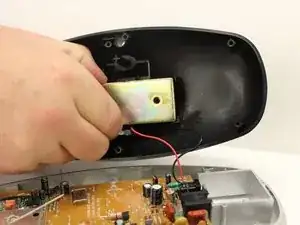
    • Grip the metal plate and pull towards you.

    • You may need to wiggle the plate back and forth gently to loosen it from its housing.

  6. KmaTGd5WiUUDFNFU
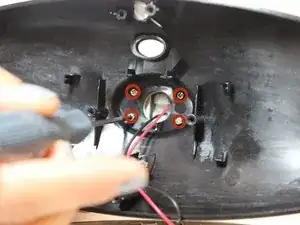
    • Use the Philips #00 screwdriver to remove the four 6mm screws from the base cover.

  7. b2iEHagBRol2pjnL
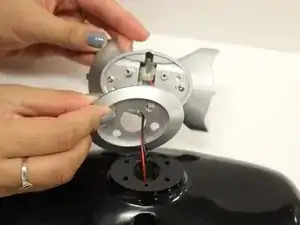
    • Gently pull the charge plate away from the rest of the base and separate the two pieces of the charge plate.

  8. TQ6AITPtyhxNUX5N
    TQ6AITPtyhxNUX5N
    AURNFEVq4nPkvoM2
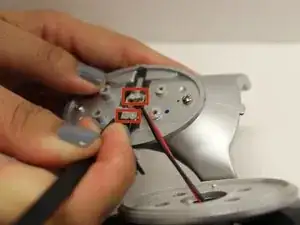
    • Use the spudger to gently scrape the glue away from the wire connections.

    • If the spudger is not adequate, try using the tweezers to pull the glue away before scraping.

  9. qg3ROQUBUefrG5Dl
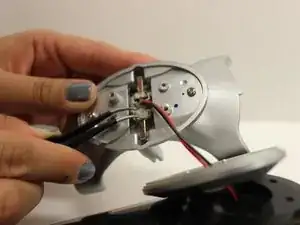
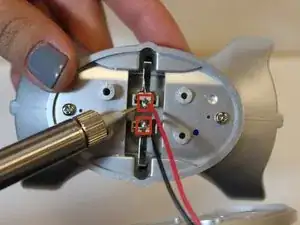
    • Use the soldering station to desolder the wire connections.

    • For further instructions on using the soldering station click here.

Conclusion

To reassemble your device, follow these instructions in reverse order.
Jay Gunter

Member since: 28/10/14

378 Reputation

0 comments