Introduction
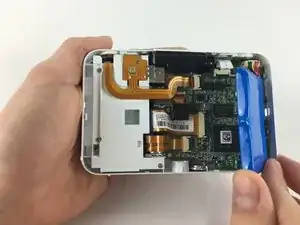
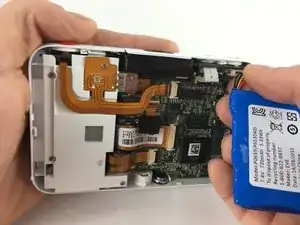
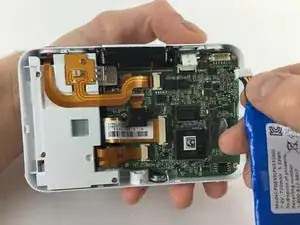
When replacing the battery, realize that there is an adhesive which binds the battery to the camera. Given the adhesive, force might be required to remove the battery. However, you should be able to remove it with your hands.
Tools
Parts
-
-
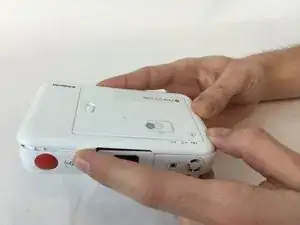
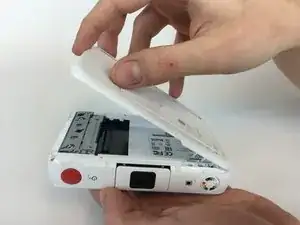
Open the paper door of the camera, then locate and remove the screws that are on the top and bottom edge of the inside of the camera.
-
Screw head: Phillips, Screw length: 3mm
-
-
-
Push the rear face plate from the short side nearest the screws you just removed towards the other short side of the camera. It should slide forward and unlock the clips holding it in place.
-
Then it should be easy to simply lift the rear face plate up and remove it.
-
-
-
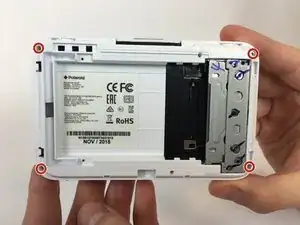
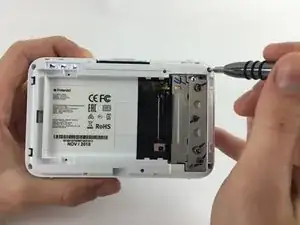
Locate and remove the four screws on the corners of the camera, they're quite small and may be difficult to remove.
-
Screw head: Philips, Screw length: 5mm
-
-
-
Once the screws are removed, flip the camera over
-
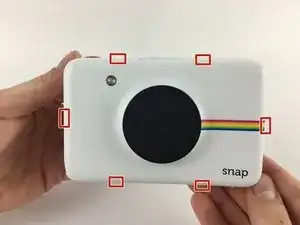
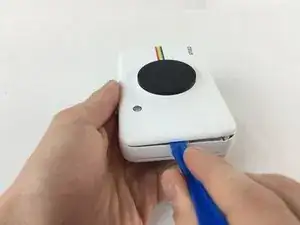
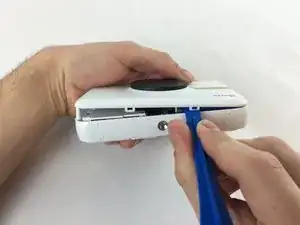
Use a plastic opening tool to disengage the six clips until the front face plate can be removed safely
-
-
-
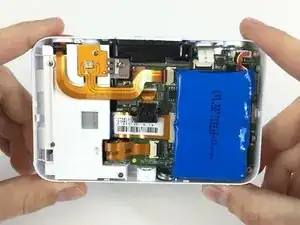
Remove the battery by lifting up the battery from the left corner. If you can not remove the battery with your hands, consider using a Plastic Opening Tool
-
To reassemble your device, follow these instructions in reverse order.
21 comments
Thank you so much for showing me how to do this. FYI: For the digital LCD screen version of this camera, there is only one screw to take out on that first step.
Can you tell me where I can buy the replacement battery for this camera? Thanks.
Tommy Li -
I would like to know where to buy it too.
Same question need to know where to purchase a new battery and is this a common issue for the snap touch


