Introduction
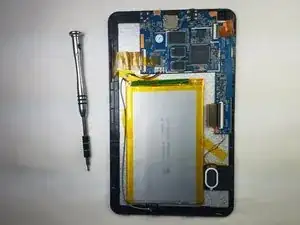
The motherboard is one of the most important parts of the device, containing the microprocessor chip and connects everything together. Other components of the device can also be included in the motherboard to enhance the performance. This is the heart and brains of a device and needs to be handled with care.
Tools
-
-
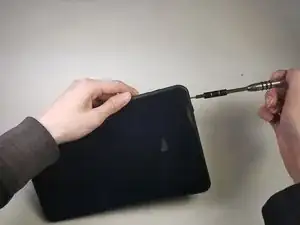
Using the PH00 screwdriver, remove the two 4mm screws located on both the left and right sides of the charging port on the bottom of the tablet.
-
-
-
Using the plastic opening tool, insert it into the crease where the glass screen meets the housing of the rest of the tablet. Once inserted, keep inserted and run along the edges to separate the plastic clips from each other to dislodge the back plastic away from the glass and internal components.
-
-
-
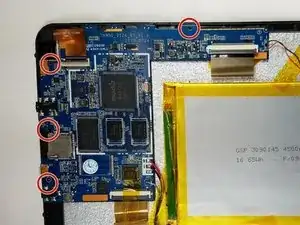
Using the PH00 screwdriver, unscrew the four 4.4 mm screws that are anchoring the circuit board down to the rest of the tablet.
-
-
-
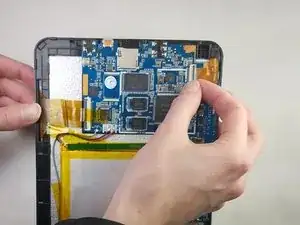
Using your fingernail, gently lift up the connectors on the two tabs that are holding the ribbons in place to the circuit board.
-
-
-
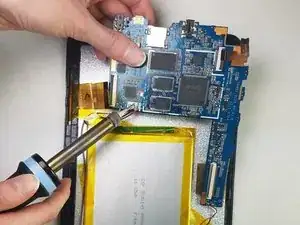
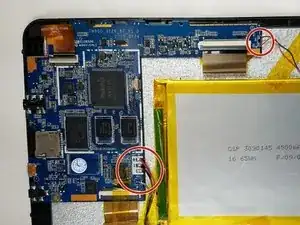
Using a soldering iron, desolder the points circled on the picture until the solder have liquefied enough to be able to remove the wires from the circuit board.
-
-
-
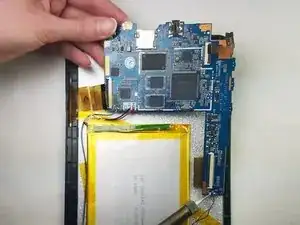
Gently lift the circuit board from the housing. You have now successfully removed the circuit board. Now, you can insert the new board to the tablet.
-
To reassemble your device, follow these instructions in reverse order.
