Introduction
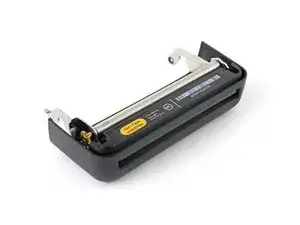
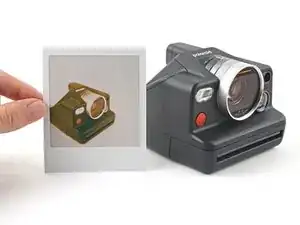
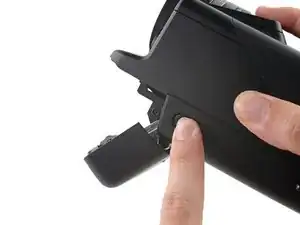
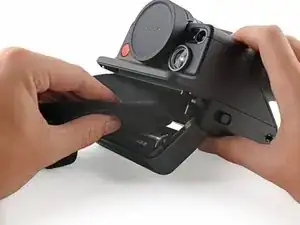
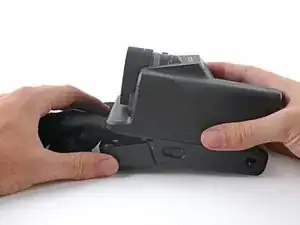
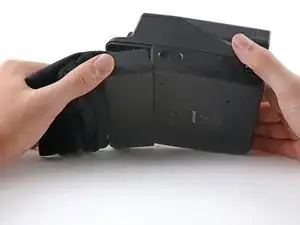
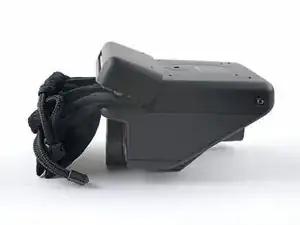
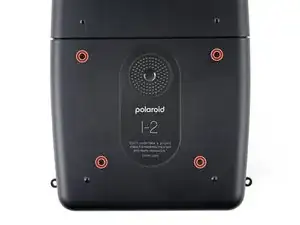
Use this guide to replace a warped or damaged film door, a.k.a. the film processing unit (FPU) in your Polaroid I-2 camera.
The film door is responsible for evenly spreading the ink over the instant film photos. If your photos look uneven or have lines, you might need to replace the film door.
Tools
Parts
-
-
If you have any film left, take some photos and remove the cartridge! Disassembly will expose the film and damage it.
-
Before you begin:
-
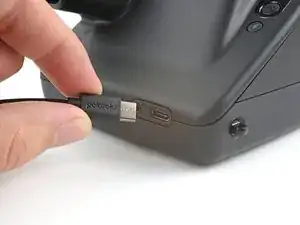
Power down and unplug your camera.
-
Put on the lens cap to avoid scratching your lens during disassembly.
-
-
-
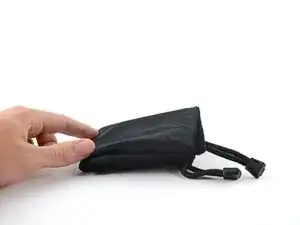
Fold a piece of cloth or napkin (or the included bag) into a small square.
-
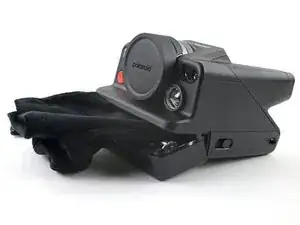
Insert the cloth into the film compartment far enough to block the film door from closing during disassembly.
-
-
-
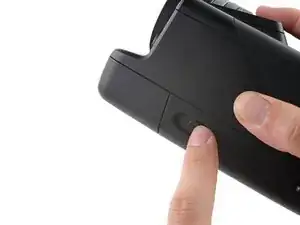
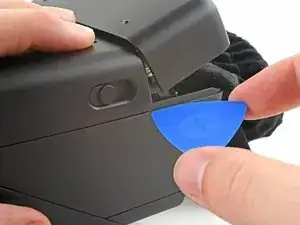
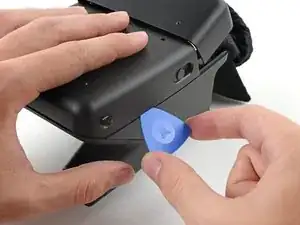
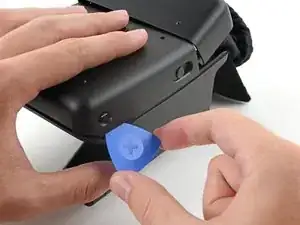
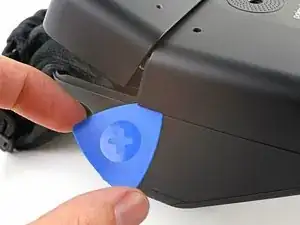
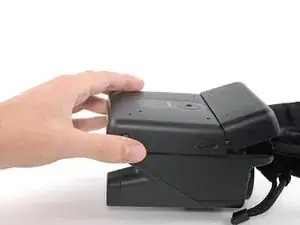
Insert the tip of an opening pick under the top left corner of the bottom cover, near the slider button.
-
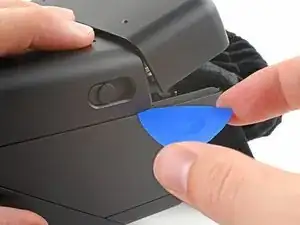
Tilt the pick up and push to position the pick between the bottom and front covers.
-
-
-
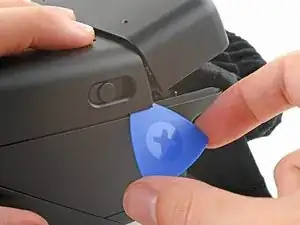
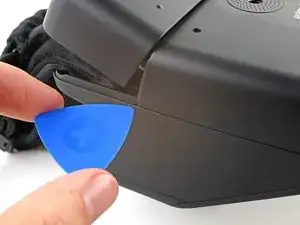
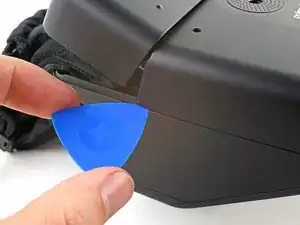
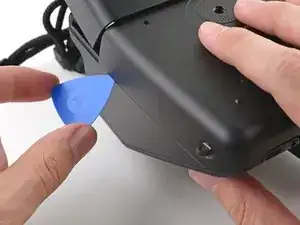
Slide the opening pick toward the rear of the camera to release the clips along the left edge.
-
Leave the opening pick at the bottom left corner to prevent the clips from resecuring.
-
-
-
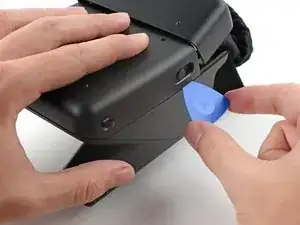
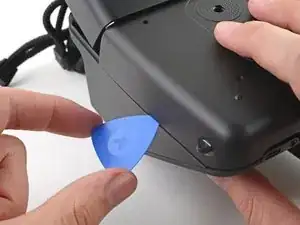
Insert the tip of a second opening pick under the top right corner of the bottom cover.
-
Tilt the pick up and push to position the pick between the bottom and front covers.
-
-
-
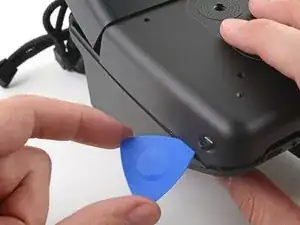
Slide the opening pick toward the rear of the camera to release the clips along the right edge.
-
-
-
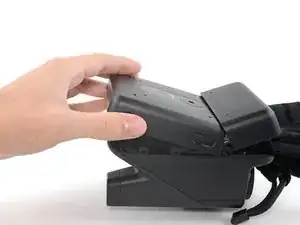
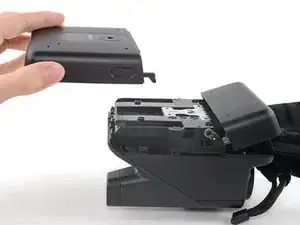
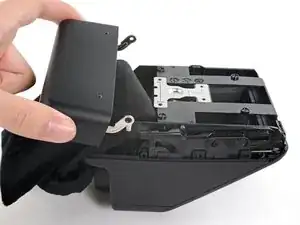
Tilt the back of the bottom cover upward and pull it away from the camera, making sure to thread the film door lever from its recess.
-
Remove the back cover.
-
-
-
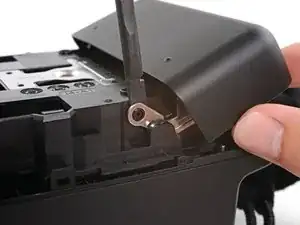
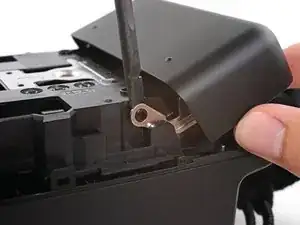
Insert the flat end of a spudger between the film door's left hinge and the frame.
-
Twist the spudger to separate the rubber hinge grommet from its peg in the frame.
-
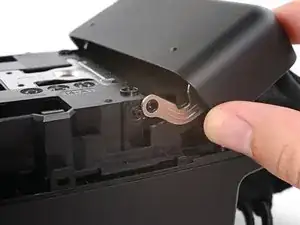
Pull the film door towards the front of the camera to completely disconnect its left hinge.
-
-
-
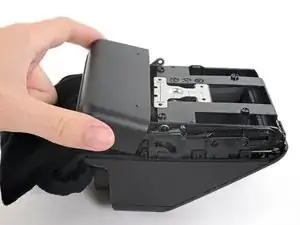
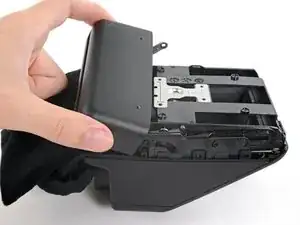
Tilt the left edge of the film door up to separate the left hinge's rubber grommet.
-
Remove the film door.
-
Compare your new replacement part to the original part—you may need to transfer remaining components or remove adhesive backings from the new part before you install it.
To reassemble your device, follow these instructions in reverse order.
Repair didn’t go as planned? Try some basic troubleshooting, or ask our Polaroid I-2 Answers community for help.
