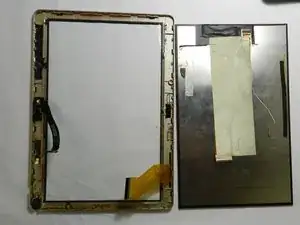
Introduction
Tools
-
-
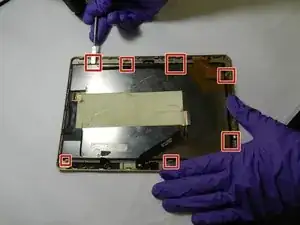
Use a metal spudger to remove the small panels to the immediate left and right side of the camera.
-
-
-
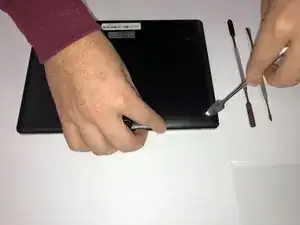
Use a metal spudger to begin lifting the back cover.
-
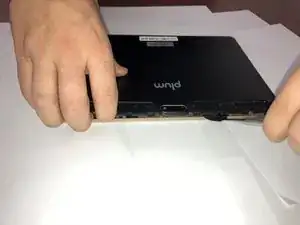
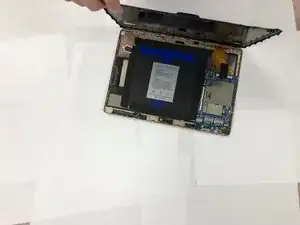
Then, create leverage and gently remove the entire cover.
-
-
-
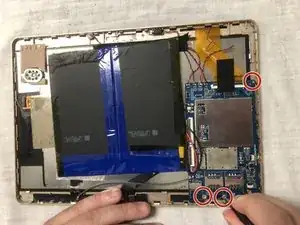
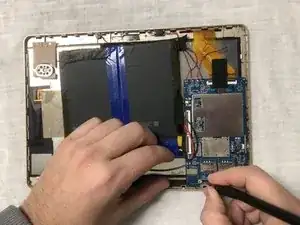
Use flathead screwdriver tool to remove the three 2.5 mm screws shown in the photo. Two screws are located at the base of the motherboard and there is one screw located at the top.
-
-
-
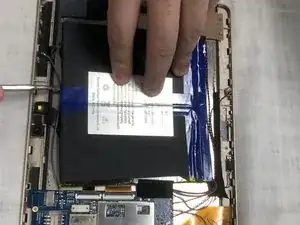
Use the spudger as a wedge underneath the battery to assist in removal.
-
Once loosened with the spudger, the battery is now removed from the device.
-
-
-
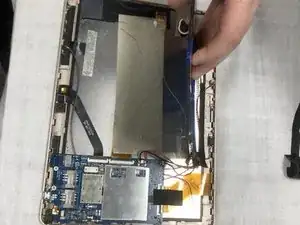
Gently pop the display out from the display cover by prying around the edges with a plastic opening tool or spudger.
-
-
-
Insert the new display in and clamp it back into the original spot.
-
Ensure that the display is in the correct spot where the ribbon cables are able to connect it to the motherboard.
-
To reassemble your device, follow these instructions in reverse order.
