Introduction
This guide will show you how to replace the L/R trigger and shoulder buttons for a PlayStation 2 controller. Usage over time, excessive force when playing, and leaving your childhood console to collect dust over time can lead to unresponsive trigger and shoulder buttons. Nonfunctional buttons can lead to frustration when playing games or in most cases having to swap controllers for good. Fortunately, there is an easy fix to this problem, and you can get back to playing your favorite classic games in no time. You'll need replacement L/R Shoulder and trigger buttons.
Once you've finished your repair, make sure to store your controller properly, away from high places, out of harm's way, and clean regularly to prevent future damages.
If your controller is dirty, you'll want to clean it before starting.
Tools
Parts
-
-
Place the controller face-down on a solid surface.
-
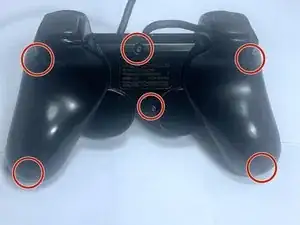
Remove the six screws from the back cover using a Phillips #00 screwdriver.
-
Gently remove both covers away from each other and place in a safe area.
-
-
-
Grab the back cover of the controller.
-
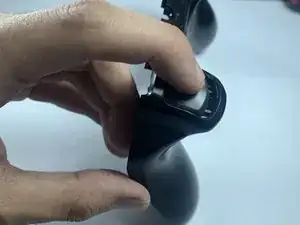
Gently push the shoulder buttons down and out to remove them from their socket.
-
-
-
Grab your replacement shoulder buttons.
-
Slide them under the socket and push them up into the sockets.
-
-
-
Grab the front cover.
-
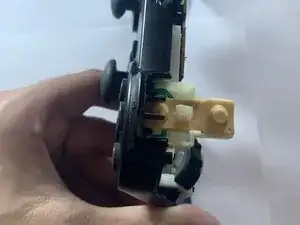
Push the L1 and R1 buttons down and away from the cover.
-
This will remove the buttons in place.
-
Test your buttons out. If it feels loose or unresponsive you can repeat the process and ensure the buttons are in place.


