Introduction

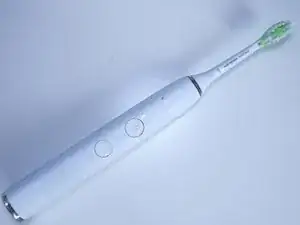
The Philips Sonicare 9350 electric toothbrushes has rechargeable lithium batteries. If the electric toothbrush doesn't start, battery failure is most likely to blame. If you need to replace the battery, follow this guide.

This guide requires soldering so if you’re not familiar or would like more information, check out this article on the site.

  1. JBBSRdUxNVUWEvep
    JBBSRdUxNVUWEvep
    1CeFy6Wp6NKdSAU2
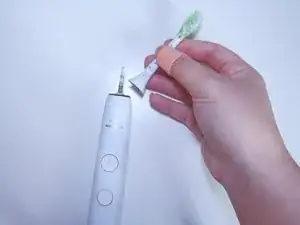
    • Remove the toothbrush head.

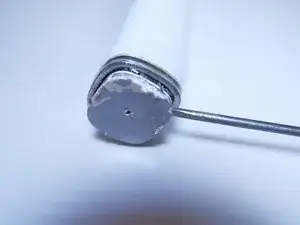
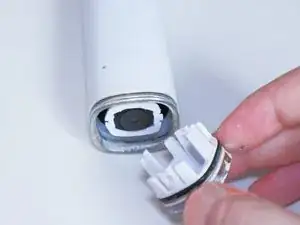
    • Use a screwdriver to pry gently around the bottom of the toothbrush.

    Best way to release the base and get to the locating lugs is to wrap the base of toothbrush in a towel and then use plumbers adjustable grips/pliers to sqeeze gently to deform slightly the handle. That will make prying the base out easier and a similar technique should be used to access and release the locating lugs (see explanation section below)

    Shreds -

  2. knWQJ56HcEqgYpWU
    knWQJ56HcEqgYpWU
    nSJb2GVPPrUSZ35E
    DpTS2NeQZdHP4moW
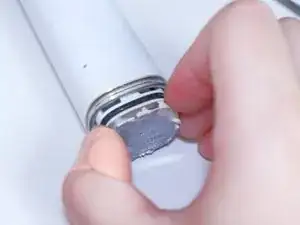
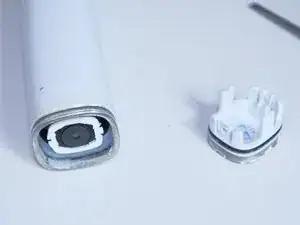
    • After the bottom of the toothbrush is pried loose, remove it from the base of the brush.

  3. cqEQcQxN3OenhmPF
    cqEQcQxN3OenhmPF
    GHmYVoTD2YHahcXb
    FNLCGR2Uj2YXVbJL
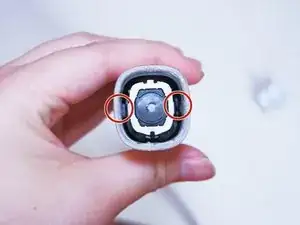
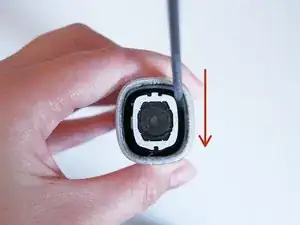
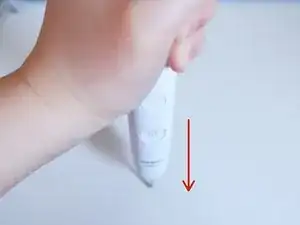
    • Use a spudger to open the two clasps inside the toothbrush handle in a downward motion.

    • Turn the toothbrush upside down and push down on a hard surface—this will slide the toothbrush's internal body out.

    These are generally white tabs that will easily come loose with the pointy end of a spudger, small screwdriver in a pinch.

    Ron -

  4. Z1heNHhmIJ2JdZmw
    Z1heNHhmIJ2JdZmw
    2pZSaNX6U5Chddj6
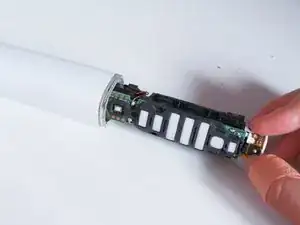
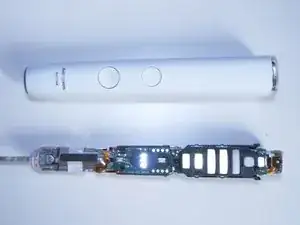
    • Pull out the internals of the toothbrush.

  5. J245ToTNClwyUEQ5
    J245ToTNClwyUEQ5
    nlBdkDxXIRTurOYp
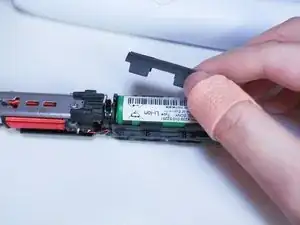
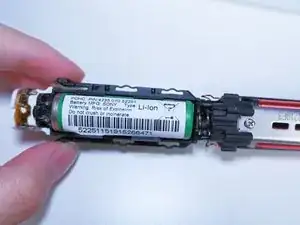
    • Open the protective cover of the battery.

    • Check the battery model.

    • In this case, the model is a Sony 680mhA lithium battery.

  6. XITyihm2yNXotK6M
    XITyihm2yNXotK6M
    65HYbx2IMHLOhETl
    r4ItbPCmDfOItADD
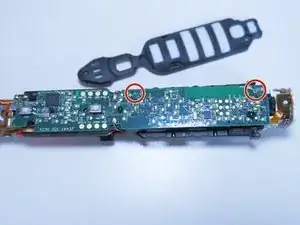
    • Open the protection cover of the circuit board.

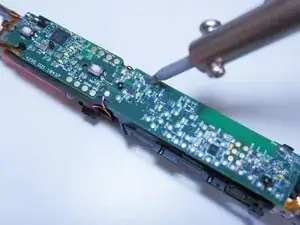
    • Find the welding points of the positive and negative electrodes of the battery and use the soldering iron to desolder.

    • The battery will fall off after desoldering as shown in the figure.

    • Be careful not to touch other parts of the circuit board when desoldering.

    A solder sucker makes this a lot easier.

    Ron -

  7. UwwclCVdGKWHUJuI
    UwwclCVdGKWHUJuI
    JkylpmaIUpdDYpMm
    WrEe23bnSnKEoXru
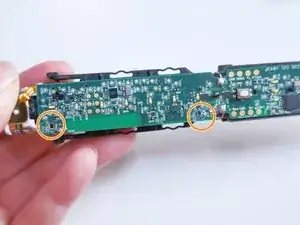
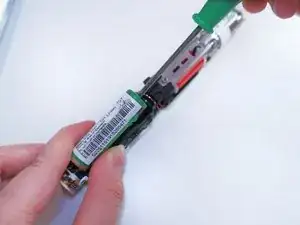
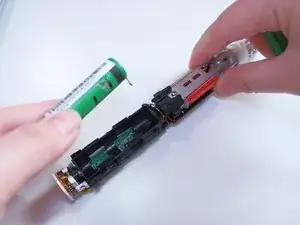
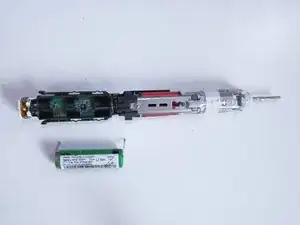
    • Use a spudger to pry the battery out at a 45 degree angle.

    • After successfully removing the battery, install the new battery using the reverse procedure.

    • Always use ESD safe tools when working on a circuit board or with batteries such as a nylon spudger.

Conclusion

To reassemble your device, follow these instructions in reverse order.

Dongyi Lin

Member since: 10/05/21

245 Reputation

One comment

All good advice and it works too. Ignore Philips advice that the battery is not replaceable. It is, with correct knowledge and understanding. Thanks for posting.

Shreds -