Introduction
Tools
Parts
-
-
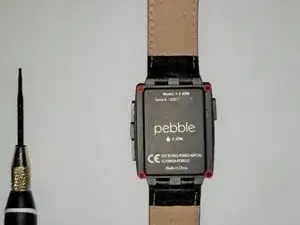
The Pebble Steel uses four Torx T3 screws to hold the rear of the watch housing on. First we'll remove all four screws.
-
-
-
Gently lift one corner off of the back off of the watch. Slide a credit card, or a piece of paper through to cut the adhesive on the vibrator motor. (It's adhered to the back of the watch. Not performing this step risks lifting traces on the motherboard.)
-
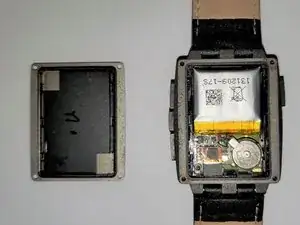
The back of the watch is off now. Be careful with the waterproofing o-ring! sometimes it comes off.
-
-
-
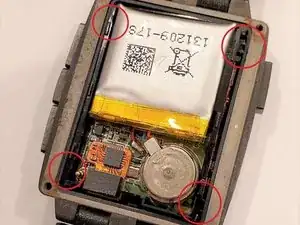
Use a pair of tweezers to grab the clip on each corner. Individually apply pressure inward while lifting to release each clip, but be careful not to damage the buttons ribbon cable. You should feel the internal frame release while doing this.
-
Lift the frame out of the pebble from the side with 3 buttons. (This will avoid damaging the internal charging contacts).
-
-
-
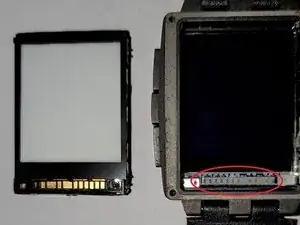
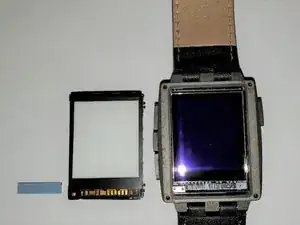
The Zebra strip can stick to either the screen or the motherboard. Remove it with a pair of tweezers.
-
-
-
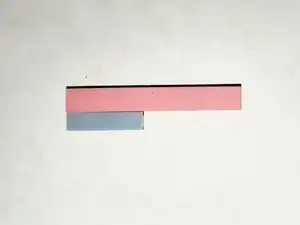
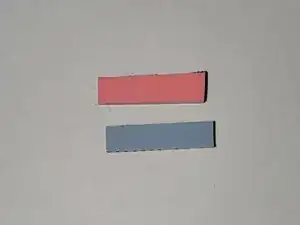
The new zebra strip will be slightly "taller" than the existing one. This is intentional. Cutting it to be slightly "longer" than the original is fine as well. (The idea is to compress the new strip slightly.)
-
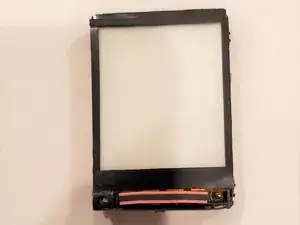
You can now re-insert the zebra strip from the motherboard side.
-
-
-
Insert the internal frame back into the Pebble's shell. (Zebra strip side/Backlight side down). At this point, you can screw the backplate onto the watch - try to preserve the oring/gasket integrity when doing so to ensure your Pebble remains water-tight.
-
To reassemble your device, follow these instructions in reverse order.
2 comments
Can you we get the dimensions for the Zebra Strip please?
Yeah... I'm going to improve this tutorial - I didn't realize anyone actually used it / looked at it - but it's being linked to on /r/pebble.
