Introduction
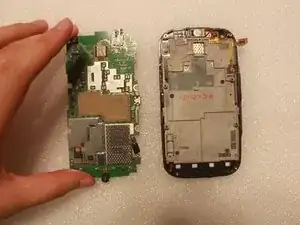
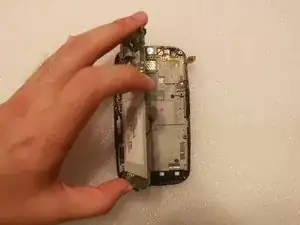
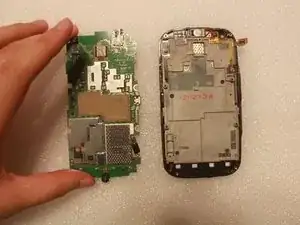
This guide should help the reader through the necessary steps to successfully replace the Motherboard of your Pantech Burst. Be aware that the insides of the phone can be easily damaged and must be handled carefully.
Tools
Parts
-
-
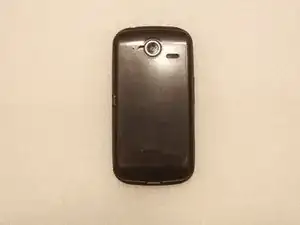
Turn over the phone so that you're facing the back cover.
-
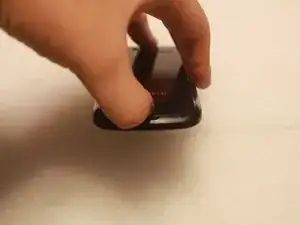
Locate the indent(?) below the back cover.
-
Using a fingernail, pull up to remove the back cover.
-
-
-
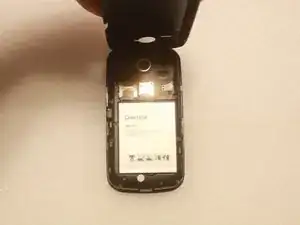
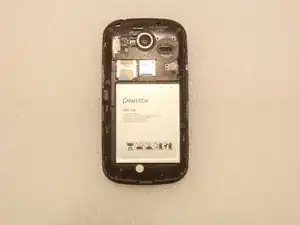
Locate the silver battery. It is the big, rectangular, silver tape on black plastic object.
-
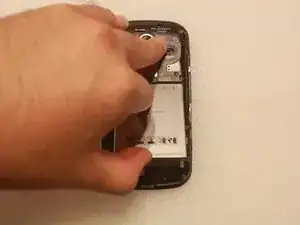
Find the gap between the battery and the rest of the device.
-
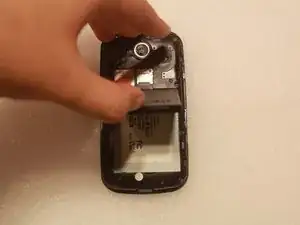
Using your fingernail, gently pull the battery up and away from the rest of the device.
-
-
-
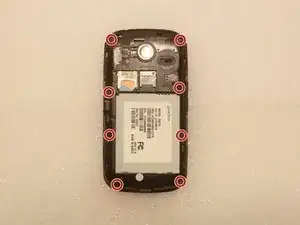
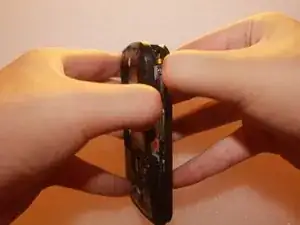
Using an opening tool or some other solid, flat-ended tool, begin pulling apart the phone from the indent below the USB port.
-
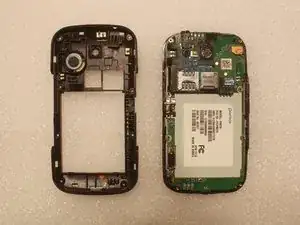
Continue using the tool, while moving around the edge of the phone until the two parts are largely disengaged.
-
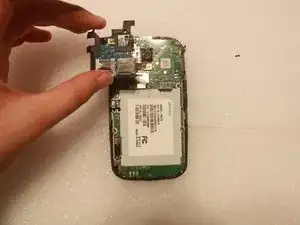
Once there is space enough to pull the pieces apart with your fingers, you may do so.
-
-
-
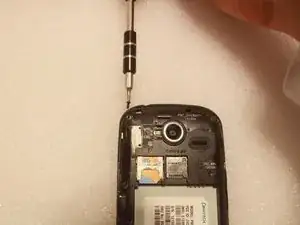
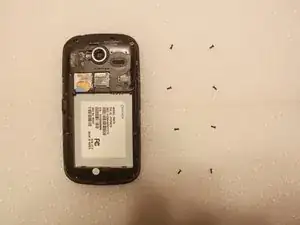
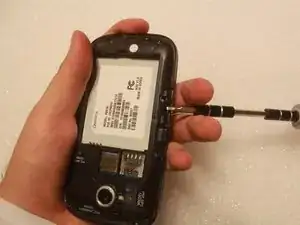
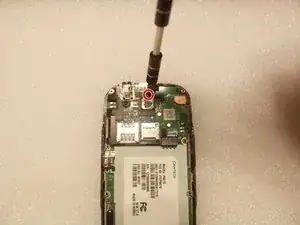
Unscrew the screw with a phillips size 000 screwdriver.
-
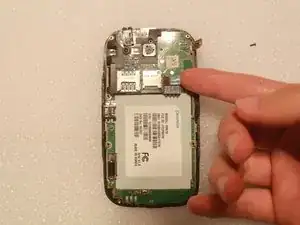
Disconnect the blue connector from the motherboard using a fingernail to lightly pull up.
-
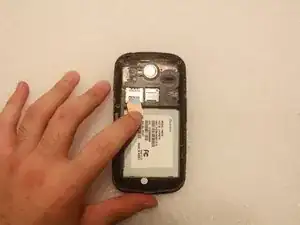
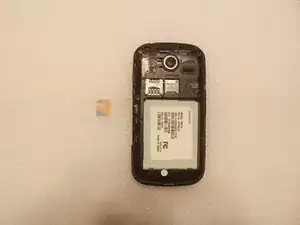
Gently remove the SIM/SD card part.
-
-
-
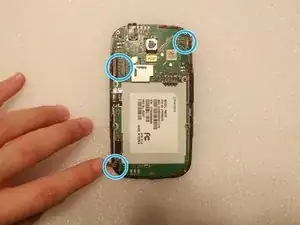
Gently disconnect the connectors attached to the motherboard using a fingernail to pull them up from the board.
-
-
-
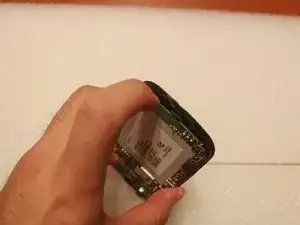
Starting from the bottom and going around counterclockwise, carefully pry the motherboard out of the device.
-
To reassemble your device, follow these instructions in reverse order.
