Introduction
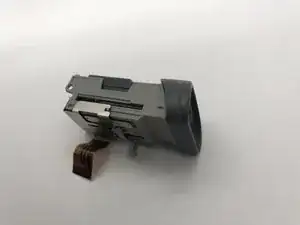
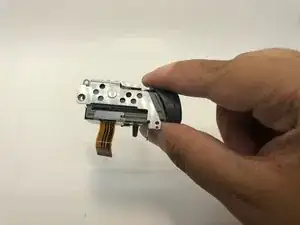
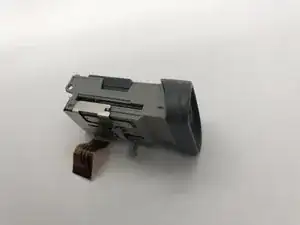
This guide will assist you in removing and replacing the viewfinder on the Panasonic VDR-D220. You will need a new viewfinder in order to make the camera operational again. You may reference this guide if you have found that this is the reason your camera isn't functioning correctly.
Tools
Parts
-
-
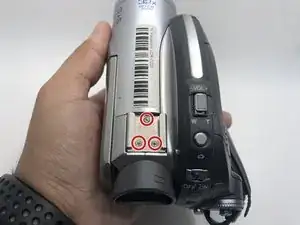
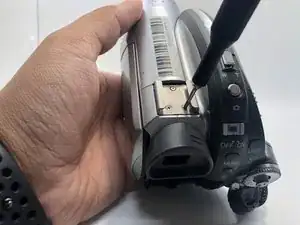
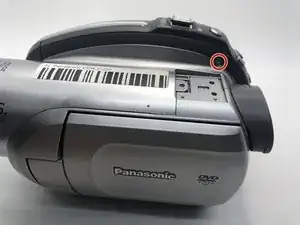
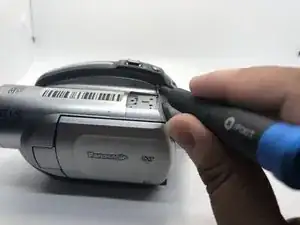
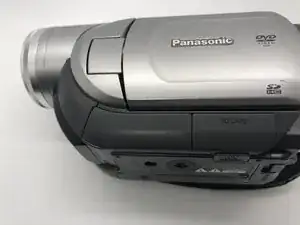
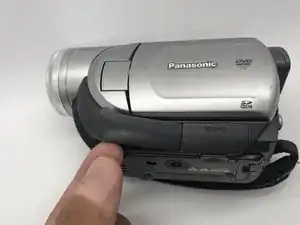
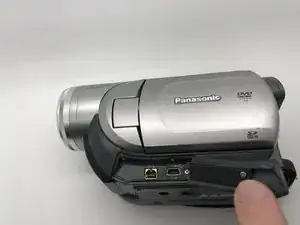
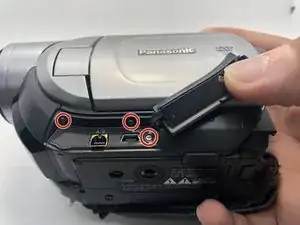
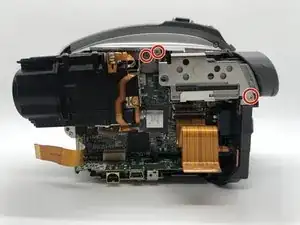
Use your Phillips #0 screwdriver to remove the three 5mm screws on top of the camera.
-
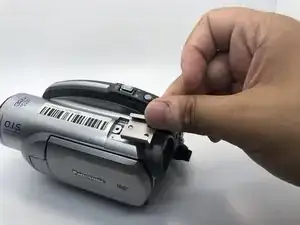
Remove the metal bracket.
-
-
-
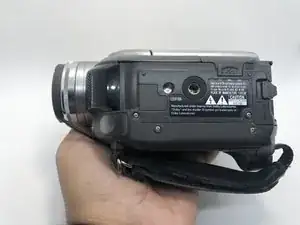
Rotate the camera to show the bottom side of the camera.
-
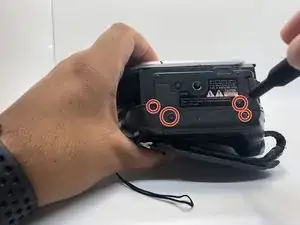
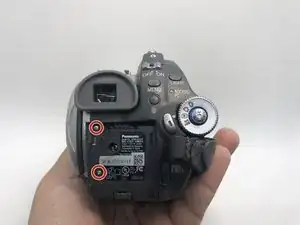
Remove the four 5mm Phillips #0 screws on the bottom side of the camera.
-
-
-
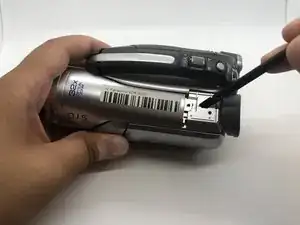
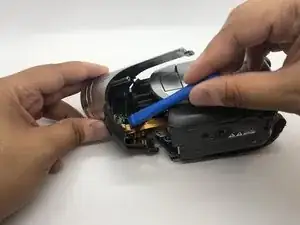
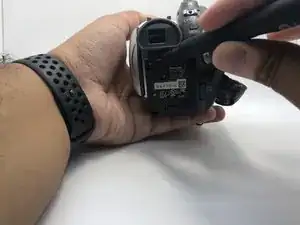
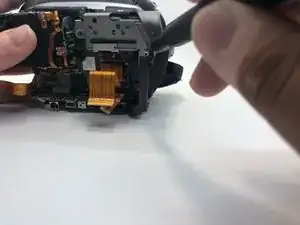
Use a spudger to pry the top-front part of the camera from the main body.
-
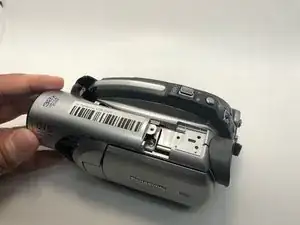
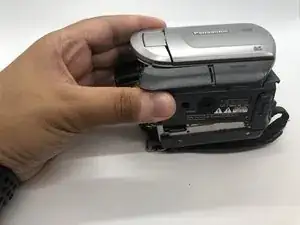
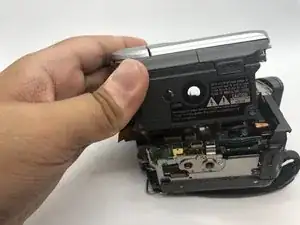
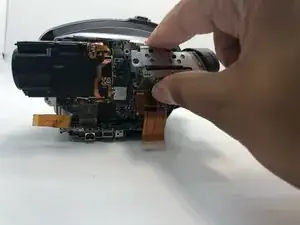
Gently slide the top portion of the camera forward reveling more screws.
-
-
-
Flip the camera on the right side.
-
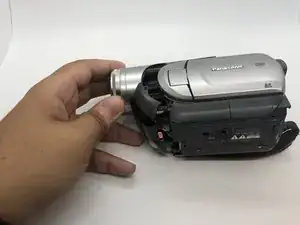
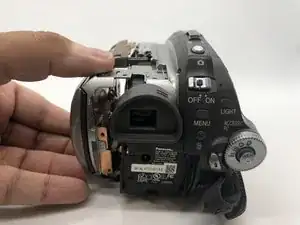
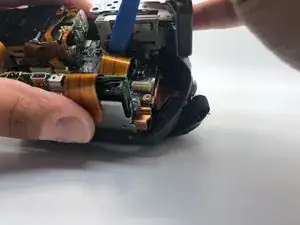
Gently pull the front part from the main body.
-
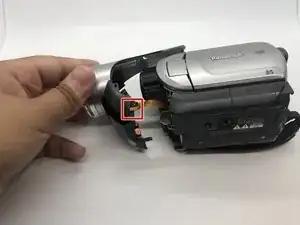
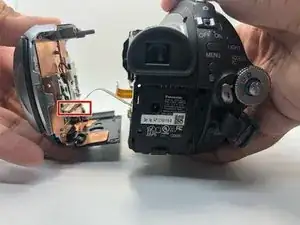
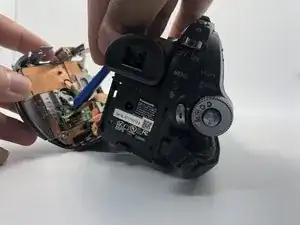
Use the plastic opening tool to disconnect the connection point safely.
-
Press the tab with plastic opening tool and then pull the ZIF connector to detach.
-
-
-
Flip the camera on the bottom side again.
-
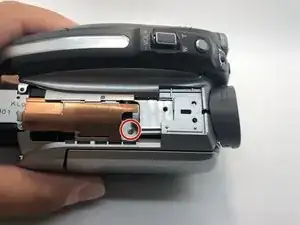
Remove one more 5mm screw with your Phillips #0 screwdriver that was previously covered.
-
-
-
Go to the battery basement's side.
-
Use your Phillips #0 screwdriver remove the two 5mm screws on the battery base of the camera.
-
-
-
Remove three 5mm screws inside the side ports by using Phillips #0 screwdriver.
-
Begin to lift the left side of the camera from the main body.
-
-
-
Rotate the camera to the battery side.
-
Gently pull the side of the camera apart until the cables are exposed.
-
Disconnect the ribbon cable with your plastic opening tool, so that the left side of the camera can be removed.
-
Press the tab with plastic opening tool and then pull the ZIF connector to detach.
-
-
-
Remove one 5mm screw from the side of the battery base with the Phillips #0 screwdriver.
-
Take off the battery's base from the camera.
-
-
-
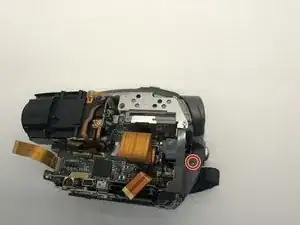
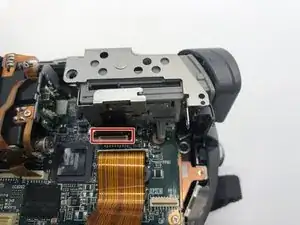
Remove another ribbon cable that runs from the viewfinder to the top of the motherboard. Use your plastic opening tool to disconnect the connection point safely.
-
Press the tab with plastic opening tool and then pull the ZIF connector to detach.
-
-
-
Remove the three 5mm screws on the left side of the viewfinder with your Phillips #0 screwdriver.
-
-
-
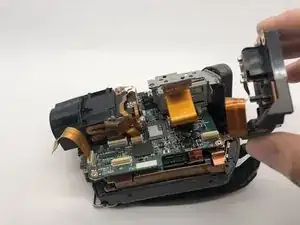
Gently pull the entire viewfinder away from the camera in a lifting motion away and make sure nothing is still connected with it.
-
To reassemble your device, follow these instructions in reverse order.
Add screw measurements here.
Khalid Alamer -