
Introduction
Parts
-
-
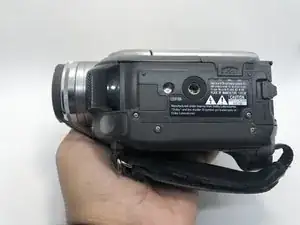
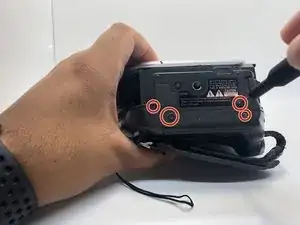
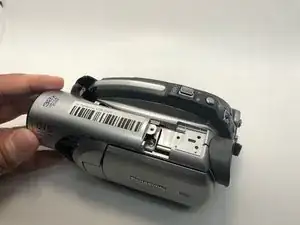
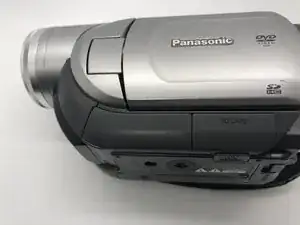
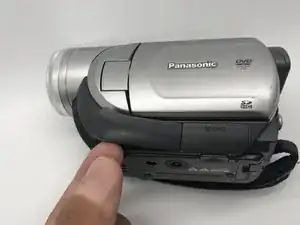
Rotate the camera to show the bottom side of the camera.
-
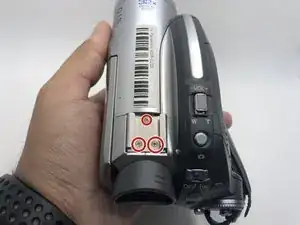
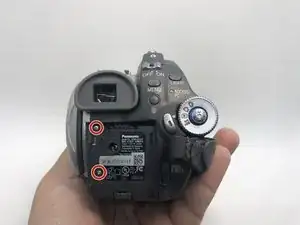
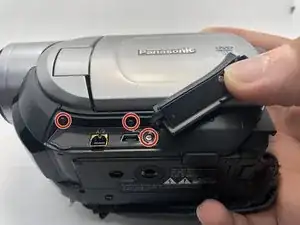
Remove the four 5mm screws on the bottom side of the camera with a Phillips #0 driver.
-
-
-
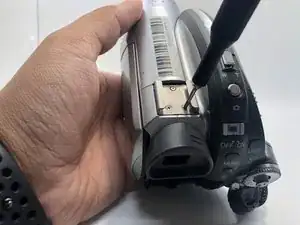
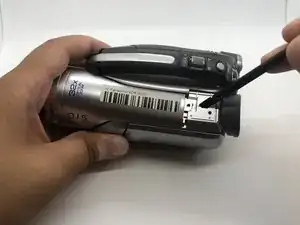
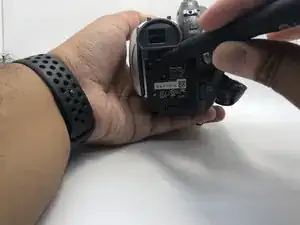
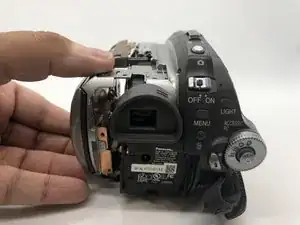
Pry with a spudger to disconnect the top-front part of the camera from the main body.
-
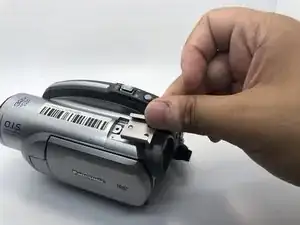
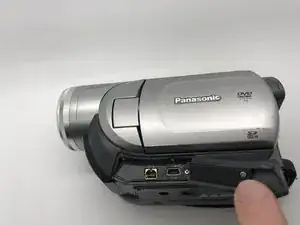
Slide the top portion of the camera forward revealing more screws.
-
-
-
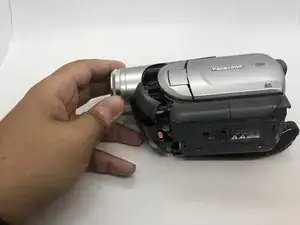
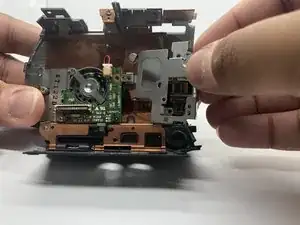
Flip the camera on the right side.
-
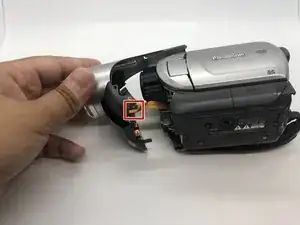
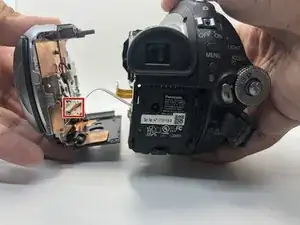
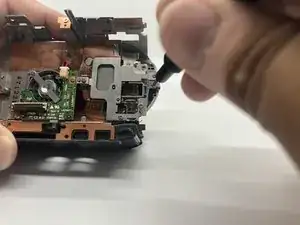
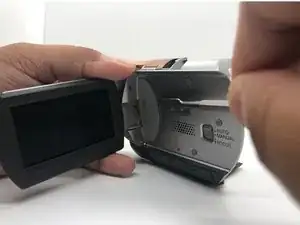
Gently pull the front part from the main body to expose the cables connecting them.
-
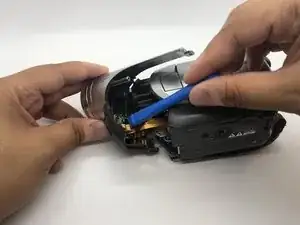
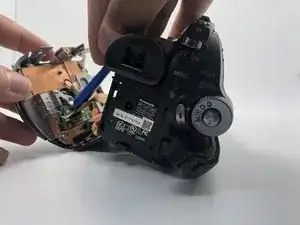
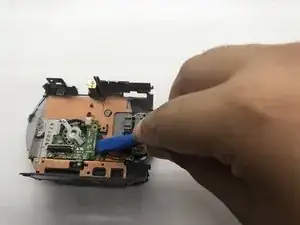
Use your plastic opening tool to disconnect the connection point safely.
-
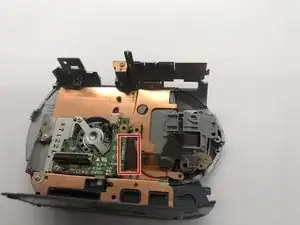
Press the tab with plastic opening tool and then pull the ZIF connector to detach.
-
-
-
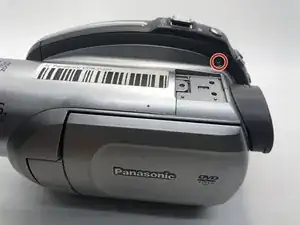
Flip the camera on the bottom side.
-
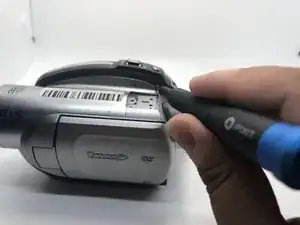
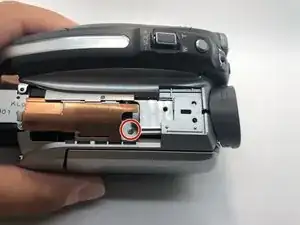
Remove one more 5mm screw that had been uncovered previously with a Phillips #0 screwdriver.
-
-
-
Go to the battery basement's side.
-
Use your Phillips #0 screwdriver to remove the two 5mm screws on the battery base of the camera.
-
-
-
Remove three 5mm screws inside the side ports using Phillips #0 screwdriver.
-
Take off the left side of the camera.
-
-
-
Rotate the camera to the battery side.
-
Gently pull the side of the camera apart with only your hands.
-
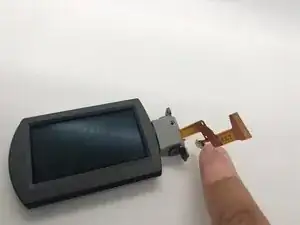
Disconnect the ribbon cable with your plastic opening tool, so that the left side of the camera can be removed.
-
Press the tab with plastic opening tool and then pull the ZIF connector to detach.
-
-
-
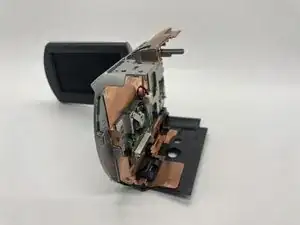
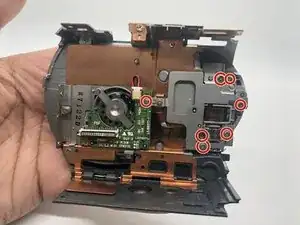
Look to the left side of the camera you have removed.
-
Remove six 5mm screws with your Phillips #0 screwdriver.
-
-
-
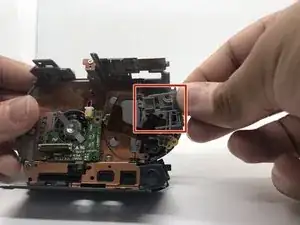
Take off the metal piece.
-
Use your plastic opening tool to disconnect the ribbon cable. Press the tab with plastic opening tool and then pull the ZIF connector to detach.
-
-
-
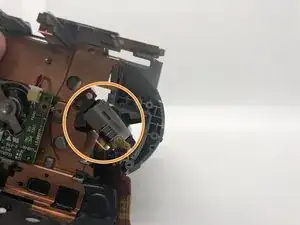
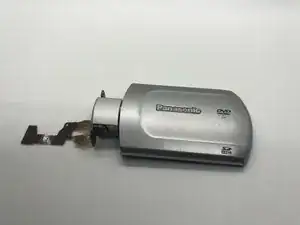
Use a plastic spudger to apply a firm amount of pressure to pry the hinge from the rest of the camera body.
-
-
-
Go back to the back side.
-
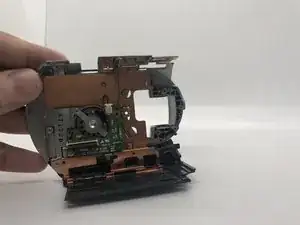
Take off the small plastic piece.
-
Rotate the right side of the LCD counter clockwise.
-
To reassemble your device, follow these instructions in reverse order.