Introduction

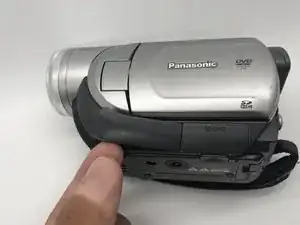
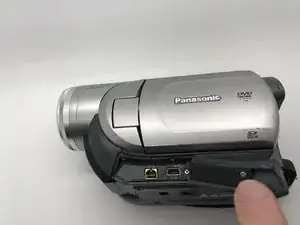
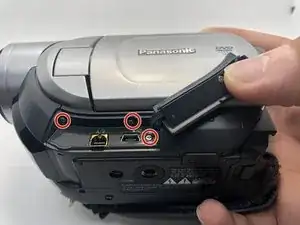
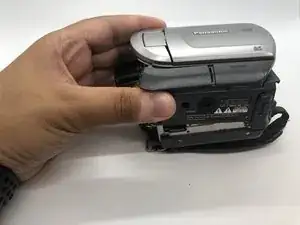
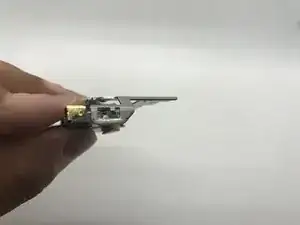
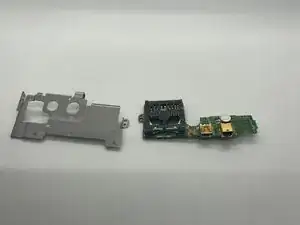
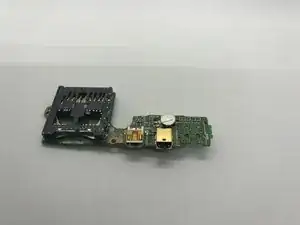
If you are unable to complete transfer of data due to a loose connection this guide will show you how to replace the AV and micro USB ports. These ports commonly get pushed into the device and the contacts break due to usage.

  1. HkkK3g4lm3iRmAB2
    HkkK3g4lm3iRmAB2
    vTupFJZHOjc1xlQB
    GFnVU5W1BqYDBVtE
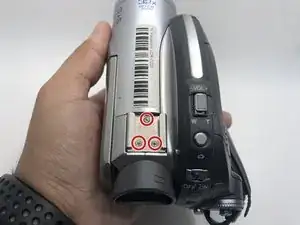
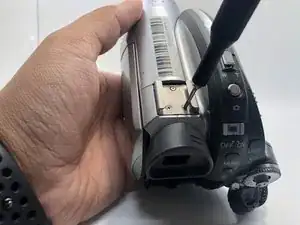
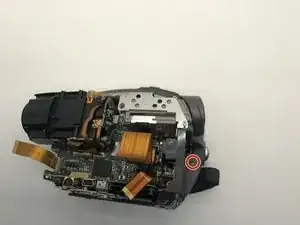
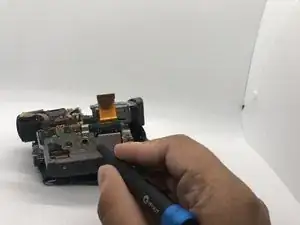
    • Use your Phillips #0 screwdriver to remove the three 5mm screws on top of the camera.

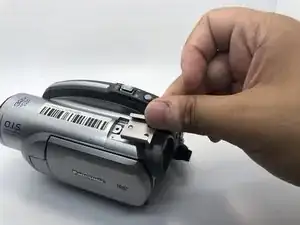
    • Remove the metal bracket.

  2. wdXmMQSqYEAT3MBv
    wdXmMQSqYEAT3MBv
    CyKIiLFOYOb5JF5J
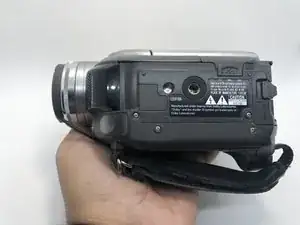
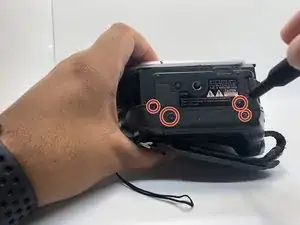
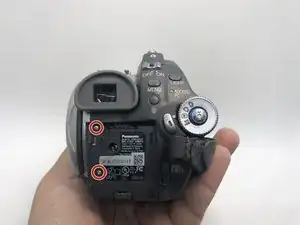
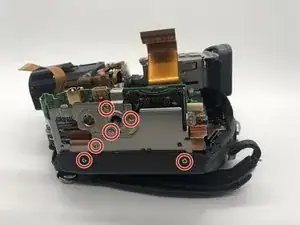
    • Rotate the camera to show the bottom of the camera.

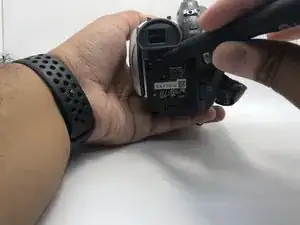
    • Remove the four 5mm screws on the bottom side of the camera with a Phillips #0 driver.

  3. fi4IGwZDlIGYXvhM
    fi4IGwZDlIGYXvhM
    VIwEIDvrRYig3fGQ
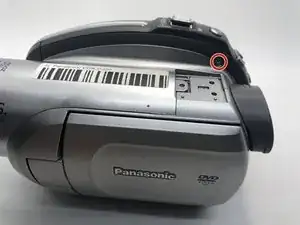
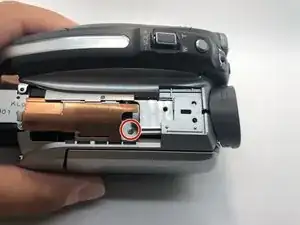
    • Rotate the camera to the left side. There is one screw on the top right of metal bracket you have removed in step 1.

    • Remove one 5mm screw by using Phillips #0 screwdriver.

  4. kIZ1k2k2OkVTafHE
    kIZ1k2k2OkVTafHE
    ZeyRMyXGNUVW6TOe
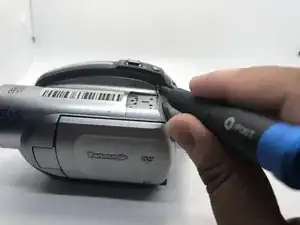
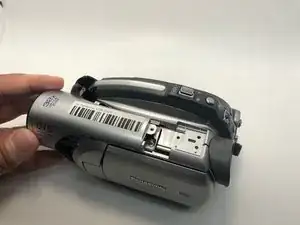
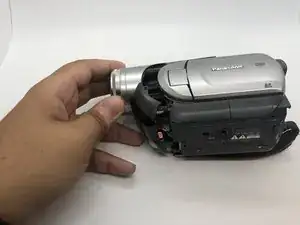
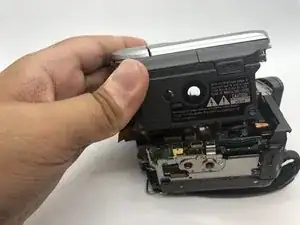
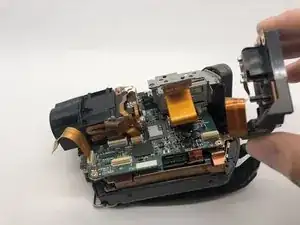
    • Use a plastic spudger to lighty pry the top-front panel of the camera from the main body.

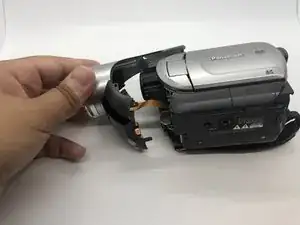
    • Slide the top portion of the camera forward revealing more screws.

    • Do not completely separate the top portion yet, as there are cable connections that remain.

    Remember that when you use metal tools, you should justify their use by indicating the need for force.

    Alex Watkins -

    This step also seems unclear to me.

    Alex Watkins -

  5. ZYvEWdTMJHkNuBfX
    ZYvEWdTMJHkNuBfX
    JdAXQgukJ5ASQeot
    sU4l6tWEG6OKJUaa
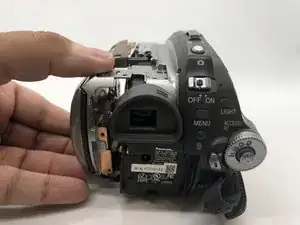
    • Flip the camera on the right side.

    • Gently pull the front part from the main body to expose the cable connections.

    • Pulling too hard or fast has the potential to damage the ZIF connector cable.

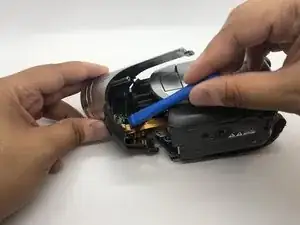
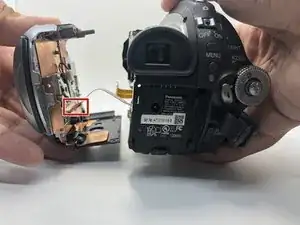
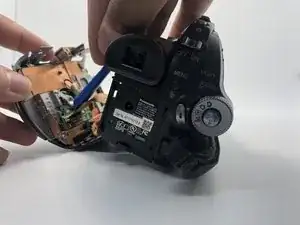
    • Use your plastic opening tool to disconnect the connection point safely.

    • Press the tab with plastic opening tool and then pull the ZIF connector to detach.

    Make sure to proofread carefully (e.g., reveling here). Also, can you be more specific about how to disconnect the ZIF connector?

    Alex Watkins -

    Make sure to use colored bullet here to coincide with markup.

    Alex Watkins -

  6. MxeCTh46CYu5ducB
    • Flip the camera to see the top side of it.

    • Remove one more 5mm screw with your Phillips #0 screwdriver that was previously covered by the front-top section.

    The phrasing here is a little convoluted. Can you clarify?

    Alex Watkins -

  7. UAnxIRRsYSO6VuEy
    UAnxIRRsYSO6VuEy
    OV1Cm1CiE6D1iSZt
    • Go to the battery's basement side.

    • Use your Phillips #0 screwdriver remove the two 5mm screws on the battery base of the camera.

  8. 3MP5ldVJV5UoWltQ
    3MP5ldVJV5UoWltQ
    PUDKHfAafye2RWqw
    NAHRxSCSRIrOAKGb
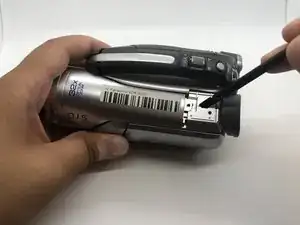
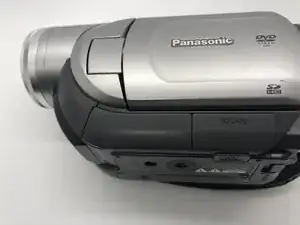
    • Rotate the camera to the left side, where the side port is located.

    • Open the side port door.

  9. 1wEIjFHNWrOEM1HW
    1wEIjFHNWrOEM1HW
    EBJUkWABmnem12AW
    WRNrAkihugEcFU4w
    • Remove three 5mm screws inside the side ports by using Phillips #0 screwdriver.

    • Start to lift the lefthand section of the camera from the main body.

    • Don't fully remove the section just yet as there are cable connections that remain.

    It seems the bronze element covering this was removed. Can you add how to remove it, or when the user should? Also, I would suggest adding more shots here with action.

    Alex Watkins -

  10. tX12MIplvdUxFerP
    tX12MIplvdUxFerP
    1PKfF1PSthhtSYde
    4fOIL1A12Ii1TchW
    • Rotate the camera to the battery side.

    • Gently, pull the side of the camera apart with only your hands.

    • Do not pull too hard because of the ZIF connector cable.

    • Disconnect the ribbon cable with your plastic opening tool, so that the left side of the camera can be removed.

    How do I get to this step? I feel like the chain is getting a little confusing, plus the device shifted orientation, so I’m starting to get a little confused about how to get to each step. Try adding in more detail about what I need to do, and more images to show how I can do so.

    Alex Watkins -

  11. uJLCyuVYLgDdkr1C
    uJLCyuVYLgDdkr1C
    24YboXIDi1FOqgmT
    • Remove one 5mm screw from the side of the battery base with the Phillips #0 screwdriver.

    • Take off the battery's base from the camera.

  12. jGi5gADn1oHu5i2E
    jGi5gADn1oHu5i2E
    QIUvTU4OjOpbQ4Do
    • Rotate the camera to the bottom side.

    • Remove six 5mm screws with your Phillips #0 driver and the circuit board holder should come free.

    Remember to focus on the action. During the last part of this step, what do you want the user to do? You should also add more pictures here to show what the device looks like after the circuit board is removed.

    Alex Watkins -

  13. TwFBcDqVM2WIc1np
    TwFBcDqVM2WIc1np
    mfxObrCGaPiTYEhe
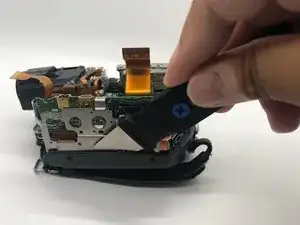
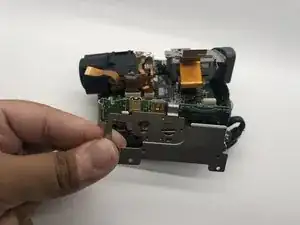
    • Insert a Jimmy tool to relieve the pressure between the metal mount and the plastic cover.

    • Take off the port board from the bottom of the camera.

    Proofreading issue here.

    Alex Watkins -

    The images and texts should work independently. In the text, instead of referring to the image, indicate where the jimmy should be inserted.

    Alex Watkins -

  14. GPdCVyhkeHxkoZyD
    GPdCVyhkeHxkoZyD
    SxbXsddOJi1cUtBS
    A52rOxhGgcsLwOOB
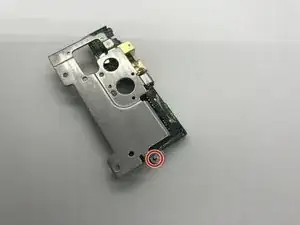
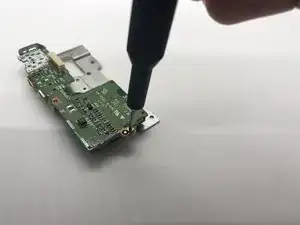
    • Use your Phillips #0 screwdriver remove one 5mm screw from one side of the port.

    • On the other side, disconnect the metal from the port circuit board smoothly.

  15. qB3Dpv4NNVk2Ul1V
    qB3Dpv4NNVk2Ul1V
    wCQU3PRfjxwAdXfq
    • Remove the metal cover from the side port.

Conclusion

To reassemble your device, follow these instructions in reverse order.
Brandon Gregoire

Member since: 18/09/19

1325 Reputation

0 comments