Introduction
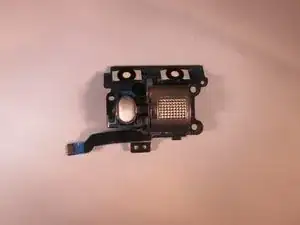
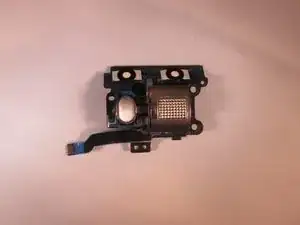
If your Panasonic SDR H-100 zoom lever is sticking, working inconsistently, or not working at all, then use this guide to replace the malfunctioning part.
The zoom function on the Panasonic SDR H-100 allows the user to move their point of view closer to or further from the subject.
Before beginning, make sure to completely power off your device and disconnect it from any external power sources.
Tools
-
-
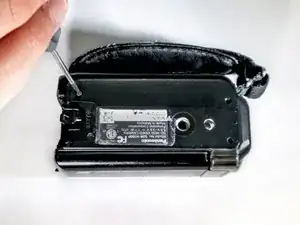
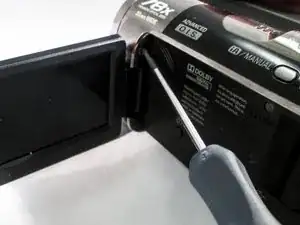
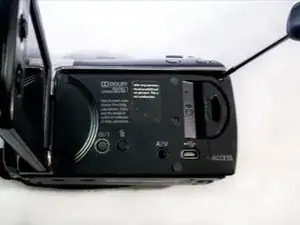
Pull out the charging port (DC input terminal) cover and remove the 4-mm screw located next to the input terminal.
-
-
-
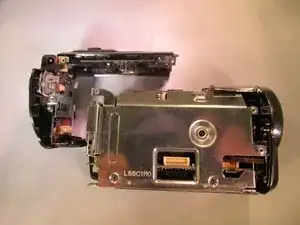
Using a firm hold on both sides of the camcorder, gently pull apart the casing under the hand strap.
-
-
-
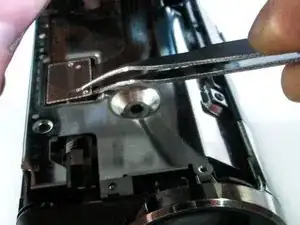
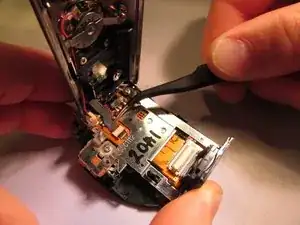
Use tweezers to grab the ribbon cable at the connection point and slowly lift it away from the connector.
-
-
-
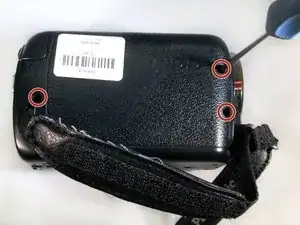
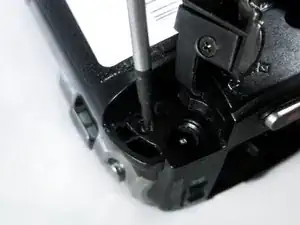
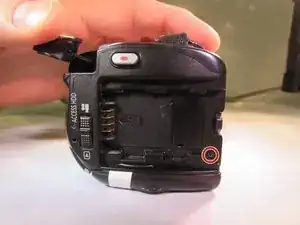
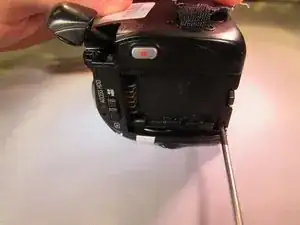
Remove the black 4 mm screw from the back of the camcorder underneath where the battery would have been.
-
-
-
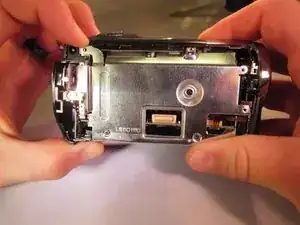
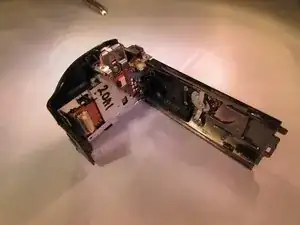
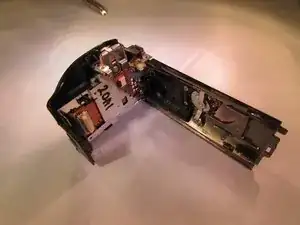
Pull the plastic cover on the back out and up slightly until the back feels like it’s free, then pull back on the plastic (The top cover piece and back will be detached).
-
-
-
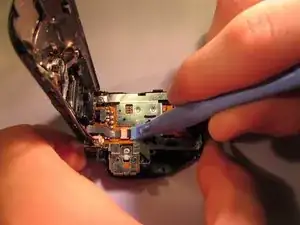
Unlock the copper ribbon cable using the blue pry tool.
-
Gently detach the ribbon cable using the tweezers.
-
-
-
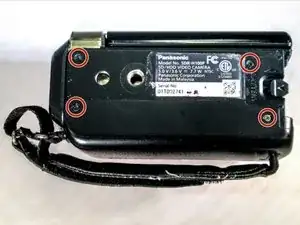
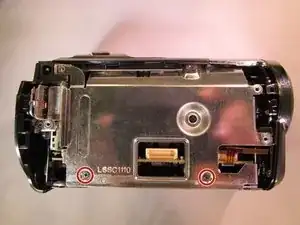
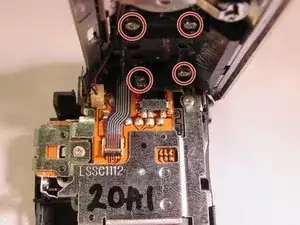
Unscrew the four silver 4 mm screws underneath the outer plastic cover.
-
This gives you access to the bottom of the zoom lever.
-
-
-
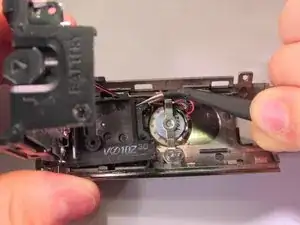
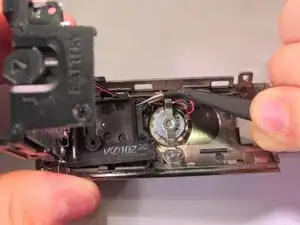
Using tweezers, pull on the black piece that is connected to the underside of the zoom lever while also pushing the back piece at an angle.
-
Do not disconnect the red and black wires while you are doing this.
-
Replace with new zoom lever.
-
To reassemble your device, follow these instructions in reverse order.
