Introduction
-
-
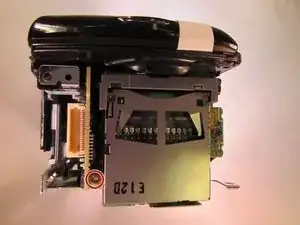
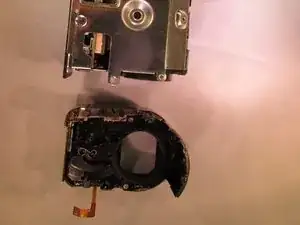
There is a small copper ribbon on the right side of the device. Pull gently with the tweezers upward from the right side to get the copper ribbon free.
-
-
-
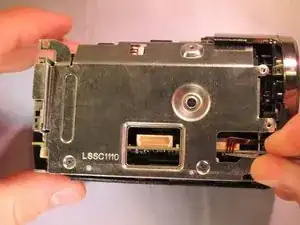
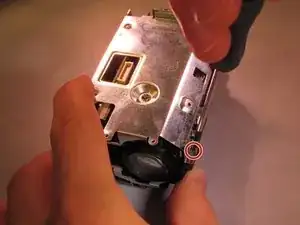
Pry upwards on the front cover from the top of the device and with your other hand pull straight out on the front of the device (The front cover will be detached and free).
-
-
-
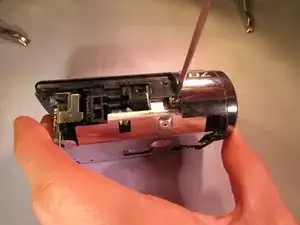
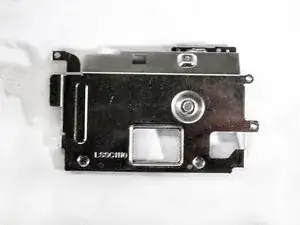
Pull the metal casing straight off (The metal casing will be detached from the rest of the device).
-

Conclusion
To reassemble your device, follow these instructions in reverse order.