Introduction
A guide to find and replace the camcorder's speaker.
Tools
-
-
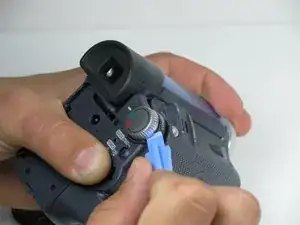
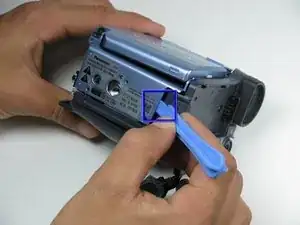
Locate the blue plastic tool opener, then remove both the round record/playback and record/power control knobs by prying it open from the camcorder.
-
-
-
Open the tape compartment.
-
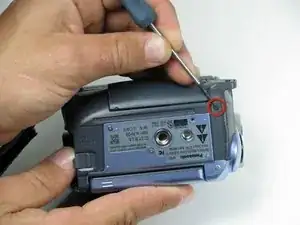
Then flip the camcorder and locate two 4.5mm screws that are horizontal from each other and about 2 inches apart using a #00 Phillips screwdriver.
-
-
-
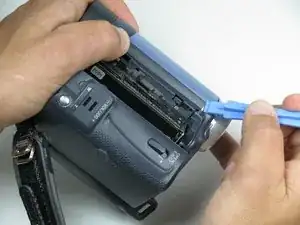
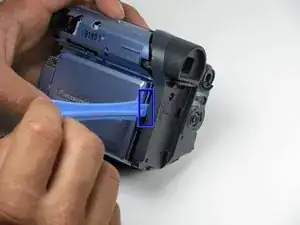
Use the blue plastic opening tool to remove the gray trim piece by prying it from top of the camcorder.
-
-
-
Rotate the camcorder so that the eye piece is facing you.
-
Remove the four black 4.5mm screws, sitting behind the battery.
-
Remove the 5th screw to the right of the battery dock.
-
Remove the battery by gently pulling away from the camcorder.
-
-
-
Rotate the camcorder so that the tape compartment is facing you.
-
Remove the single 4.5mm black screw above the hook for the hand strap.
-
Rotate the camcorder so that the lens is facing you.
-
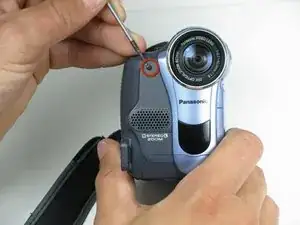
Remove the single 4.5mm black screw from the front panel.
-
-
-
Rotate the camcorder so that the bottom is facing towards you.
-
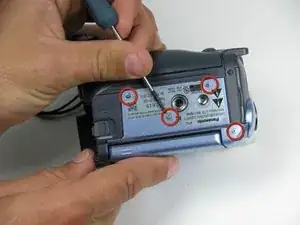
Remove the single remaining 4.5mm black screw from the bottom.
-
Remove the four silver 4.5mm screws from the body.
-
-
-
Open the LCD screen on the side of the camcorder.
-
Using a #00 screwdriver, remove the two 4.5mm silver screws located on either side of the hinge of the LCD screen.
-
-
-
This should come apart with relative ease, however a plastic opening tool may help remove the panel.
-
-
-
Place a plastic opening tool under the bottom of the blue panel beneath the camcorder.
-
Using two tools may be useful, if difficult.
-
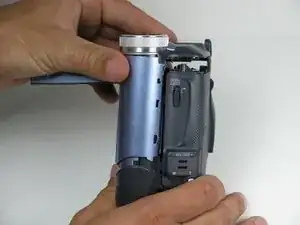
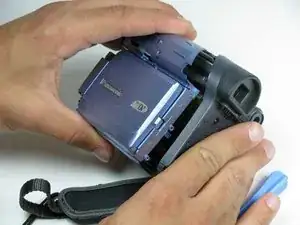
Move the plastic opening tool up the side of the camcorder as shown. Carefully separate the LCD panel from the rest of the camcorder.
-
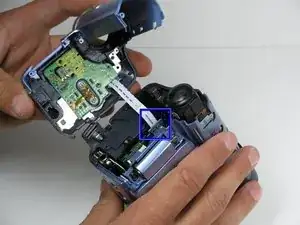
Remove the panel from the camcorder.
-
-
-
On the LCD housing plate, remove the two 4.5mm phillips screws on the ribbon cable plate using a #00 philips screwdriver.
-
-
-
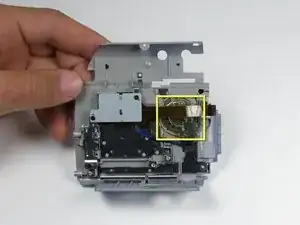
The speaker is soldered to both ends of the board. Check the connections to see if they are still good. Desolder wires from speaker to replace, if necessary.
-
To reassemble your device, follow these instructions in reverse order.
