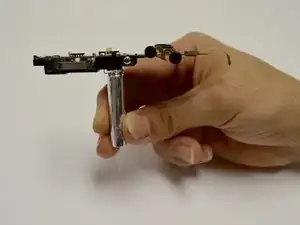
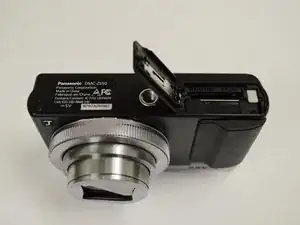
Introduction
-
-
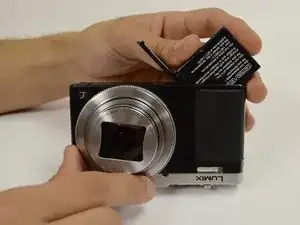
Orient the camera so the bottom is facing up and the battery door is on the right side.
-
Remove four black screws from the bottom of the camera.
-
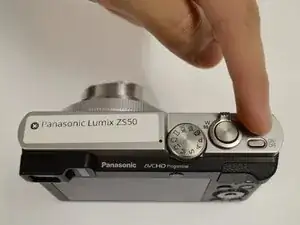
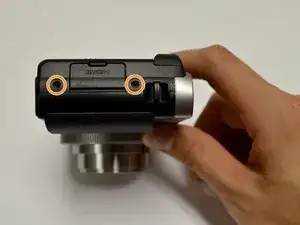
Remove two black screws from the right side of the camera.
-
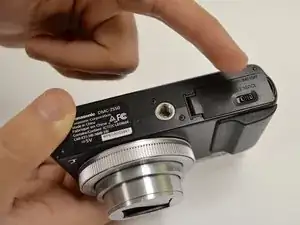
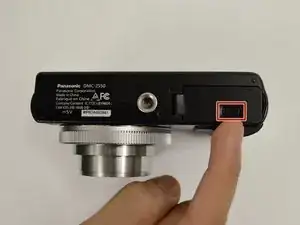
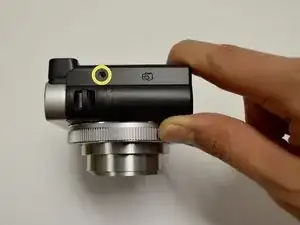
Remove one black screw from the left side of the camera.
-
-
-
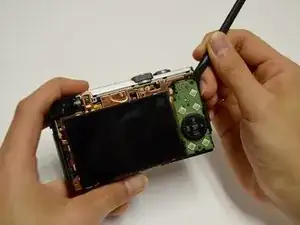
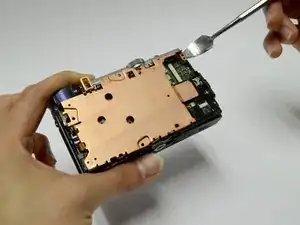
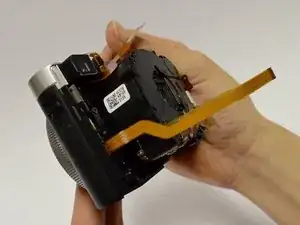
Use a spudger to lift up and tug off the green button board.
-
Be careful to not damage the attached ribbon cable.
-
-
-
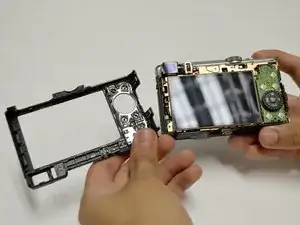
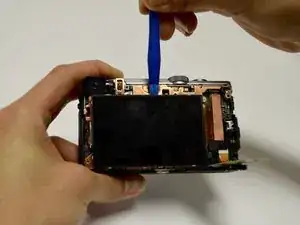
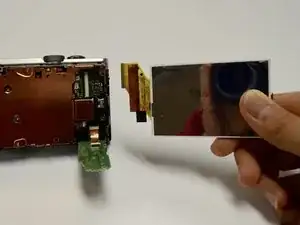
Remove the screen using the plastic opening tool, prying from the top.
-
Once it's lifted up, tug lightly on the large ribbon cable to detach the screen from the camera body.
-
-
-
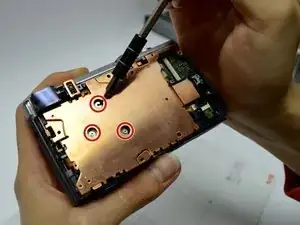
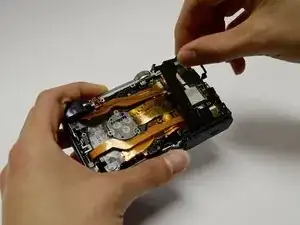
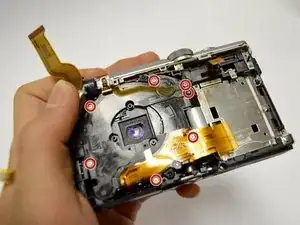
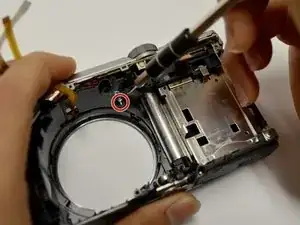
Remove the three screws from the center of the copper plate.
-
Remove the four screws from the outer edges of the copper plate.
-
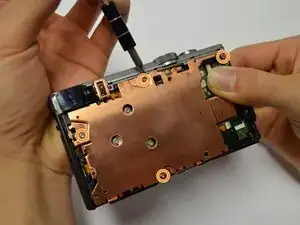
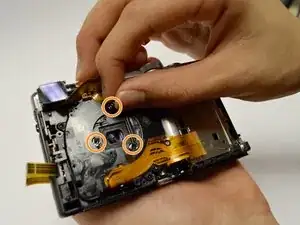
Use a plastic or metal spudger to pry the copper plate out of place.
-
-
-
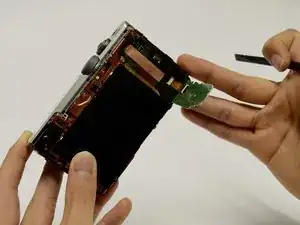
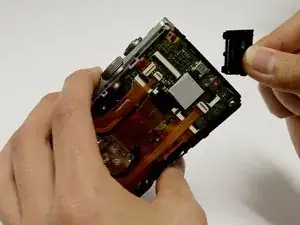
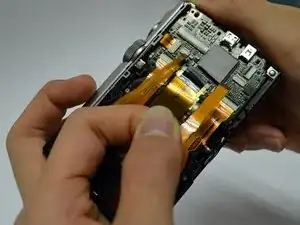
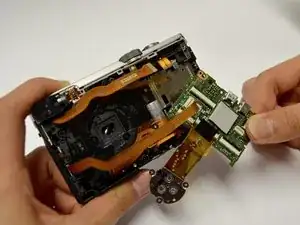
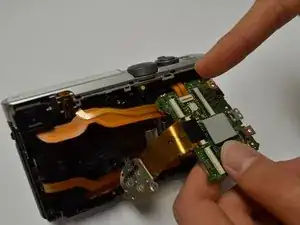
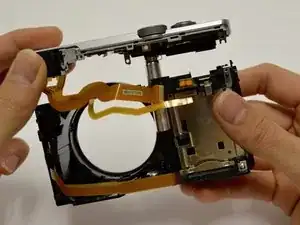
Disconnect all orange ribbon cables connecting to the circuitboard by hand.
-
Disconnect the circuitboard by hand.
-
There will be one orange ribbon cable attached to the top that can now be removed.
-
-
-
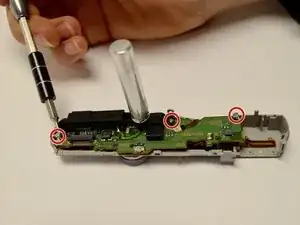
Remove the seven screws surrounding the lens assembly.
-
Remove the three springs surrounding the lens.
-
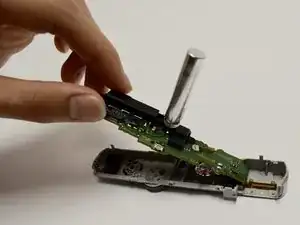
Apply pressure on the front of the lens to push the lens out.
-
-
-
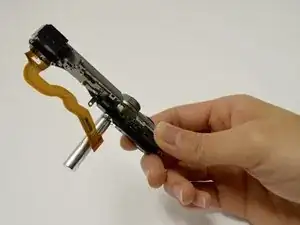
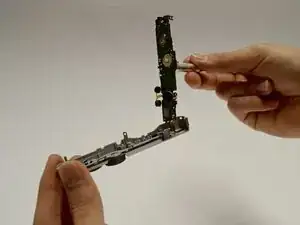
Remove the one screw holding the camera and the flash component together.
-
Gently pull the flash component out of the camera body.
-
-
-
Separate the top camera casing from the flash component by unscrewing the three surrounding screws.
-
Remove the flash assembly, including the circuit board, by detaching it and the ribbon cables from the casing.
-


To reassemble your device, follow these instructions in reverse order.
One comment
Step 7: Does not mention the HDMI port door. Make sure you account for it