Introduction
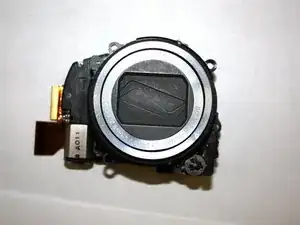
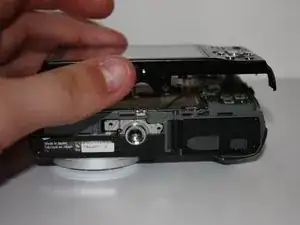
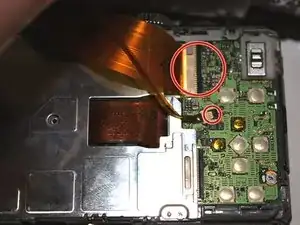
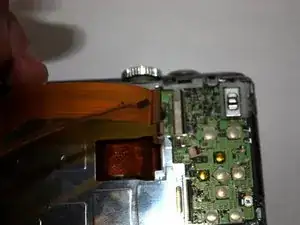
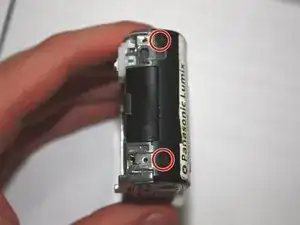
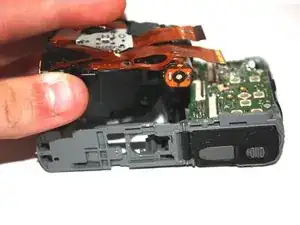
The lens in the Panasonic Lumix DMC-ZS6 camera may need to be replaced if it is damaged or does not function properly. This guide will show you how to remove the lens from the camera so that it can be replaced with a new one.
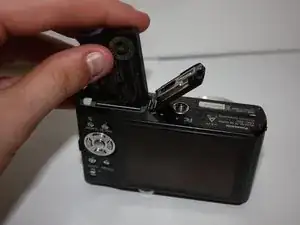
Make sure the device is turned off before you begin.
Tools
-
-
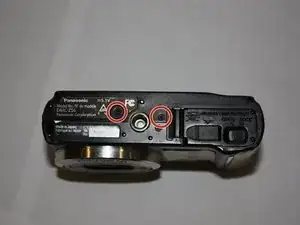
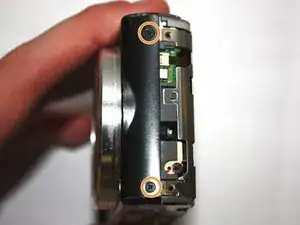
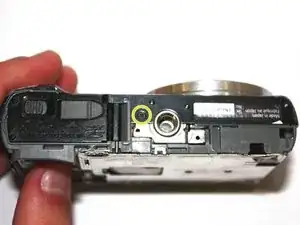
Unscrew the two bottom 1.0 mm screws with a Phillips #000 screwdriver.
-
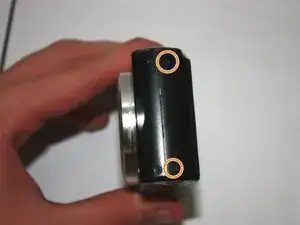
Unscrew the two 1.0 mm screws to the left with a Phillips #000 screwdriver.
-
Unscrew the two 1.0 mm screws to the right with a Phillips #000 screwdriver.
-
-
-
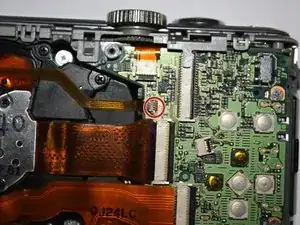
Use the tip of the 2.0 mm flathead screwdriver to flip up the black tabs on the ribbon cables.
-
Pull gently on the ribbon cables to unseat them.
-
-
-
Unscrew the two 1.0 mm screws to the left with a Phillips #000 screwdriver.
-
Unscrew the two 1.0 mm screws to the right with a Phillips #000 screwdriver.
-
Unscrew the two bottom 1.0 mm screws with a Phillips #000 screwdriver.
-
-
-
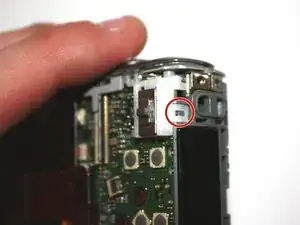
Use the tip of the 1.5 mm flathead screwdriver to disengage the plastic tab.
-
Carefully lift the selector switch away from the motherboard.
-
-
-
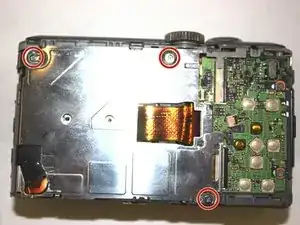
Unscrew the three silver 1.0 mm screws with a Phillips #000 screwdriver.
-
Use the tip of the 2.0 mm flathead to disengage the metal tab, then carefully lift the shield away from the motherboard.
-
-
-
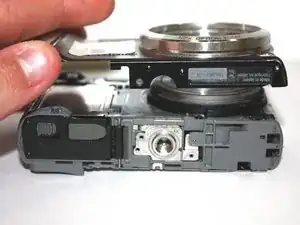
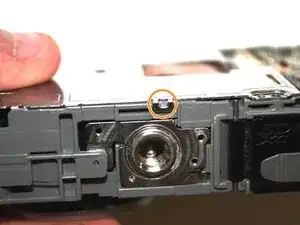
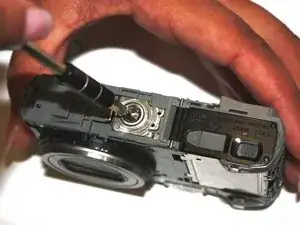
Insert the tip of the 2.0 mm flathead into the center hole of the tripod mount, and apply force in the direction facing away from the button.
-
Carefully lift the tripod mount out of the camera body.
-
-
-
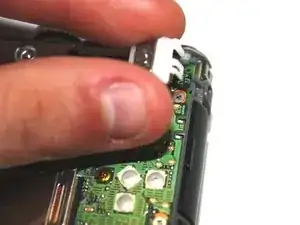
Use the 2.0 mm flathead to flip up the brown tab on the motherboard and carefully unseat the ribbon cable.
-
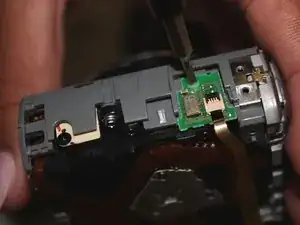
Insert the tip of the 2.0 mm flathead screwdriver into the hole on the daughterboard, then apply upward force to remove the daughterboard from the main case.
-
-
-
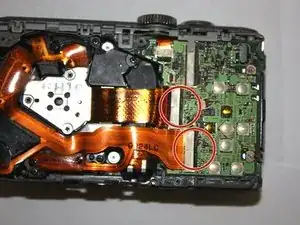
Use the 2.0 mm flathead to flip up the two tabs on the motherboard and carefully unseat the ribbon cables.
-
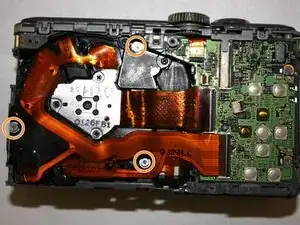
Unscrew the three silver 1.0 mm screws with a Phillips #000 screwdriver.
-
Carefully lift the lens assembly out of the camera.
-
To reassemble your device, follow these instructions in reverse order.
